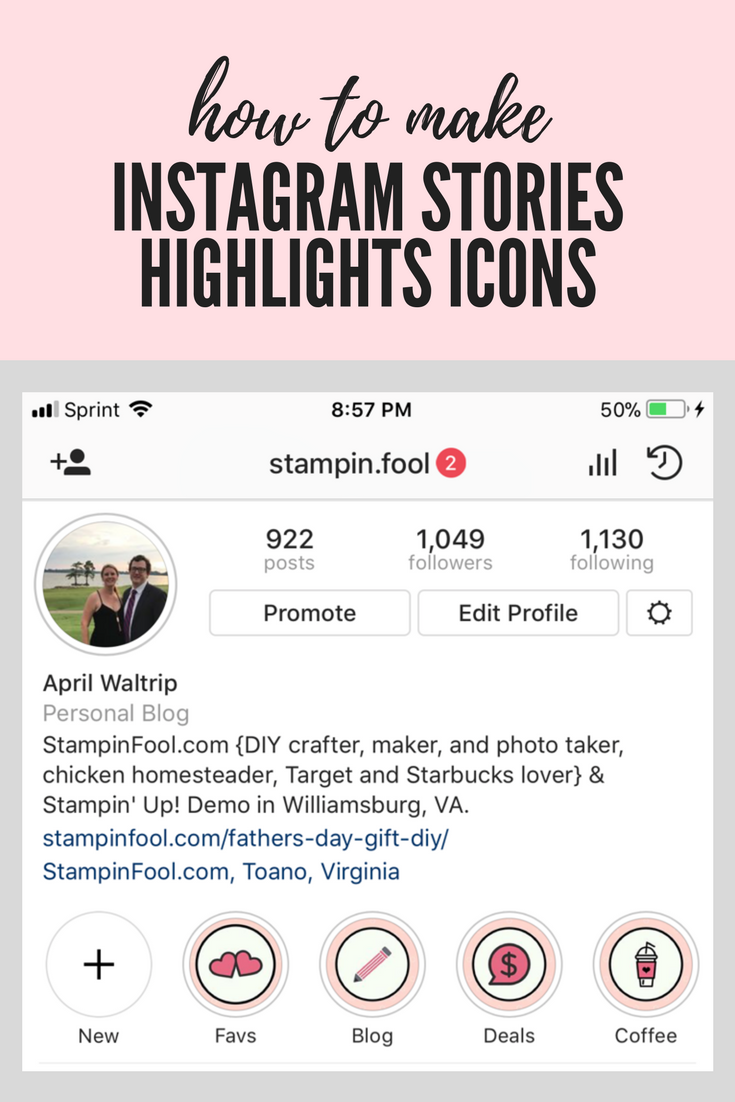
How To Make Instagram Stories Highlight Icons + Free Checklist
Let’s make Instagram Stories Highlight Icons! Have you seen the new Instagram Stories highlights feature? If you have a business account on Instagram (you can switch over under your profile) you can add your favorite “My Story” posts to the favorites bar, which will stay posted at the top of your IG page. I love that I can feature my favorite on the go moments or deals of the day.
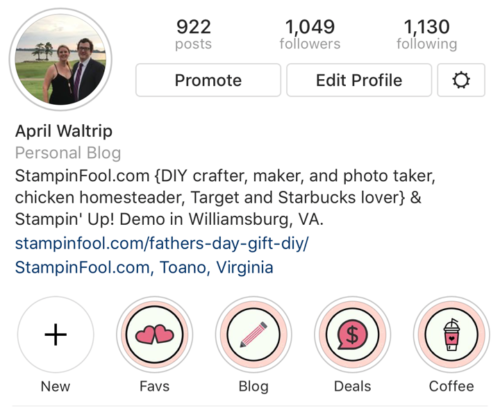
Not sure what I am talking about? Here is a snapshot of mine.
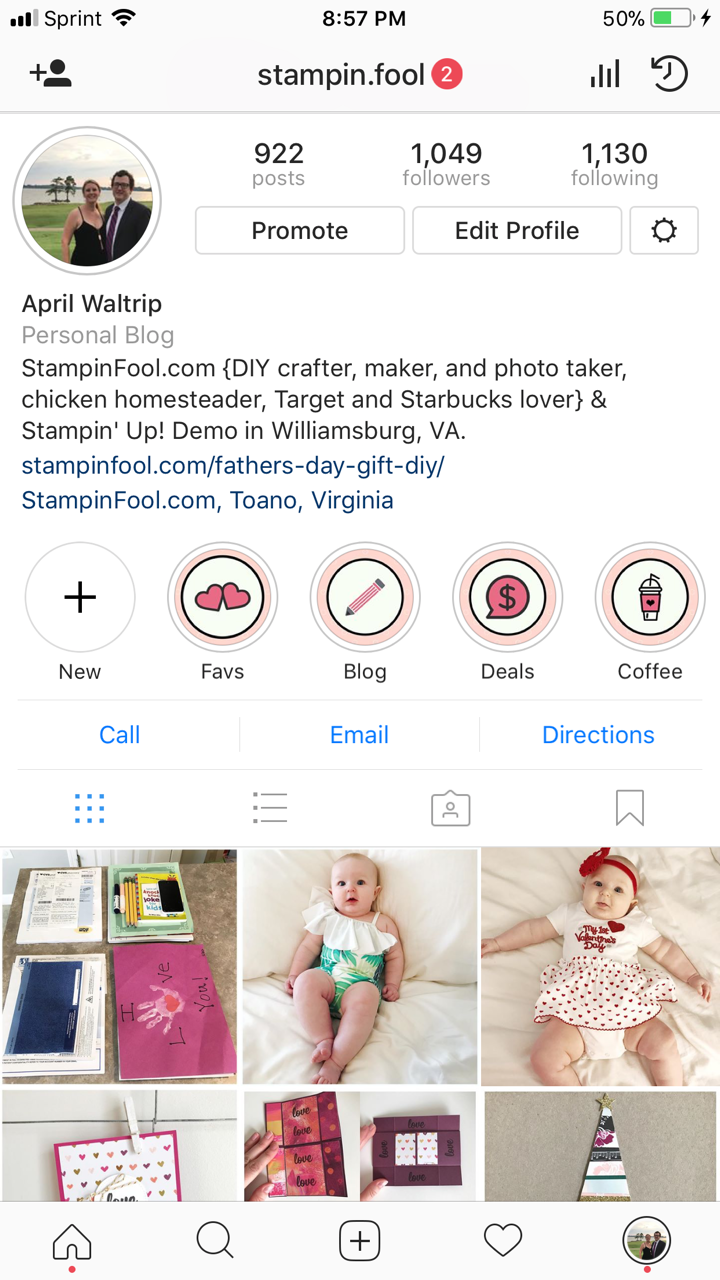
{{ PS- if you haven’t already, hit that follow button so you don’t miss a thing! }}
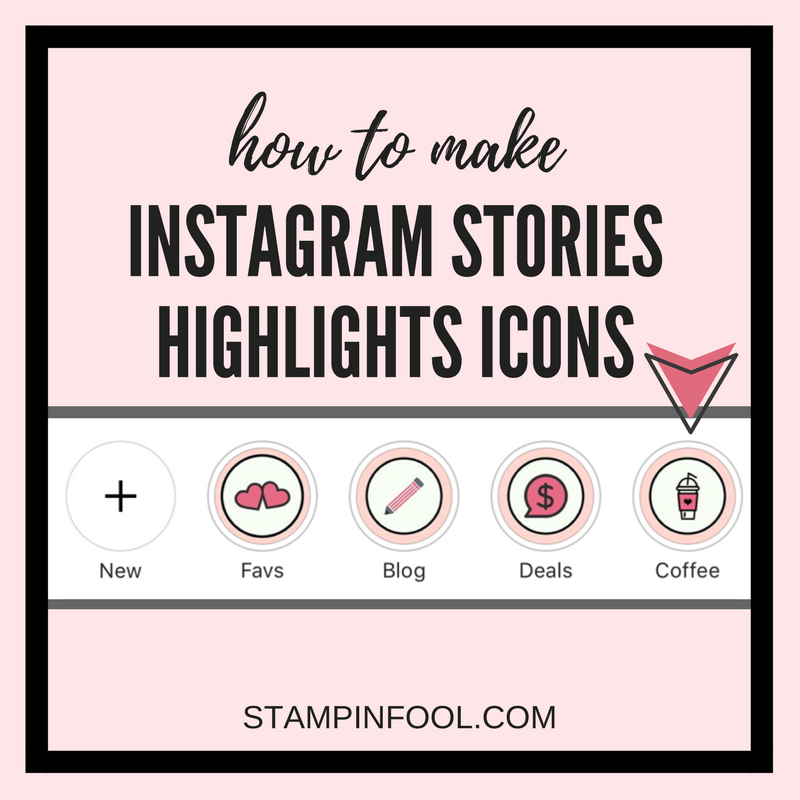
While you can choose your favorite snapshots, you can also take it up a notch by branding your IG page and using icons to separate your posts into categories. How cool is that?! And it is super easy.
I’m going to walk you through creating these icons and uploading them, for FREE, and I’ll finish up the post with a checklist of how to get them going.
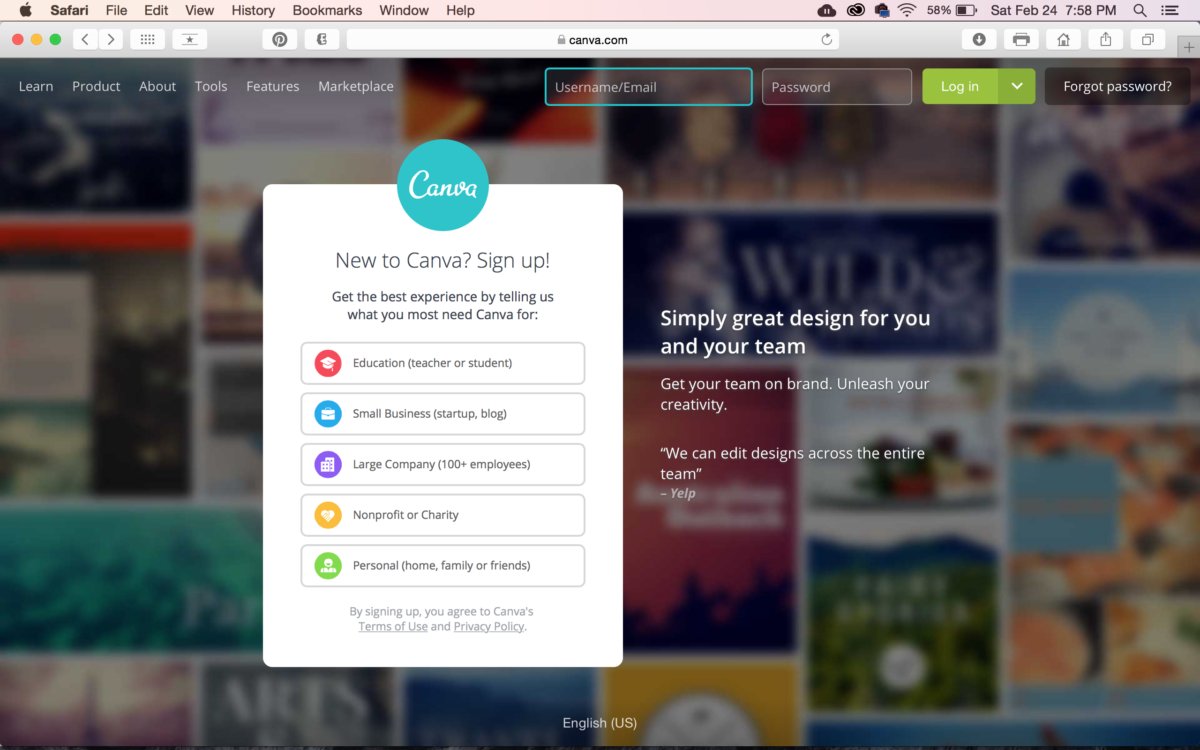
STEP 1: CREATE A CANVA ACCOUNT
Canva is a great free tool for creating graphics for everything from Facebook covers to ads to post cards, business cards and banner ads that http://(itunes.apple.com/au/app/canva-graphic-design-photo-editing/id897446215?mt=8e already pre-sized to fit. It is free; but note there is a paid version and paid graphics. If you want to keep it free, just look for the images that have a little “FREE” banner on them.
I suggest connecting to your Facebook account. It’s easy to log in and you can easily upload images to Facebook that you have created for albums, albums sales, covers, profile photos, and sponsored ads.
STEP 2: FIND THE IG STORIES TEMPLATE
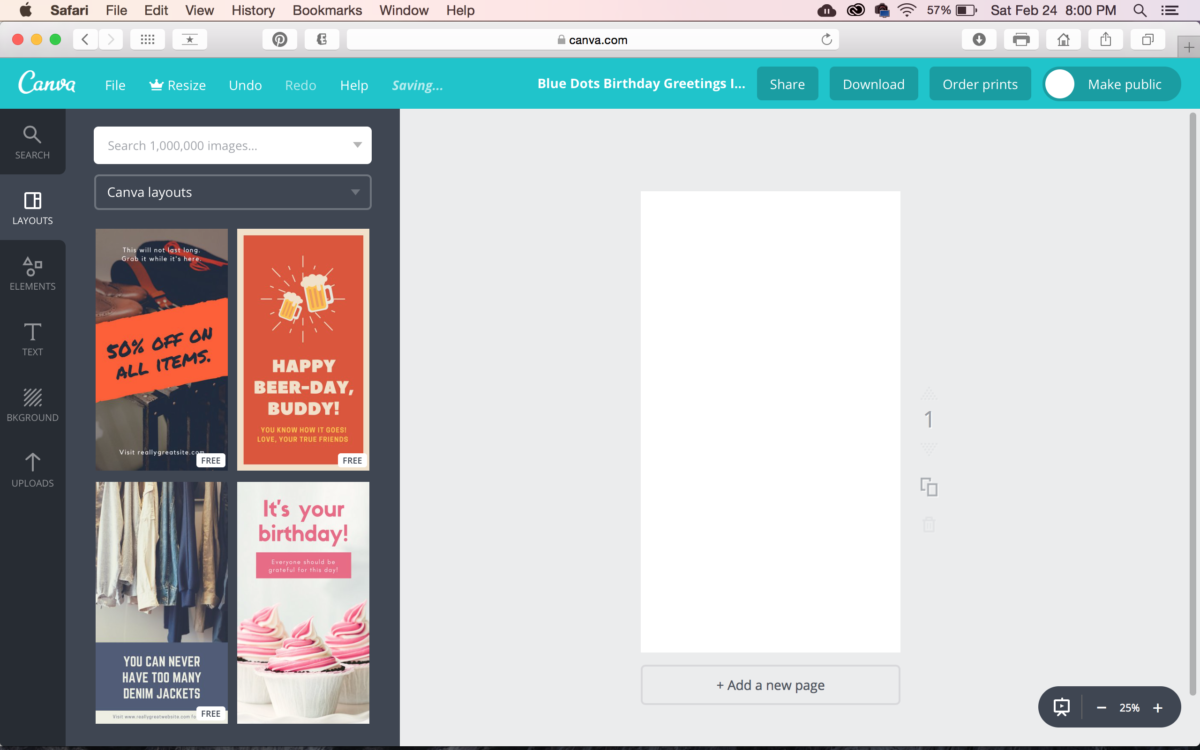
Next, to start making the Instagram Stories Highlight Icons you’ll need a template. On the left hand side, click the Template button, then in the search bar (top middle) type “Instagram Stories”. A ton of options will come up. Choose a free template and double click. It will open a design page with the template.

STEP 3: DELETE EVERYTHING
Select the elements on the template and delete them (top left, trash can button). Delete all of them so that you are left with a blank white template.
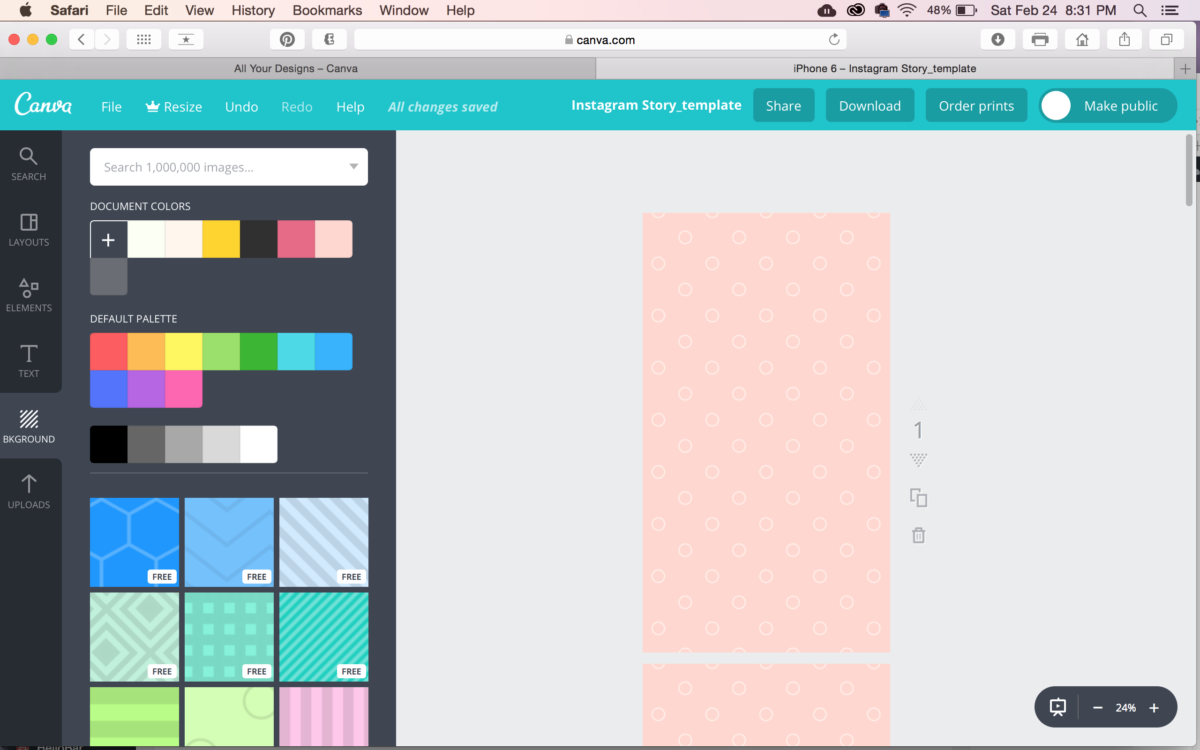
STEP 4: CHOOSE A STORY HIGHLIGHTS BACKGROUND
On the left menu, choose Background. Scroll through and find a background you like or better yet, that coordinates with your brand. My blog, StampinFool.com, is pink, gold and black themed. I choose a light pink with circles background to mimic my blog header. I LOVE the marble background. You can add the background to your template by clicking on it.
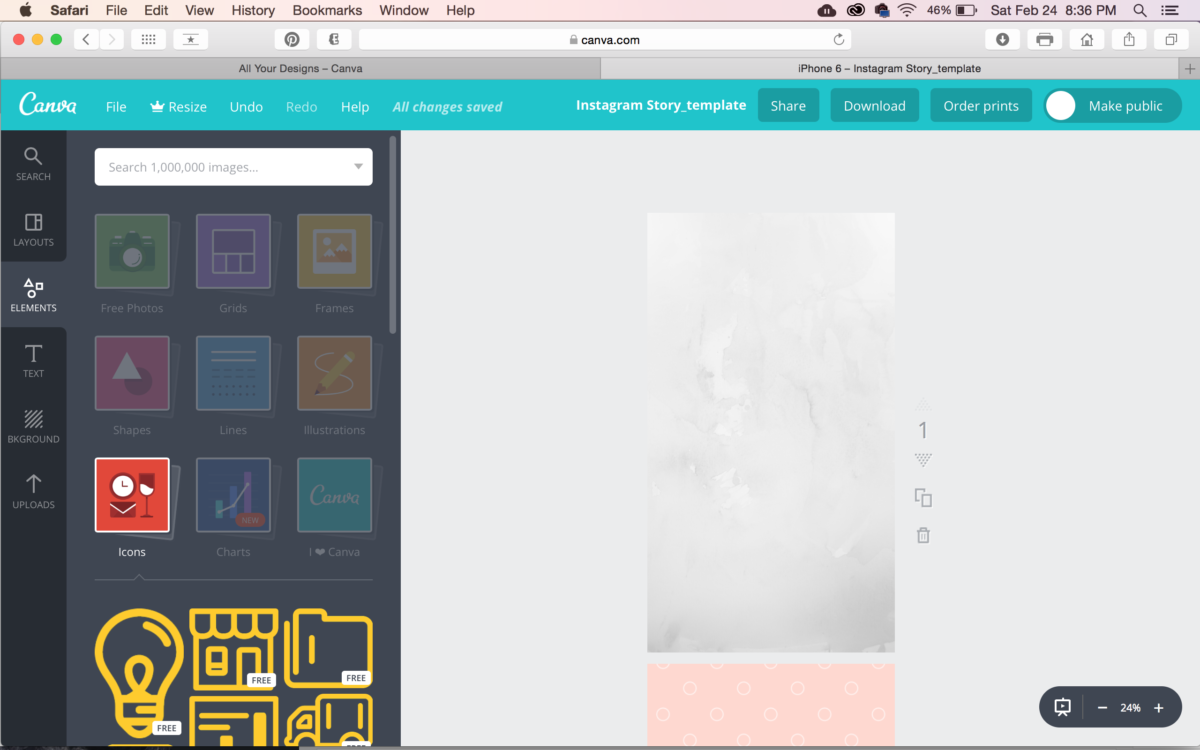
STEP 5: CHOOSE ICONS for your IG Stories Highlight Icons
Back to the left hand menu: Elements. Here you will find icons to your hearts content. I started with Shapes and added a circle design. I then selected Icons and chose icons that represented what I want to feature. You can resize and recolor the icons easily. If you center the image (Canva gives you placement guides), it will show up in the Instagram Stories Highlight circle once you upload the image.
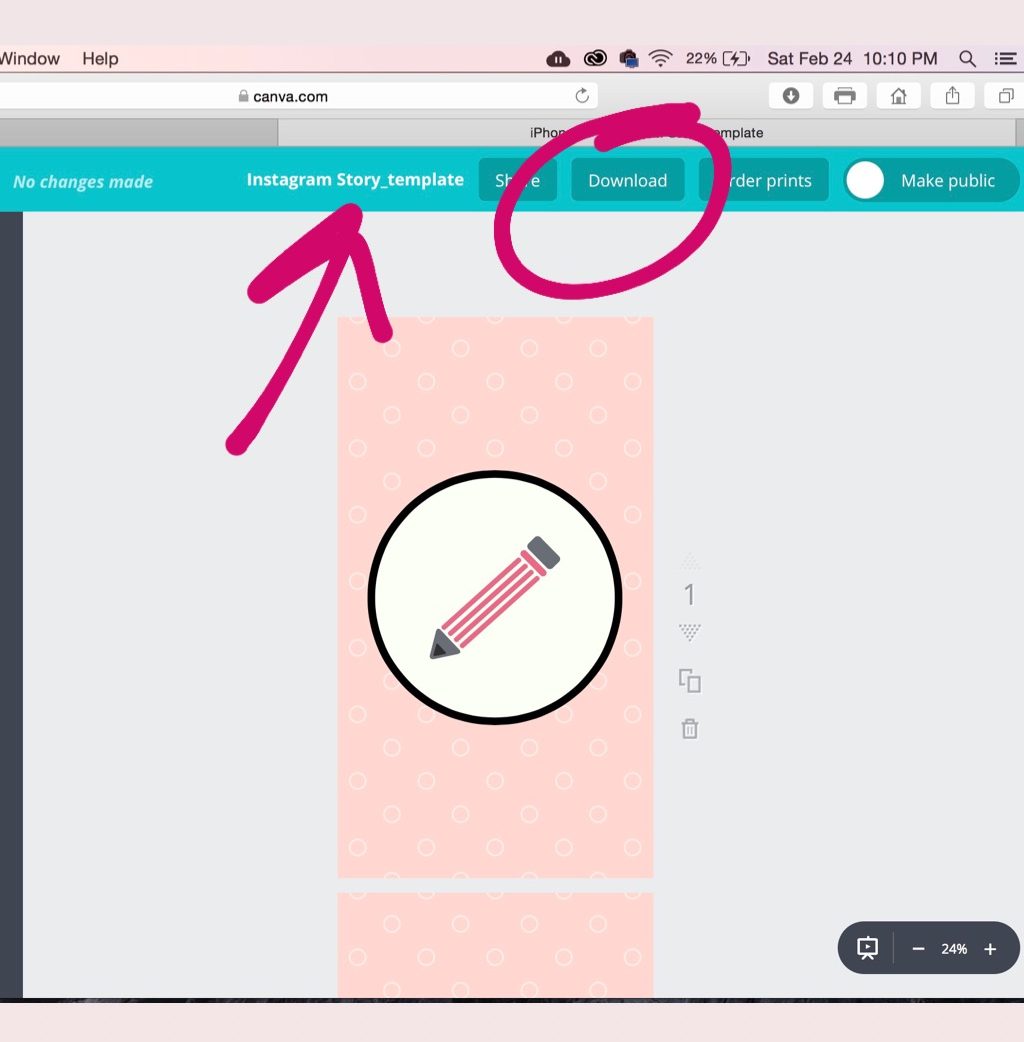
STEP 6: DOWNLOAD
On the top bar you will want to first rename the document by clicking the current design title. Now you need to get the cover graphics onto your phone. You can 1) Click Download and email the image to yourself, open email on phone and Save to each image to Camera Roll or 2) download the Canva App.
In Canva App (iPhone): This one is a little trickier, so if you are tech saavy keep reading, if not, revert to downloading and email to yourself. Your Designs > Open the document > Share- let it process > Save to Files. Under the Files App, Open the file by clicking on it, select the upload button (bottom left) and Save Image to your photo roll.
Here’s what it looks like in the Canva App on iPhone once you have saved it to the Files App.

STEP 7: LOAD ‘EM UP TO INSTAGRAM
On your phone: Open Instagram. Go to your profile. Click New + on the Stories bar. Upload the LAST IMAGE FIRST. The images will appear in the order uploaded, being newest first. So, make sure you upload them in reverse order. To add stories to the icon, select each icon and click the More elipses (bottom right) > Edit Highlight > Archive. Archive will be where you select the photos you want to appear under that category. Click back over to Highlighted before hitting done and make sure te cover photo is the icon. You can Edit Cover and reselect the icon if needed.
You’re all set! Now this post may seem a little wordy, but really uploading them to Instagram in the correct order is the most difficult part, and I already learned that by trial and error for you. So, read the directions, make those icons and let me know what you come up with.
Here’s Your Instagram Stories Highlight Icons FREE CHECKLIST
Download the PDF CHECKLIST HERE.
![]()
I’d love to see what you made- comment below with your IG handle once you’ve uploaded your Instagram Stories Highlight Icons and I will check them out!