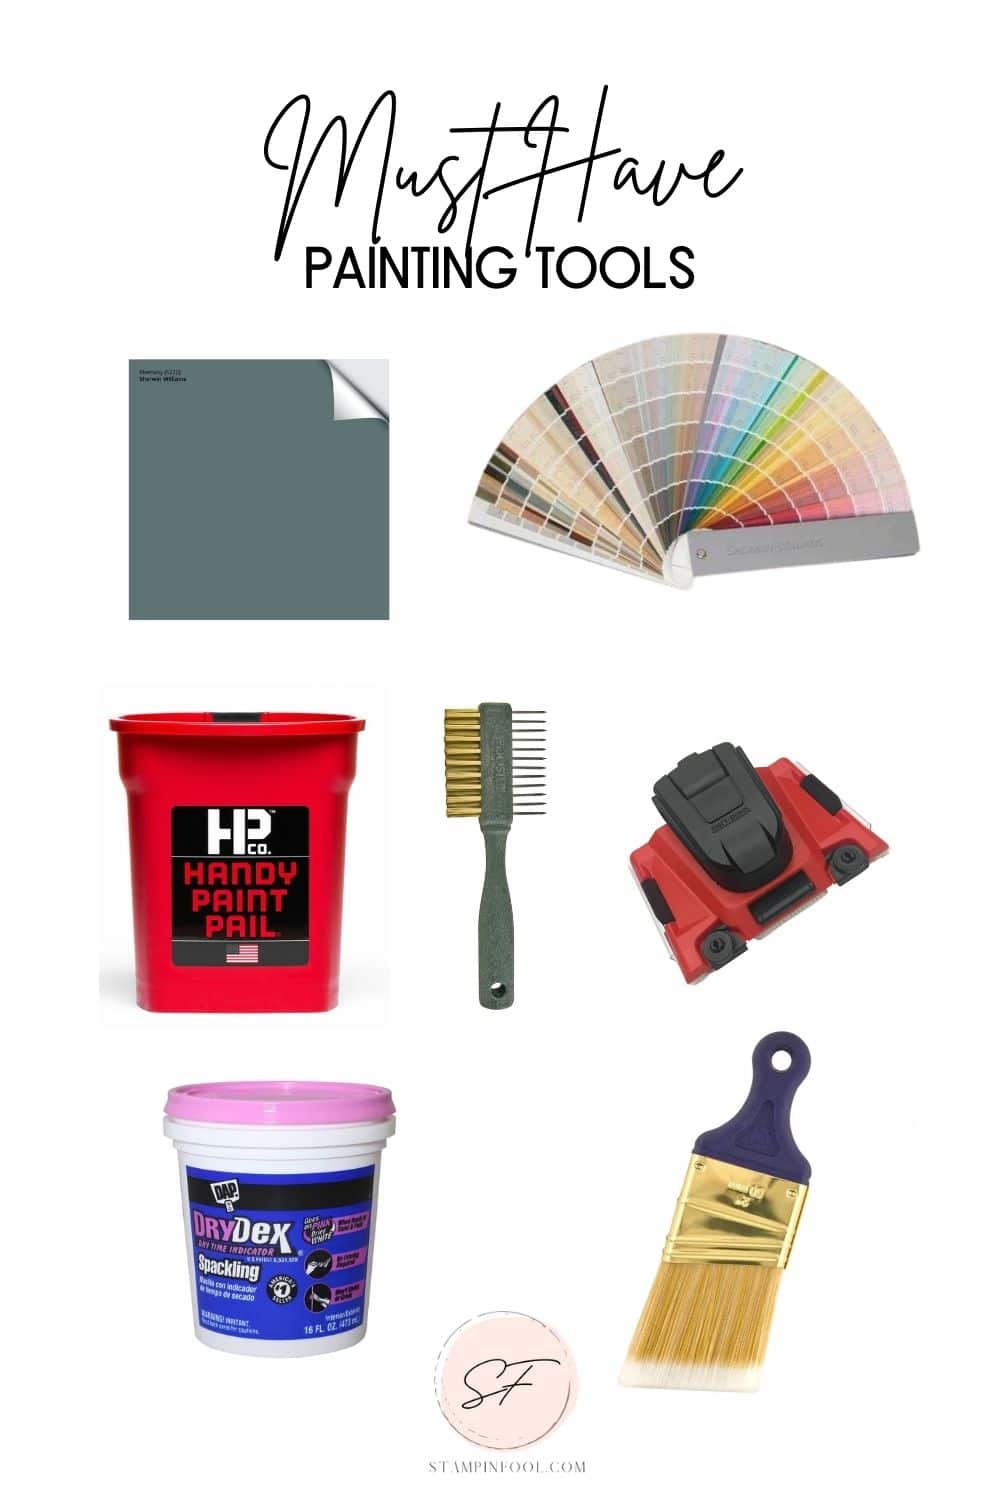
7 MUST HAVE TOOLS TO PAINT YOUR WALLS LIKE A PRO (I use #3 Every Time)
Painting a room can seem like a daunting task to do on your own, but it doesn’t have to be! Here are the life changing tools you need to paint any size room, and I don’t mean a paint roller.
Before we jump into those awesome tools to make your paint job easier, let’s recap the process for painting a room from choosing the color, the steps involved and basic supplies.
DIY Guide to Must Have Painting Tools
HOW TO CHOOSE THE RIGHT PAINT COLOR
If you’re new here, you can read my top post on choosing the right white paint color. It not only addresses white paints, but it goes into detail about undertones so that you can apply what you’ve learned to any other color that has a strong undertone.
There are many different shades and colors to choose from, so take your time and choose something that you’ll be happy with for years to come. Keep reading because I’m going to tell you all about my foolproof tool to choose paint.
STEPS TO PAINT A ROOM
- Choose the paint color
- Purchase supplies
- Prep the room
- Let’s Paint
- Clean up
Prepping the Room
Before you start painting, it’s important to prep the room properly. This includes removing all furniture and hardware from the walls.
Next, fill any holes or cracks in the surface with DAP, wood filler on trim and caulk in places where wood meets the wall. Sand excess and clean again with a clean cloth.
Lastly, clean the surface of the walls with a damp microfiber cloth to remove all dirt and dust. Use a tiny bit of dish soap and hot water on stubborn spots. (Make sure to let the walls dry before painting).
Supplies
Here are the basic supplies you need to paint. We all know these right? This is a refresher, so let’s keep on moving to the good stuff.
- Paint
- Primer
- Paintbrushes
- Roller
- Tray
- Ladder (if necessary)
- Cleaning cloth + sandpaper + filler
This post may contain affiliate links- meaning when you purchase through the link and I receive a small commission. It feeds my Starbucks addiction & for that I thank you! You can see my full disclosure policy here.
LIFE CHANGING, MUST HAVE TOOLS TO MAKE PAINTING EASIER
Now that we’ve covered the basics we can discuss each of my favorite painting tools, how to use them and why.
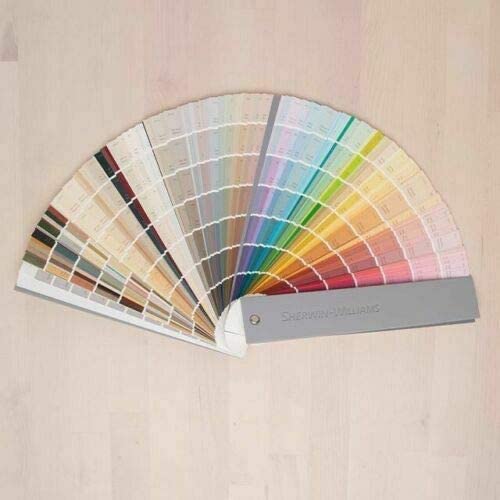
1. Sherwin Williams Paint Deck
First up is a paint deck, also called a fan deck. Personally, I’m a huge Sherwin Williams fan. There are some other brand that I like and occasionally use, but let’s face it, Sherwin Williams is to paint what the MAC is to makeup.
My decorating style can best be described as bold, WOW, and OH MY GOODNESS! So MAC makeup it is & Sherwin Williams fits the bill. (Btw they have neutral colors too).
WHY: You need a paint deck to help choose a color family. If you paint more than one room of your home or like to repaint things, it will be well worth $10 to have on hand.
Buy it at your local SW store- it’s cheaper than Amazon.
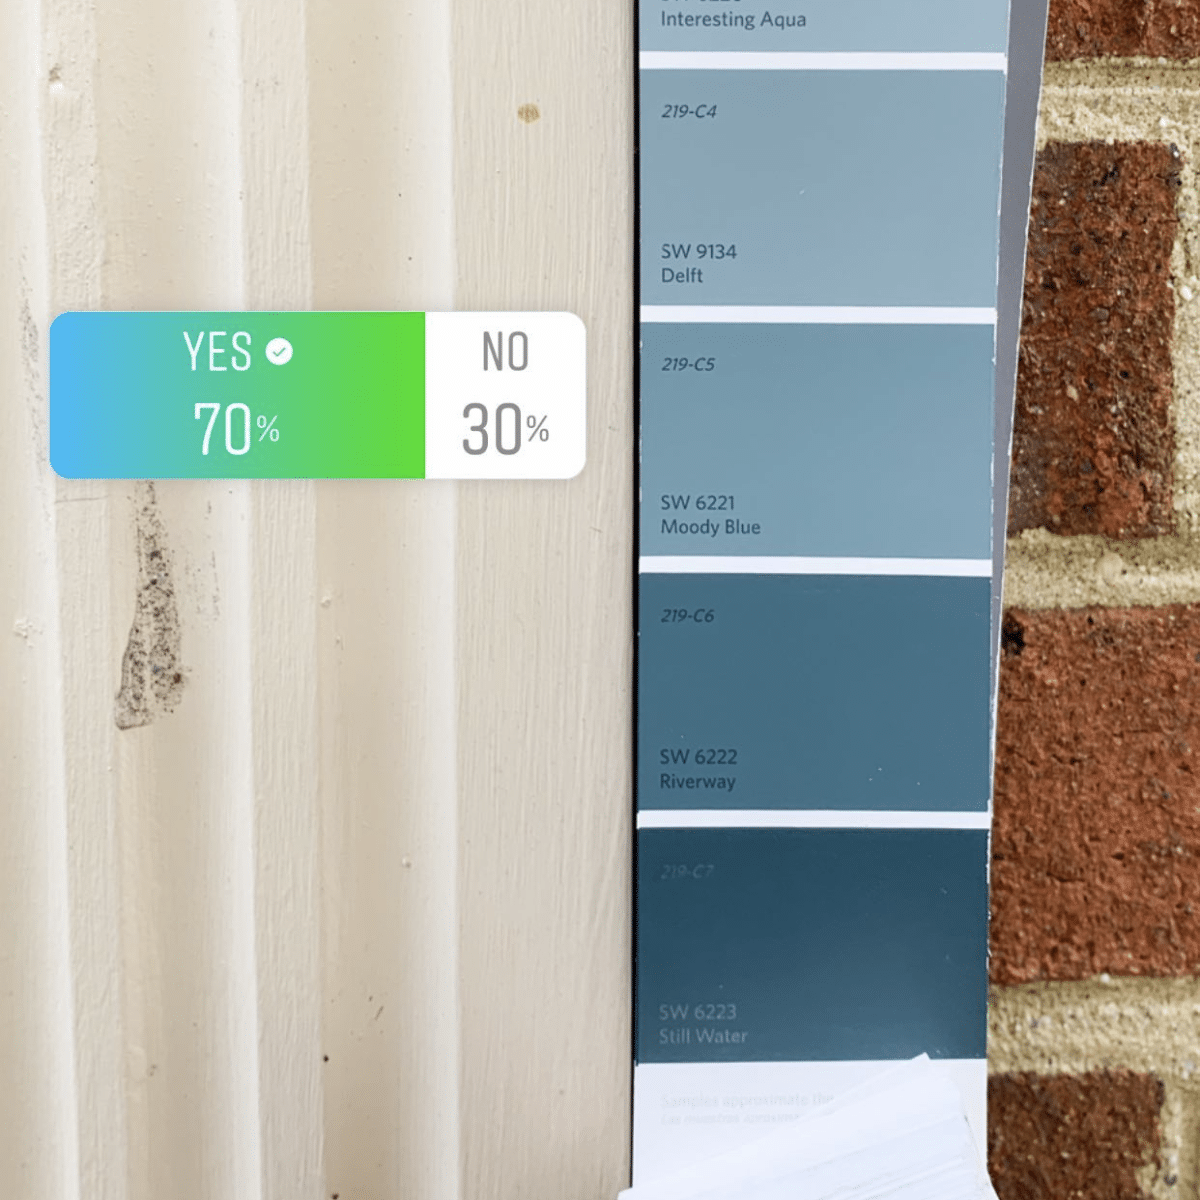

2. Samplize
TEST PAINT COLORS
I ALWAYS recommend testing large swatches of your paint colors before committing to the entire house. It’s an expensive mistake that you don’t want to make, so I recommend using Samplize peel and stick swatches to test out your favorites.
Spending $25 on paint samples is always cheaper that a kitchen full of cabinets you hate and a heartache you can’t afford to fix.
- Delivered overnight so you can make those pressing decisions in a crunch
- Crazy accurate color from my favorite paint vendors like BM, SW & Farrow & Ball
- No painting, no mess, no clean up!
- Peel and stick (and come off clean)
- Or don’t peel off the back and use over and over again!
So, don’t forget to test your paint colors!!
The colors you see in other people’s homes won’t look the same in your home. Often times, photos are edited, lightened or color corrected.
Don’t rely solely on photos to make your decision- trust the process and sample the paint.
*Expert Advice*

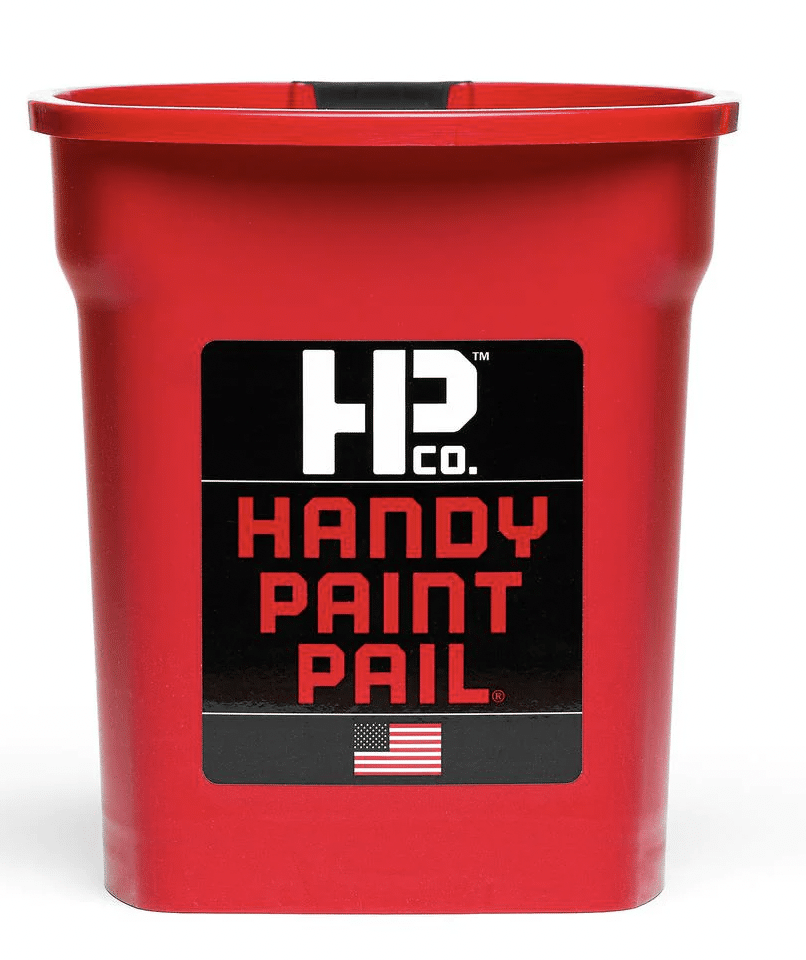

3. Handy Paint Pail
The handy paint pail is a must have for any DIYer who paints a lot. It makes painting the room easy and cleanup even easier.
Place a liner in the pail and pour in paint filling half way (after stirring in the can). The pail has a magnetic brush holder, a convenient handle you can slide your entire hand through so it doesn’t get tired. This is a great technique for cutting in when you need the paint nearby, but can’t hold the can while on a ladder. And the best part is that clean up is as easy as throwing away the liner and rinsing the brush.
For rolling walls, invest in the Handy Pail tray once and you only have to buy liners. Super easy for cleanup, lightweight for transporting and also has the magnetic brush holder.
GET IT:
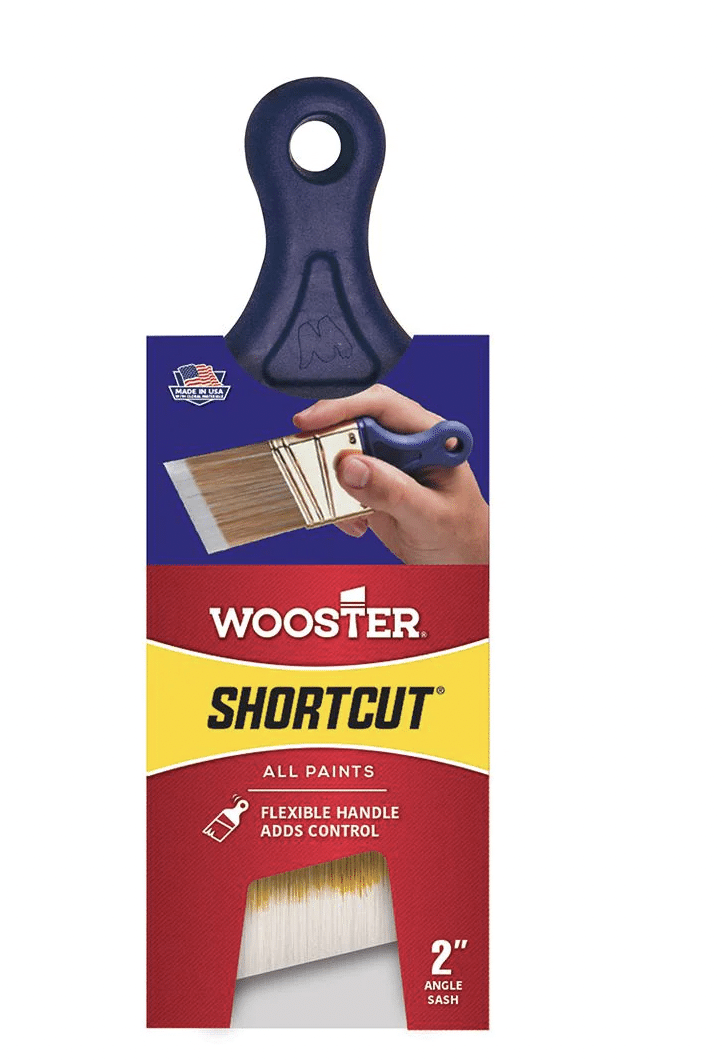

4. Wooster Shortcut brush
The Wooster Shortcut is my favorite brush for DIY painting. It fits into tight spaces and is flexible and easy to hold.
It’s sold at Home Depot (not Lowes) or can be purchased online. I buy a few, clean them out and use them over and over again. They are a great addition to your painting project.
BUY NOW: Wooster Shortcut
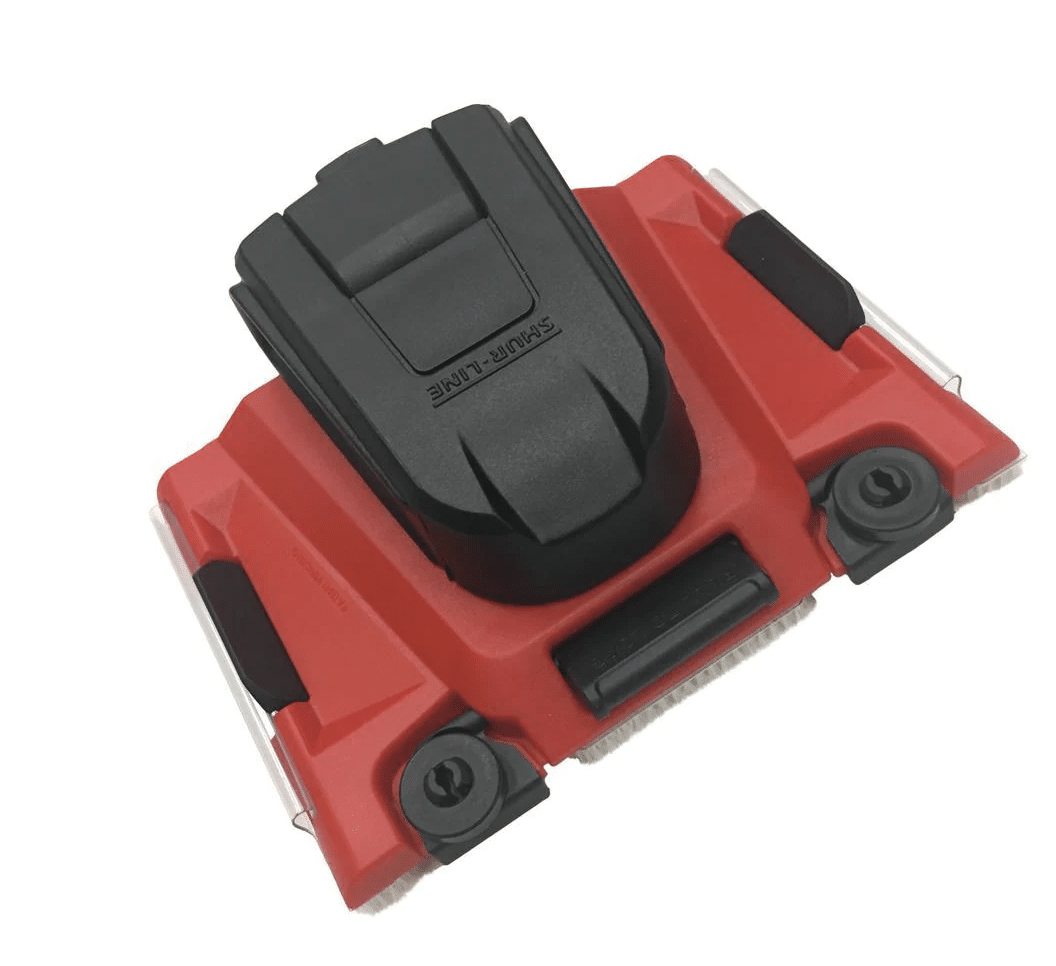
5. Edger
The Edger made the list of can’t live without DIY painting products and tools for me. While I cut in by hand most of the time, sometimes for the line right above baseboards its super quick to just use an edger.
Make sure to load it with enough paint to ensure you only need a coat or two around the egdes.
I should note it also works on the ceiling line if you don’t press too hard and smoosh the paint out of line. Happy painting!
GET IT: Edger Pro Tool
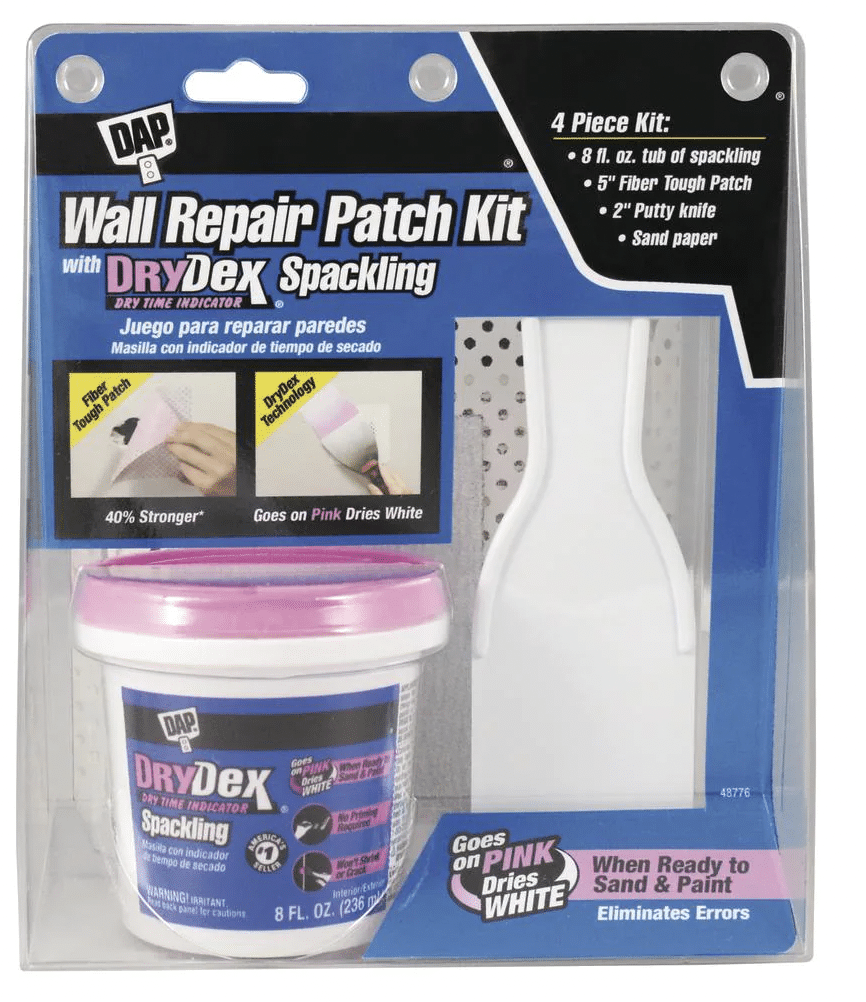
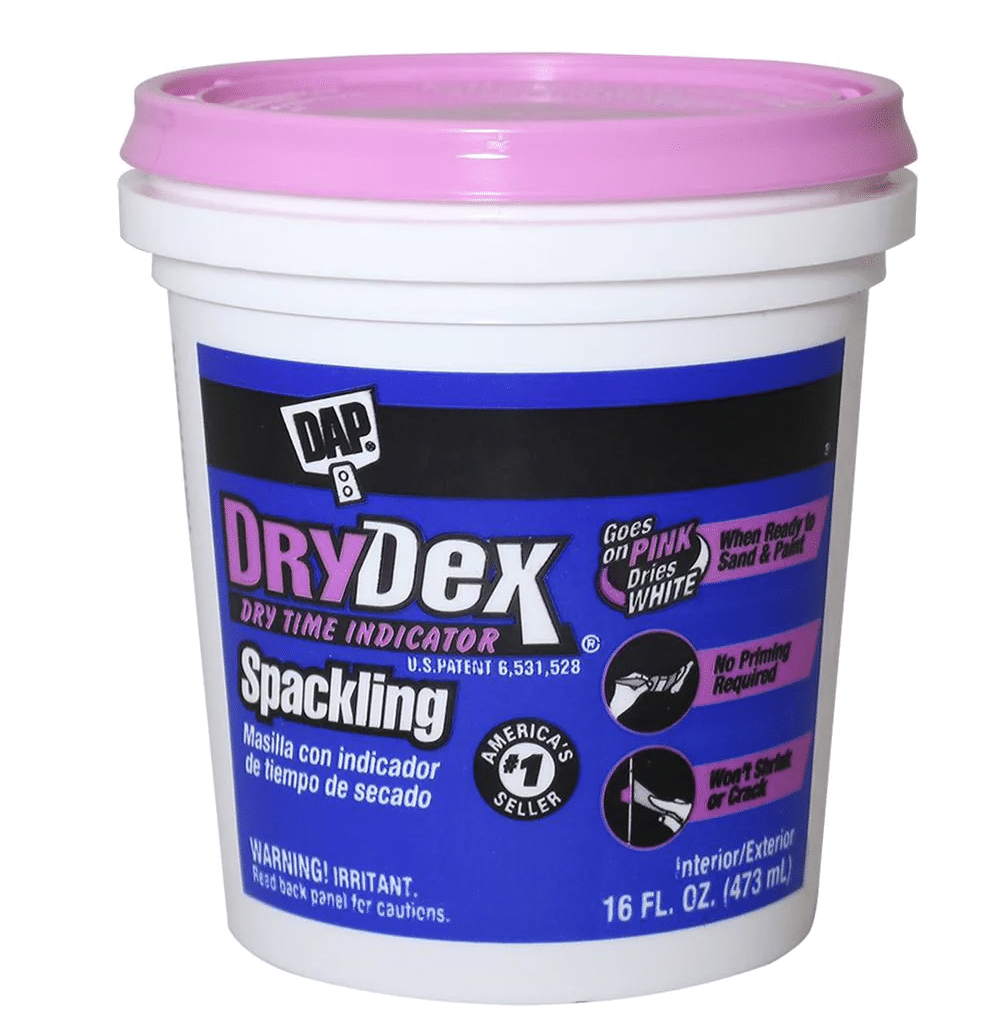
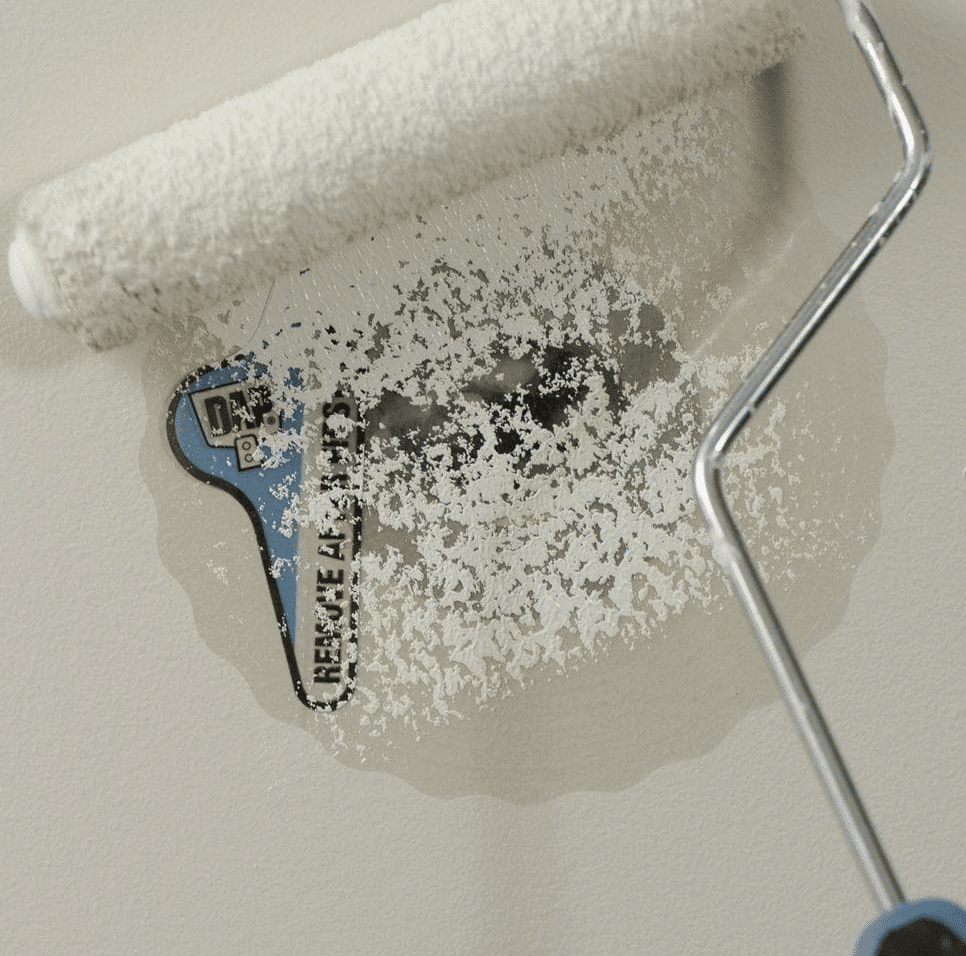
6. DAP for Repairs
DAPPPPP. I keep a small tub of DAP dry dex for filling tiny nail holes. It’s great because it is purple/pink going on and dries white so you know it’s time to sand or paint.
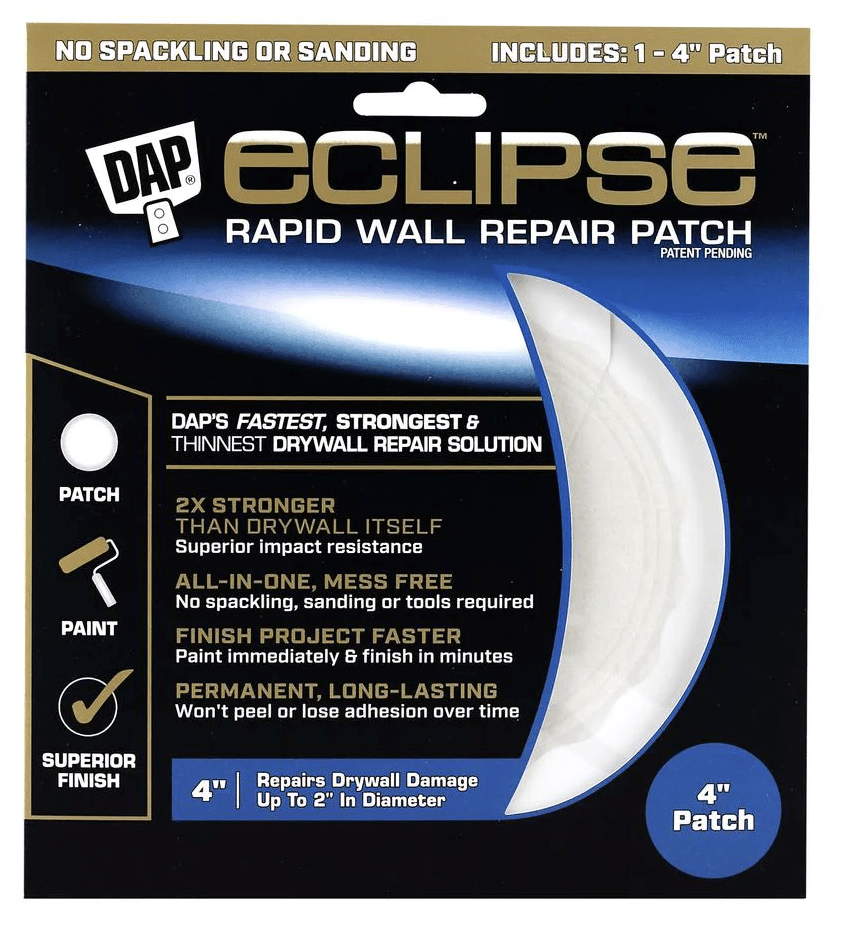
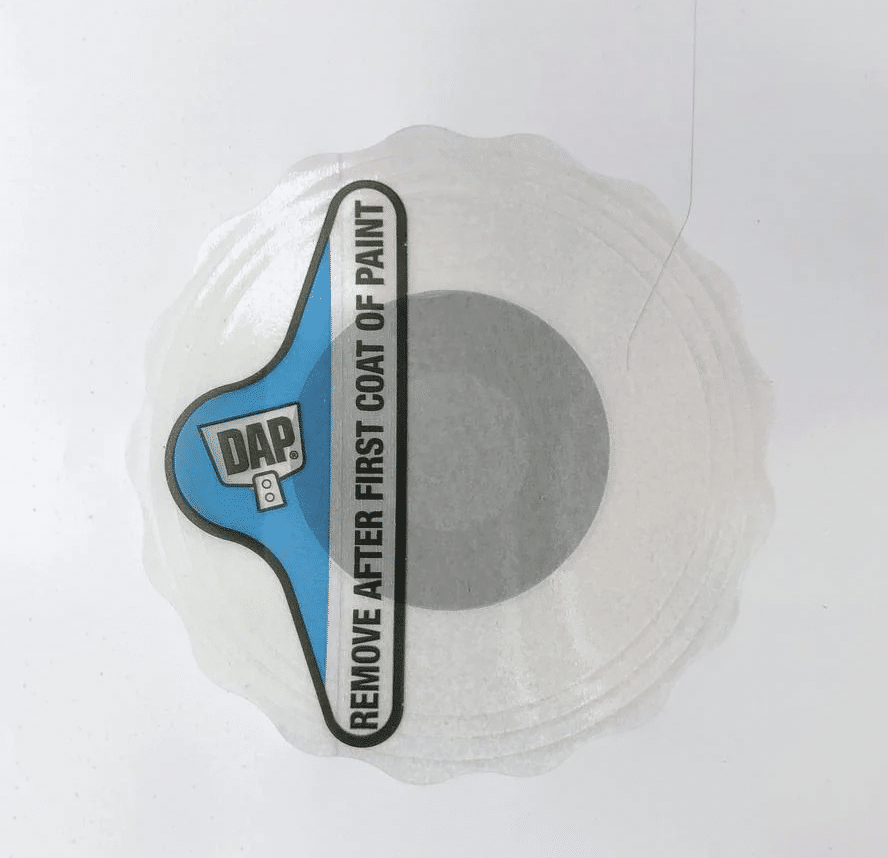
I also too the leap and splurged on the DAP Eclipse rapid repair and let me tell you- it is worth every penny. To not have to mud, spackle, drywall, and repair.
It saves so much time for smaller damaged areas where the drywall has completely broken. Think an anchor comes out of the wall and leaves a 1/2″ hole or the doorknob slams backwards and puts a hole in the wall (my kids are FEREL), this is the perfect application.
To use it, you cover the hole with the patch, paint a layer of paint on the wall & patch, remove the top film from the patch and paint your final coat and BAM it’s totally fixed.
BUY NOW:

7. BRUSH CLEANER
Again, if you are painting a lot, you want a brush cleaner. You will get more use out of your brushes, they will last longer, not be a stiff and not leave chunky residue in you next project.
So if you are painting more than one room, get yourself a brush cleaning tool and keep those brushes clean with warm water and a drop of dish soap.
GET IT: Brush Cleaning tool
8. BONUS: ZIPLOCK BAG
Lastly, my pro painting tip is to store the brush in a Ziplock bag in the refrigerator in between coats or even for a few days while working on a project.
WHY store it in a ziplock instead of cleaning? 1) I’m a lazy painter and 2) if you are using the same color, you can pick it back up to paint rather than cleaning it out and then it is waterlogged when you go to do the next coat. If the brush isn’t dry from cleaning yet, your paint will be diluted and may show streaks.
So save it in the fridge for a few hours/days & have a streak free paint job.
MUST HAVE DIY PAINTING TOOLS
I hope you will try out these tools to make your DIY paint jobs easier in your own home. Here’s a recap of my favorite tools to help you paint like a professional DIYer.
- Paint Deck/Fan
- Samplize
- Handy Paint Pail
- Wooster Shortcut
- Edger
- DAP for repairs
- Brush cleaner
- Ziplock bags
Happy painting!
QUICK LINKS TO BUY PAINT TOOLS