HOW TO PAINT A FRONT DOOR Like A pro(SHERWIN WILLIAMs RIVERWAY)
Are you looking for a way to make your front door stand out from the rest? With our step-by-step guide, even beginners can create beautiful doors that look like they were painted by professionals!
You’ve come to the right place! We have all the tips and tricks you need to paint your front door so it looks perfect every time. Whether you want a bold color or something more subtle, we can help.
This post will show you how to get professional results with just some simple steps. You don’t have to be an expert painter in order to achieve great results.
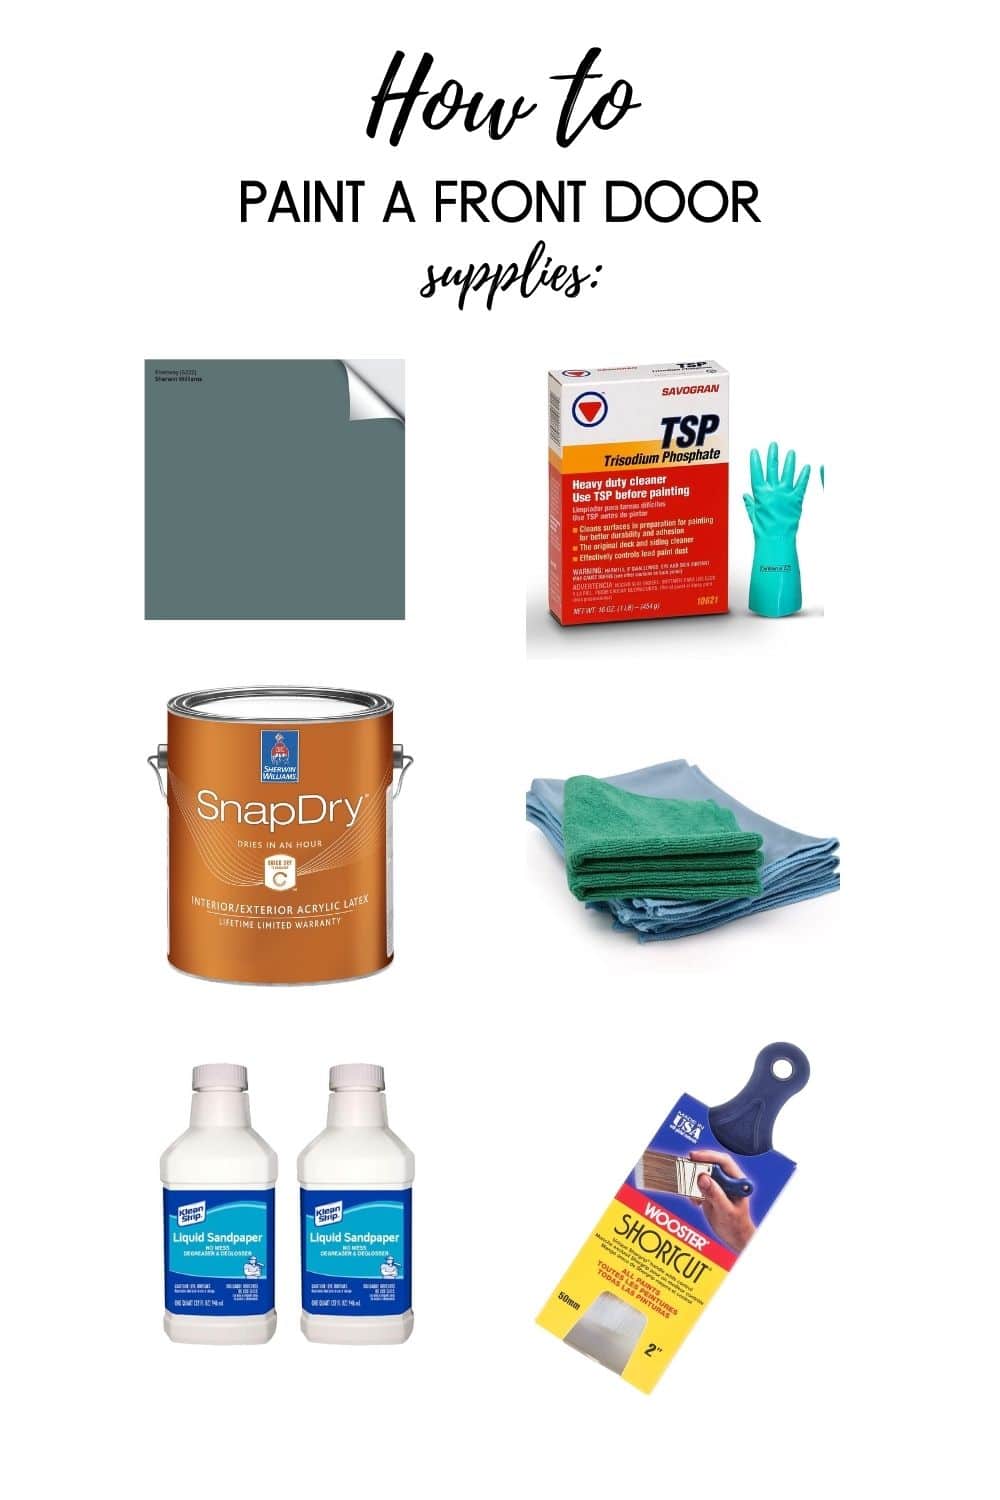
Supplies
- Sherwin Williams Snap Dry Exterior / Interior Latex Paint, 1 quart
- Wooden stir stick
- 3″ Paint Brush or Wooster Shortcut
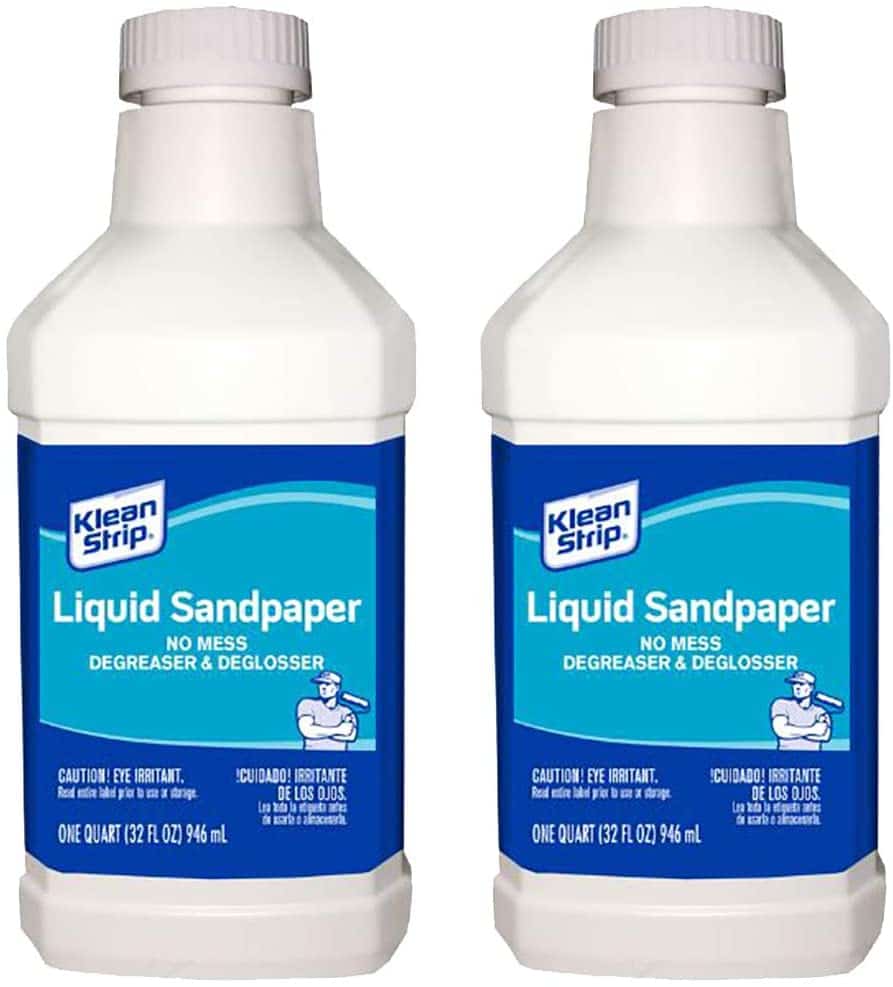
- Liquid Sandpaper
- TSP (trisodium phosphate)
- Microfiber rags
- Flathead screwdriver
- Dish towel
- Sandwich ziplock bag
Directions
- Clean the door with TSP. Wear gloves to protect your hands!
- Prep the door with liquid sandpaper.
- Stir the paint.
- Paint the inside molding/panel trim first.
- Next paint the raised panels.
- Paint around hardware.
- Paint the vertical planes.
- Lastly paint the horizontal planes.
- Let dry 1- 2 hours. Recoat in the same order.
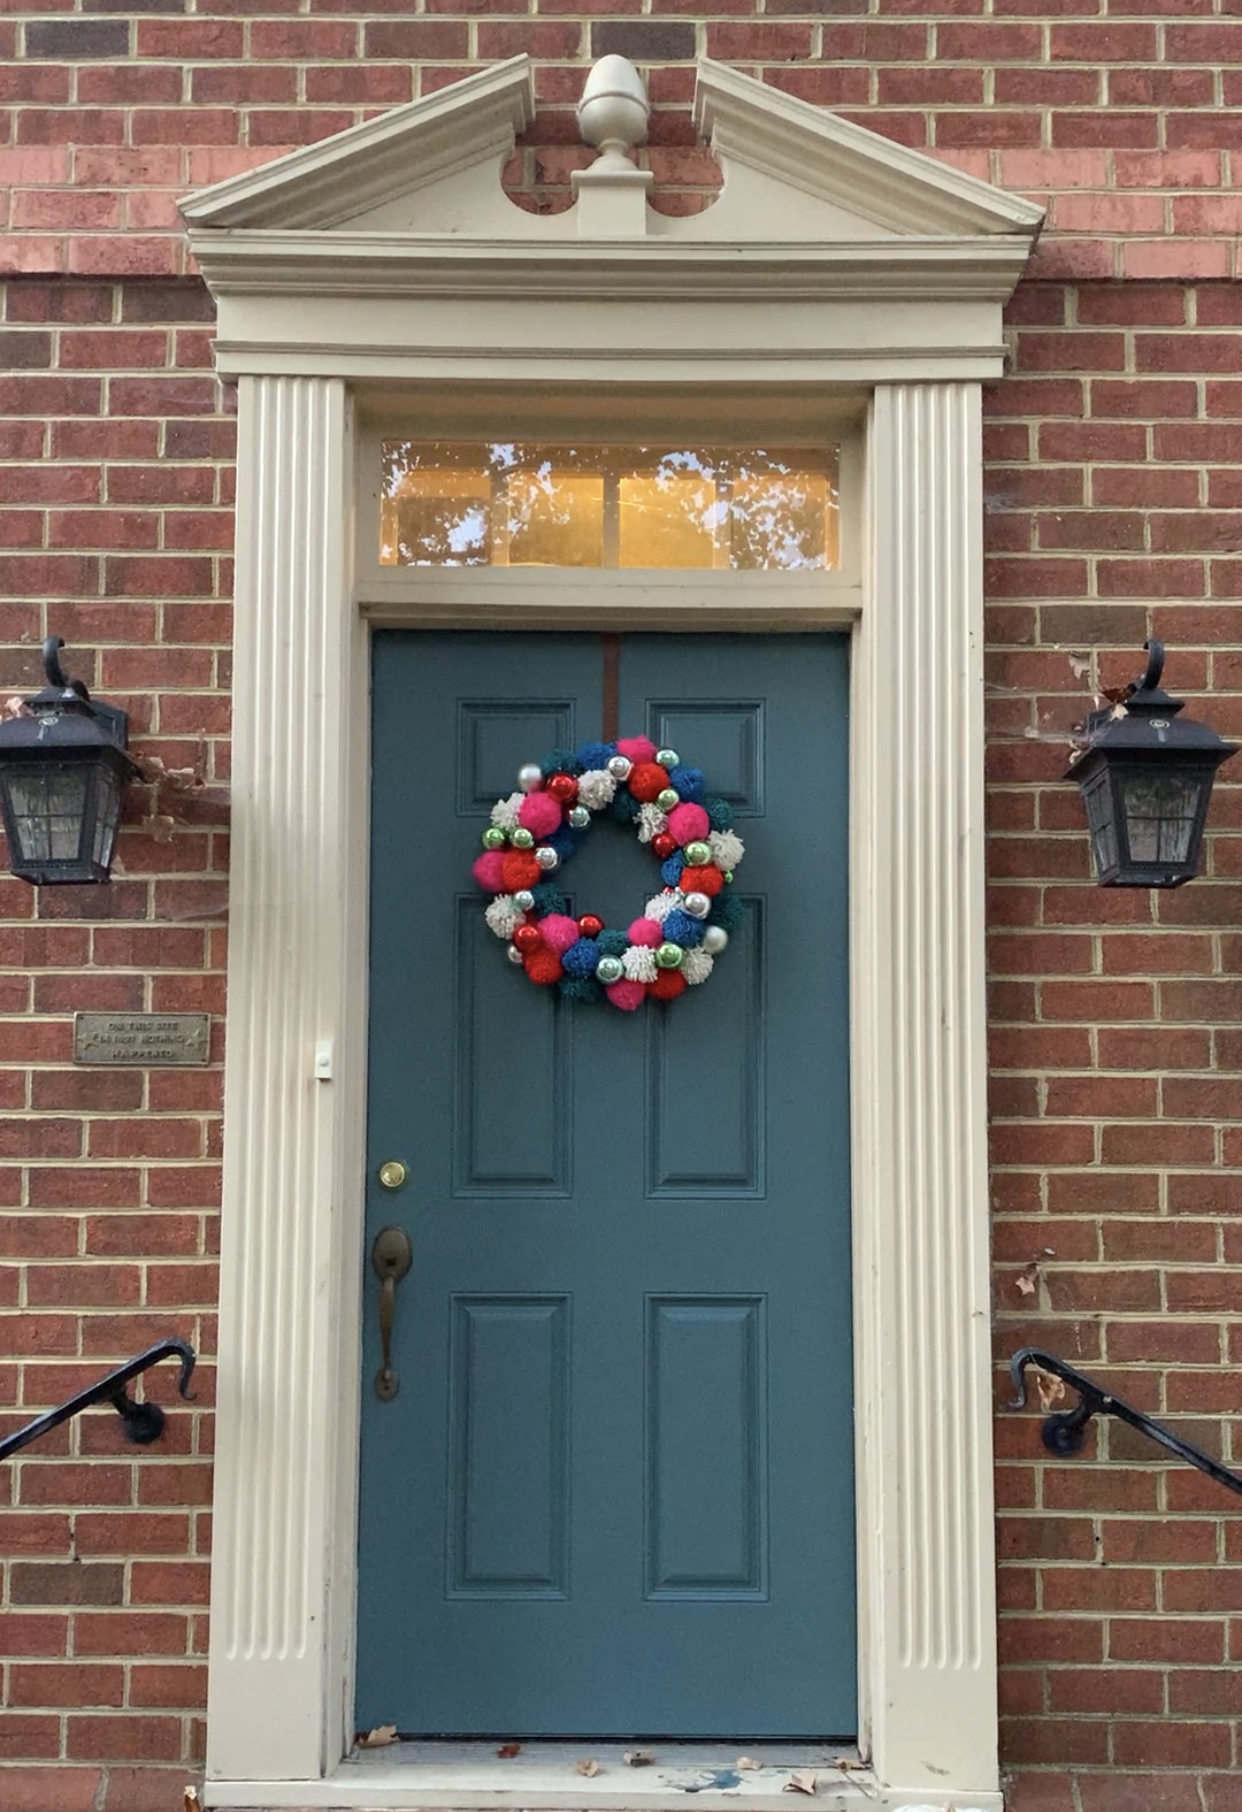
- Hang a wreath & admire.
Front Door Prep
Before you slap paint on that front door for a gorgeous transformation, you’ll need to properly clean and prepare the door for painting. This is especially true if you used an oil or lacquer finish previously.
If you aren’t sure if oil based paint was used, the liquid sandpaper step should alleviate any issues with bonding.
Clean with TSP
Trisodium Phosphate can be purchased on Amazon or at a hardware store like Lowes or Home Depot. Use the directions on the box to mix hot water and TSP in a plastic bucket (I use a mop bucket).
Put on gloves and goggles and wipe down the door with a mircrofiber rag dipped into the TSP water mixture. Clean the crevices of the molding well, but you don’t have to scrub if the door is relatively clean.
Clean up the TSP and rinse the bucket with hot water before moving on to the next step.
Prep with Liquid Sandpaper
Next, open the Liquid Sandpaper (deglosser) bottle. Take a microfiber rag and cover the top of the liquid sandpaper bottle. Turn the bottle upside down while holding the rag over the opening to saturate the rag (like you would with nail polish remover).
Wipe the entire door with the rag. You don’t need to scrub hard, just wipe it down fully like you are dusting.
Now that the door is prepped, you can move on to getting ready to paint!
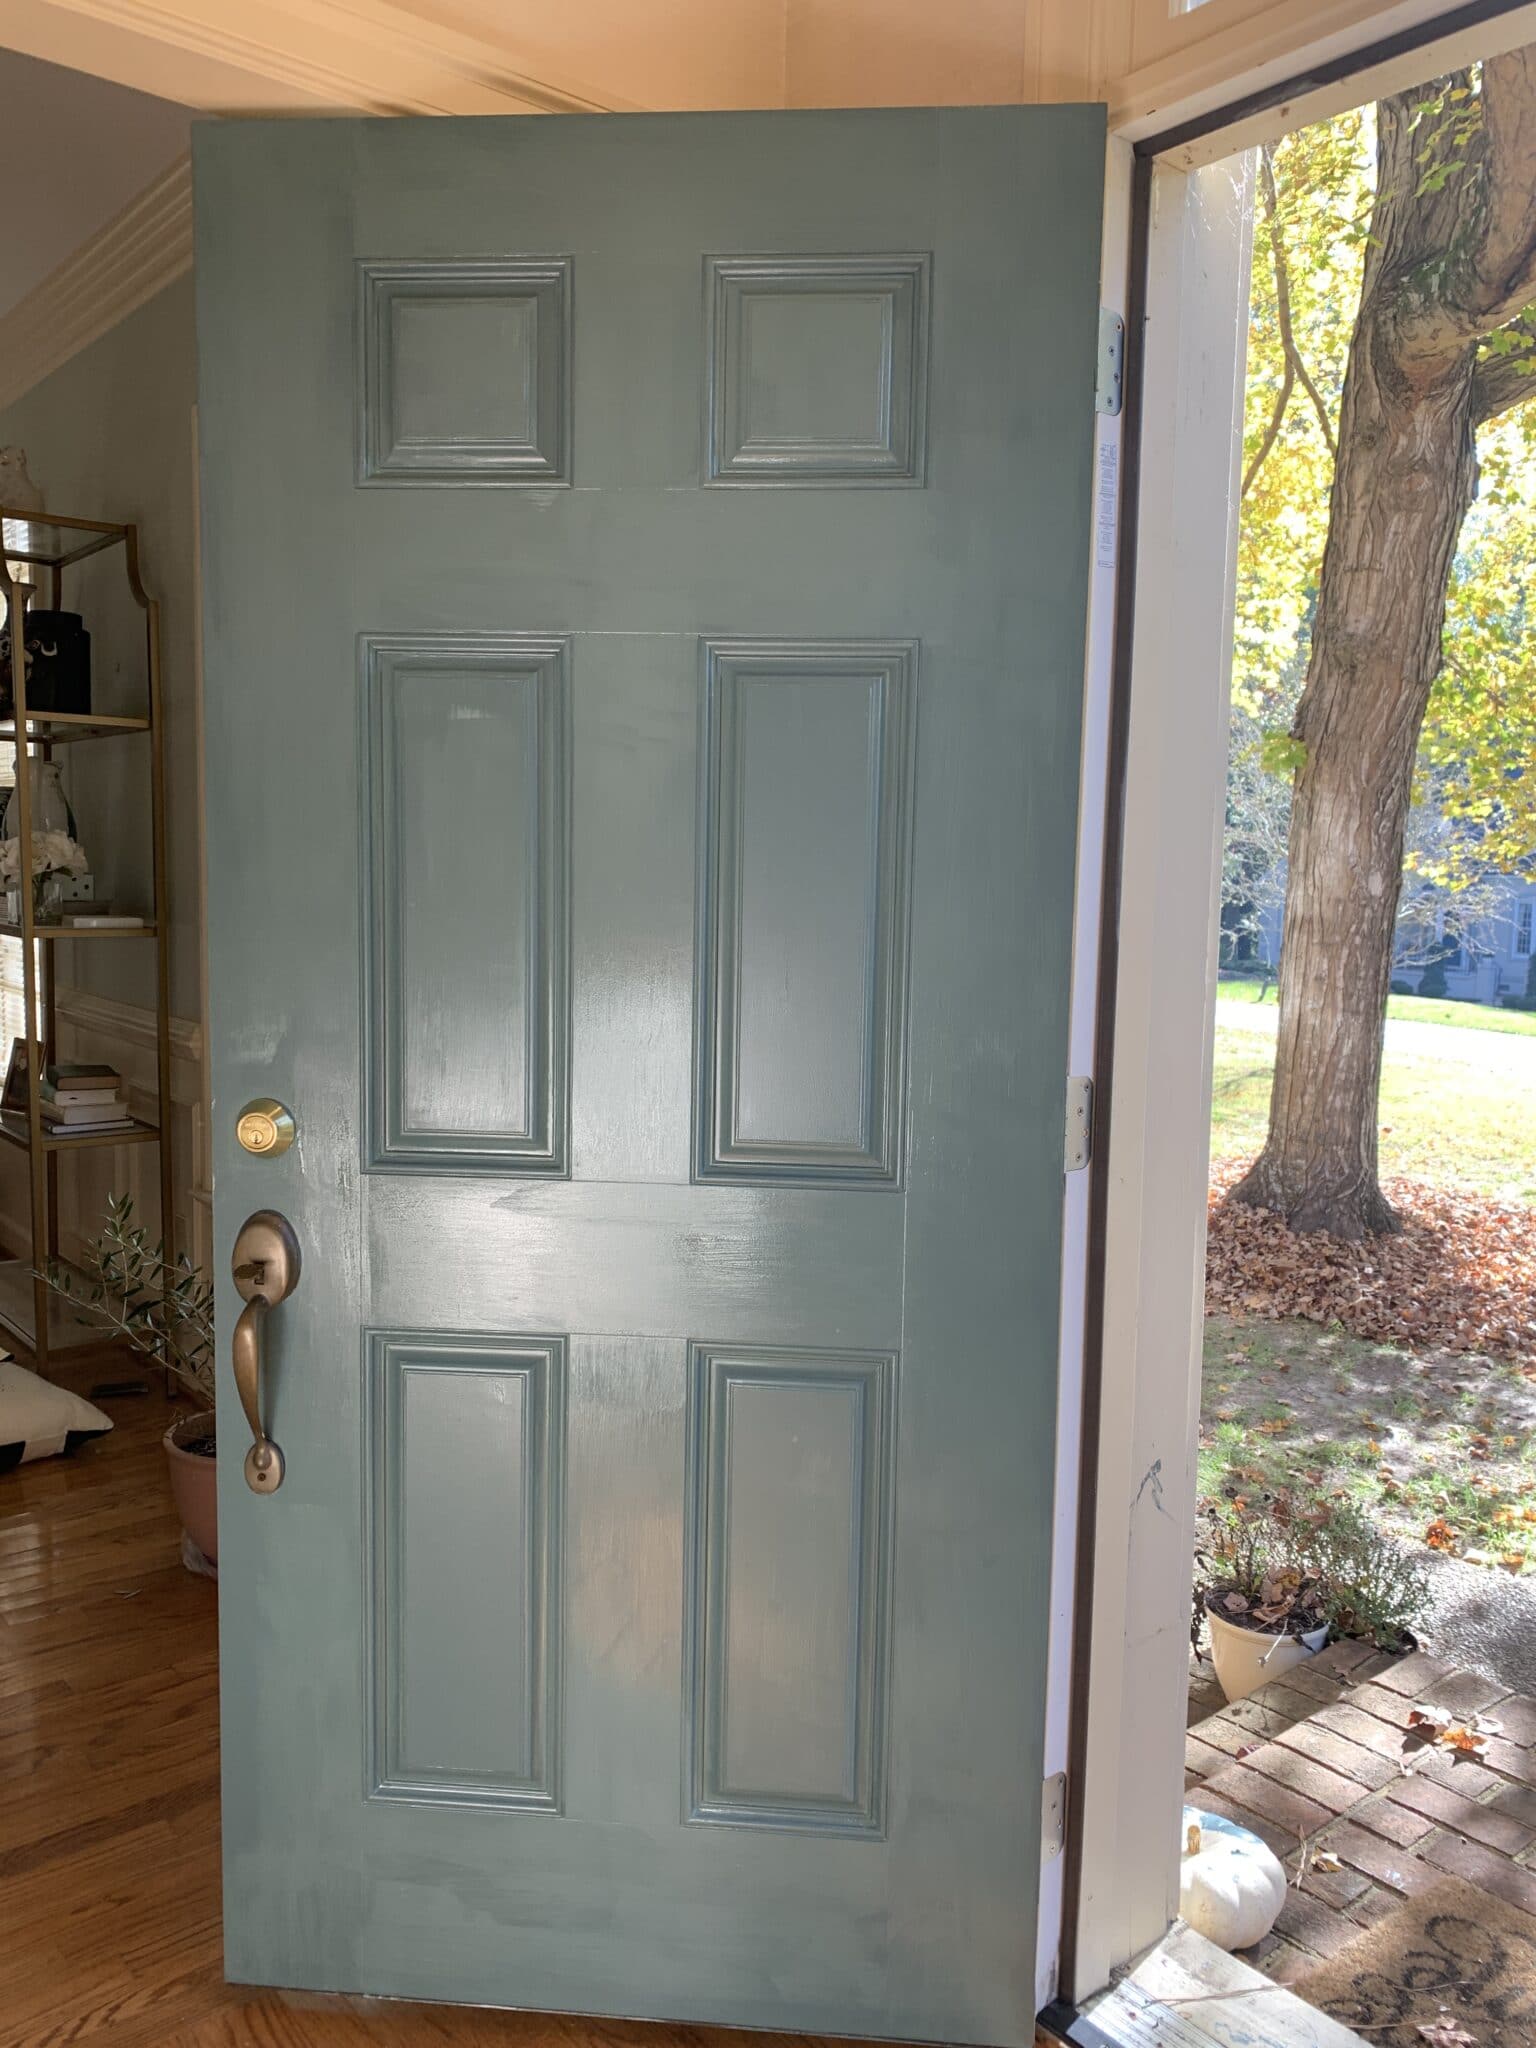
Front Door Painting
Pop it Open
I am admittedly a lazy painter in my own home, so I do the easiest and quickest thing to get the job done. (Luckily I don’t paint houses for a living).
Swing open that front door and throw a dish towel down under the door as a dropcloth. Pull out the quart of paint and use the flathead screwdriver to open the can.
Alternatively, you can use a paint key, but I use the screwdriver because I can close the can back with it without needing another tool (ie. hammer).
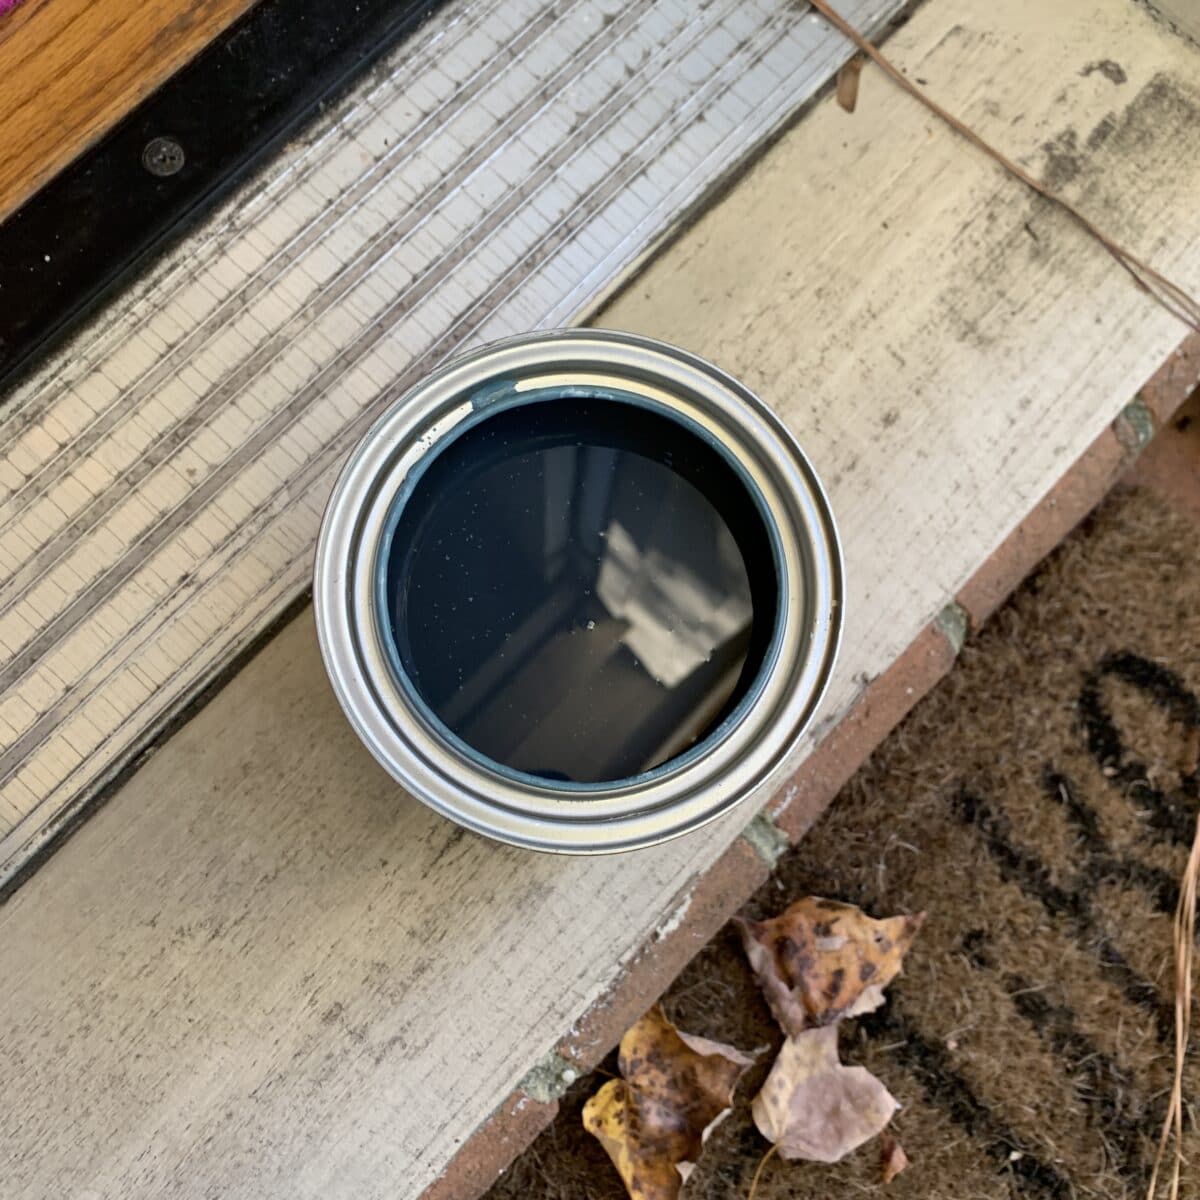
Stir, Stir, Stir it up
The ingredients tend to separate the longer you let the paint sit, so you will need to stir the paint can for enough time to fully incorporate the paint.
Take the wooden paint stirring stick from Sherwin Williams and slowly begin stirring the paint. I typically set a timer on my phone for 2 minutes. Continue stirring the paint for 2 – 5 minutes.
Stir it like you would cake batter, in a circular motion, then scooping up the bottom and sides to the top.
Using the paint brush, wipe the paint from the stir stick back into the can.
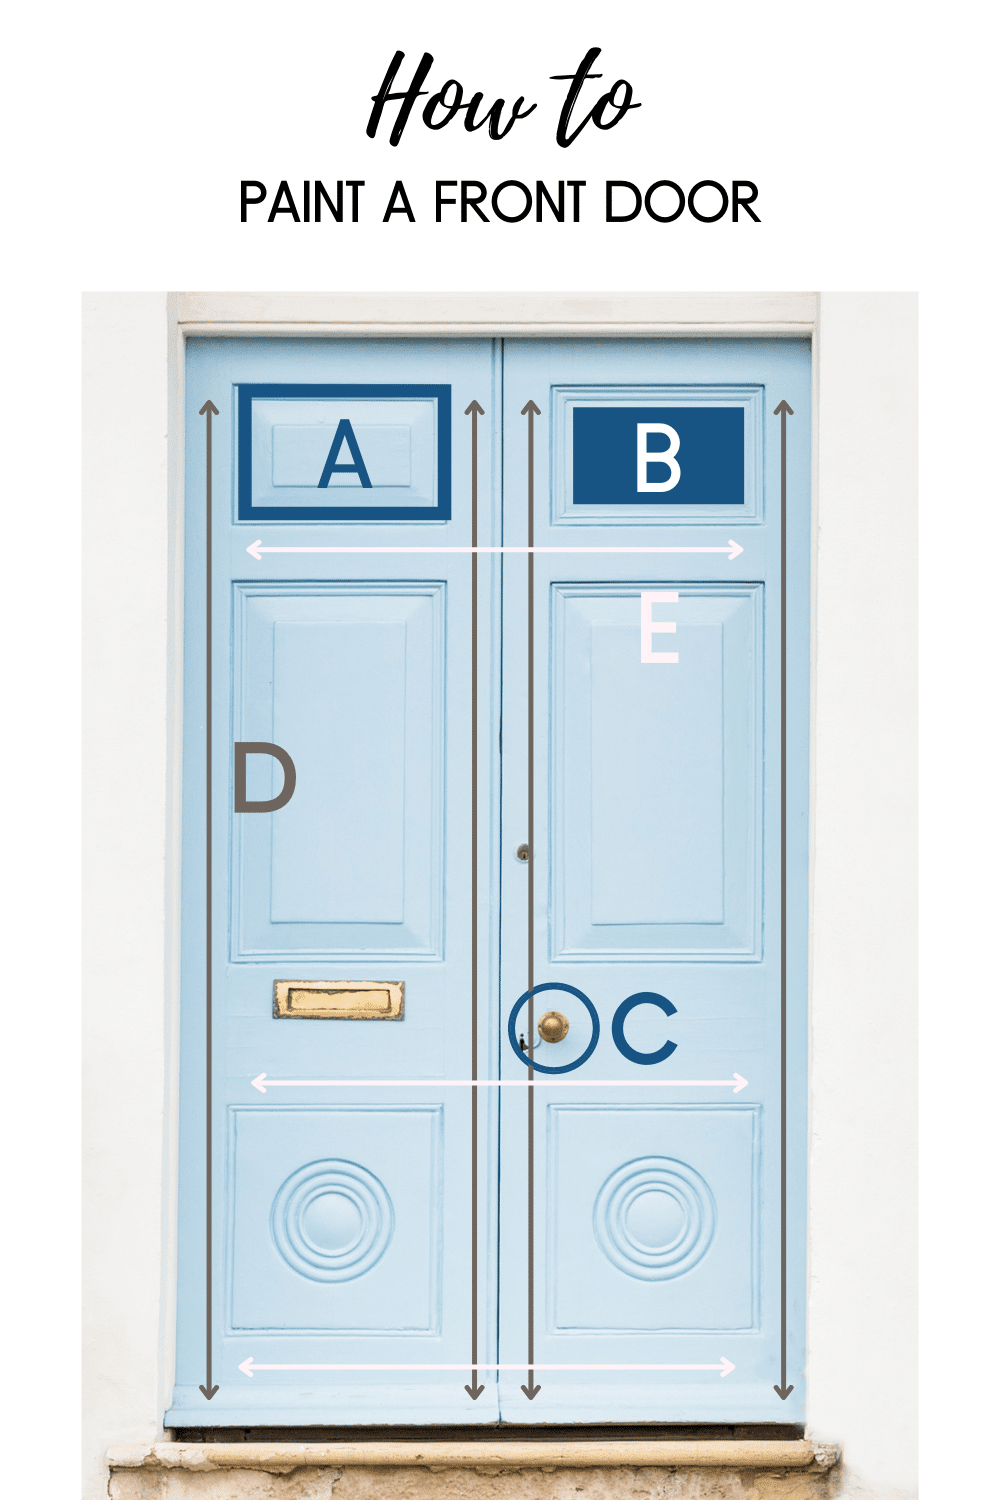
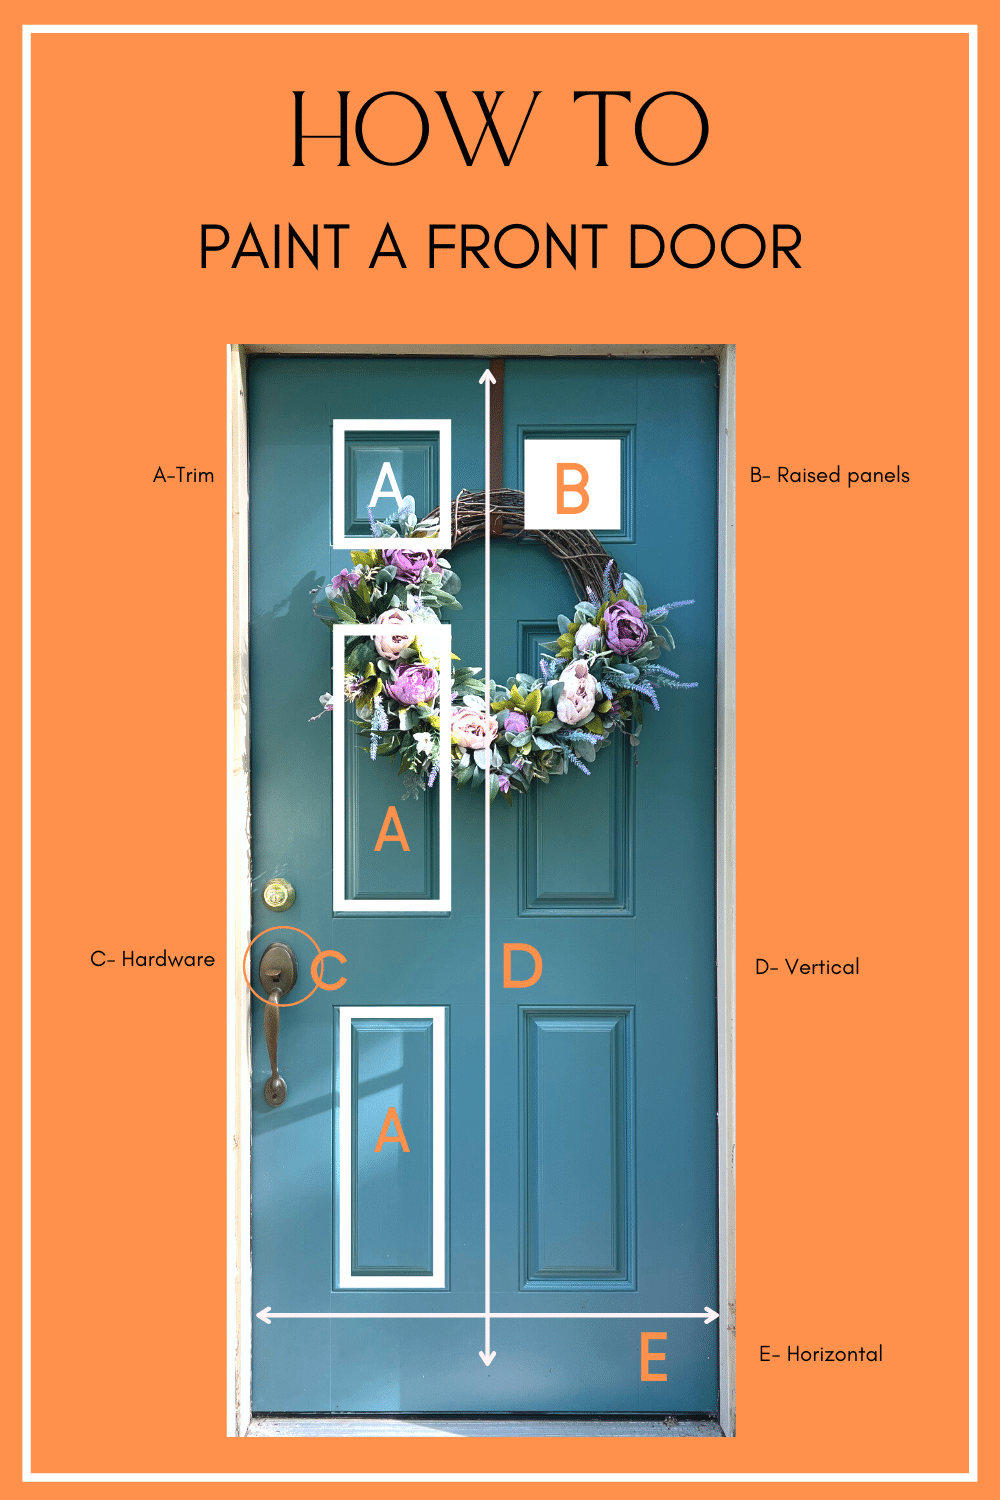
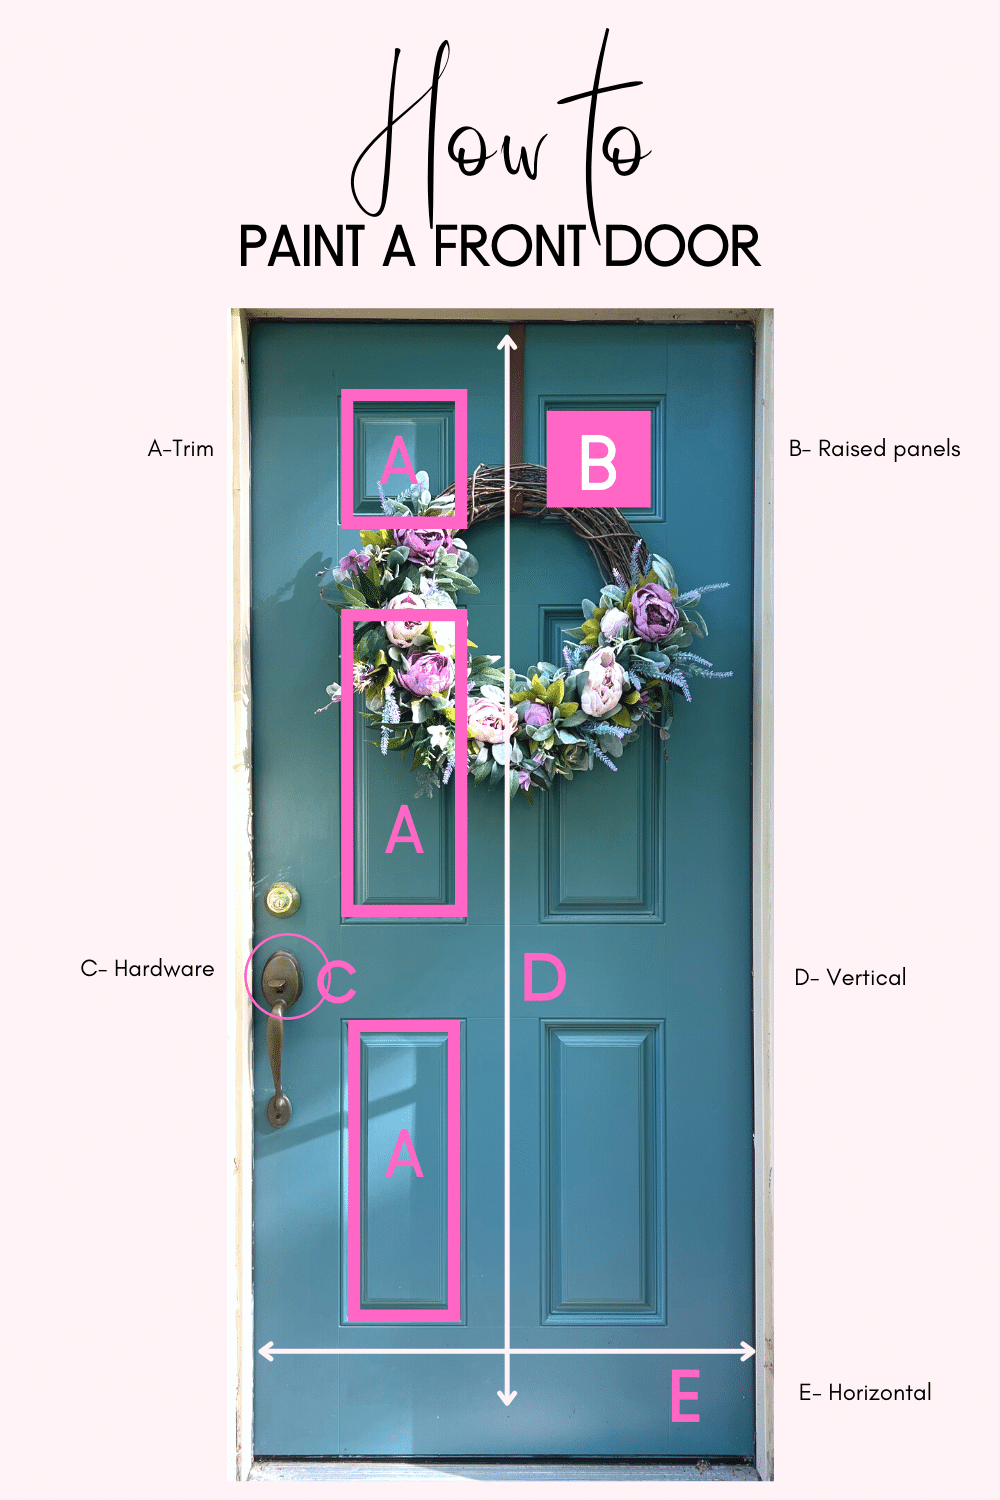
Paint the Front Door In This Order
Paint the Detail First- this means painting the boxes first. Load the brush with paint and wipe off drippy excess. Start with the top panel and paint the detailed crevices (A) on all sides. Repeat with the other boxes.
Then move on the paint the raised panel (B) inside the molding box. Use long vertical strokes so eliminate brush lines.
After you have painted the boxes, cut in slowly around hardware (C). Push the paint close to the hardware, but not overlapping, much like when you paint your nails around the cuticle.
Next, paint the vertical planes (D) of the door using long strokes from top to bottom.
Lastly, paint the horizontal planes of the door (E) in the same method.
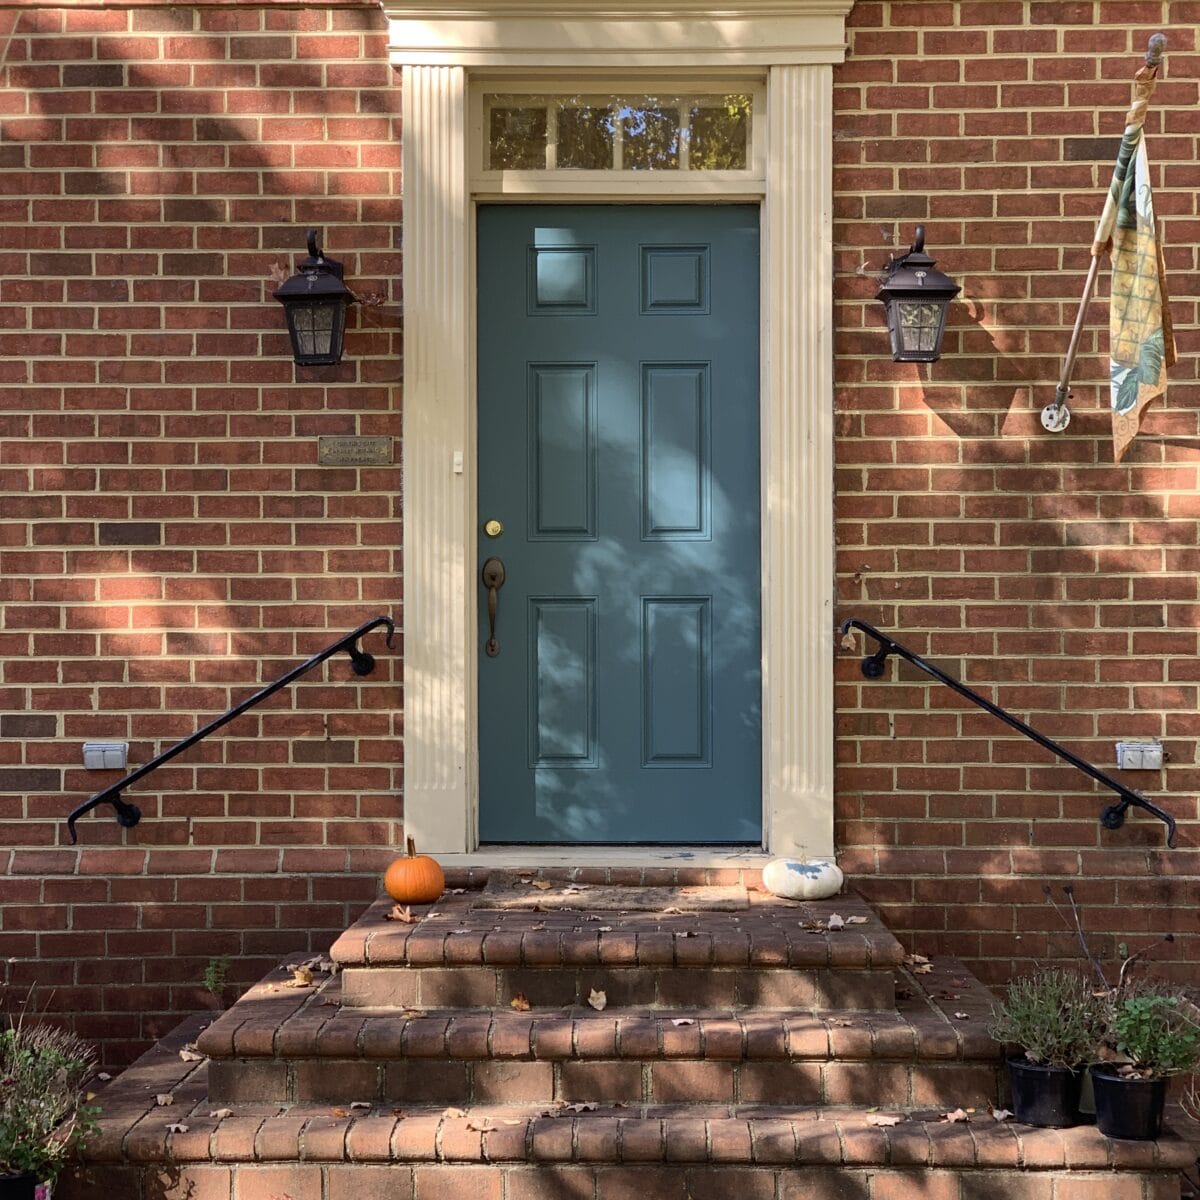
Let the Paint Dry & Recoat
The Sherwin Williams Snap Dry paint will take about an hour to dry. Then you can recoat the entire door in the same order as above.
Depending on the color and the existing color of the door, you should need 2- 3 coats of paint.
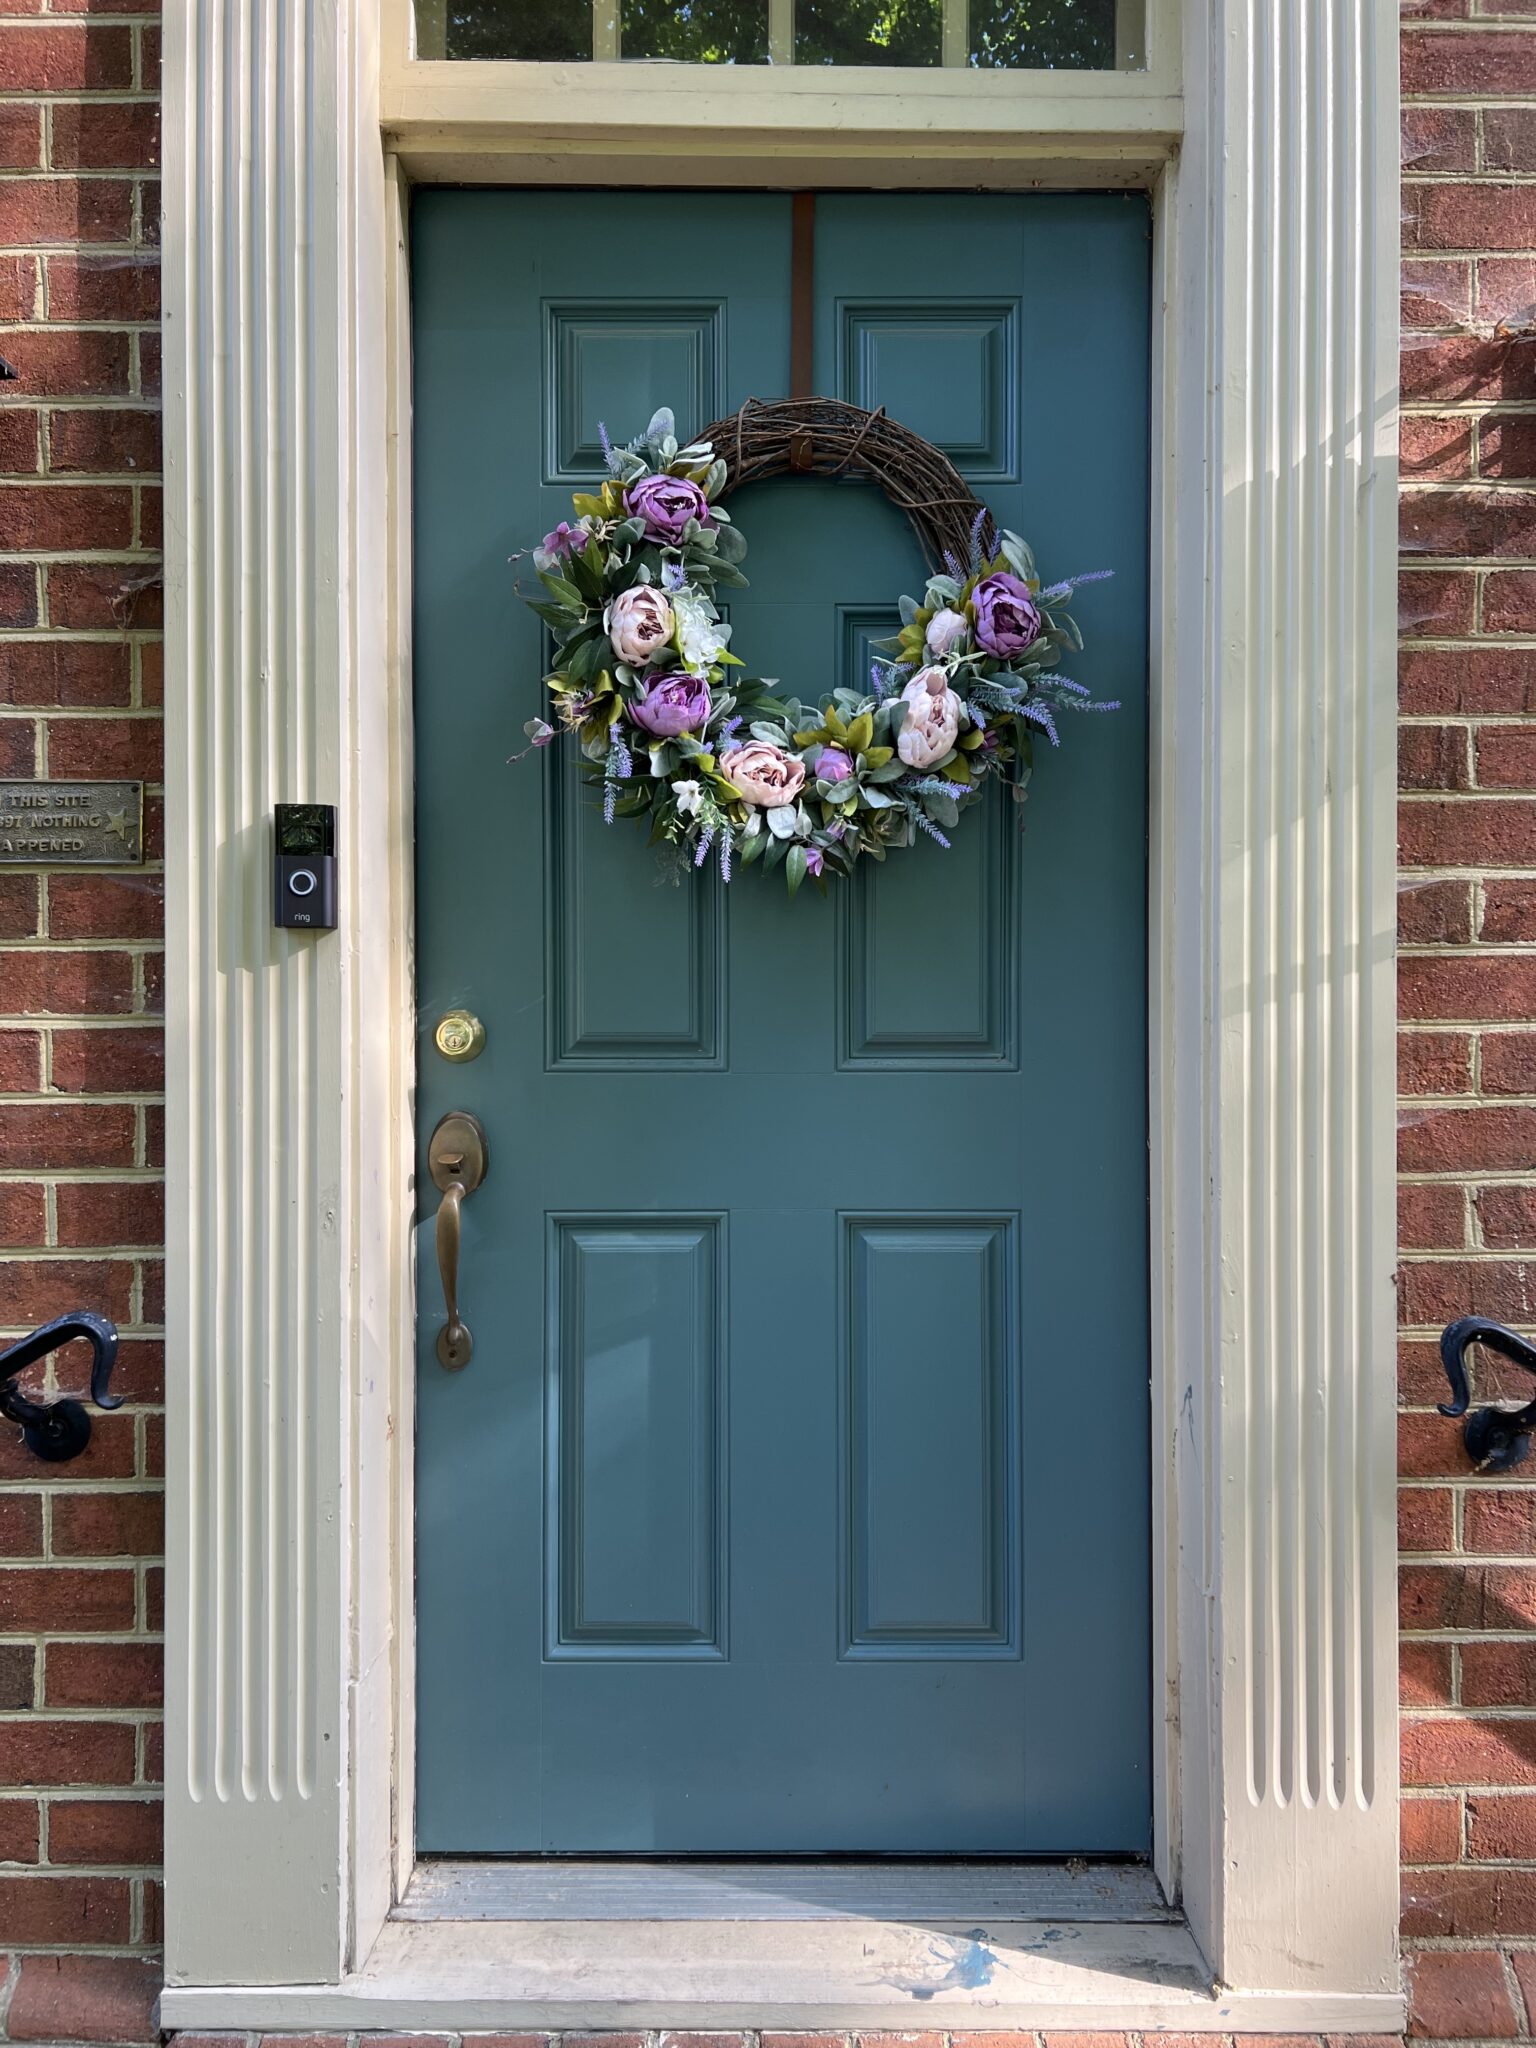
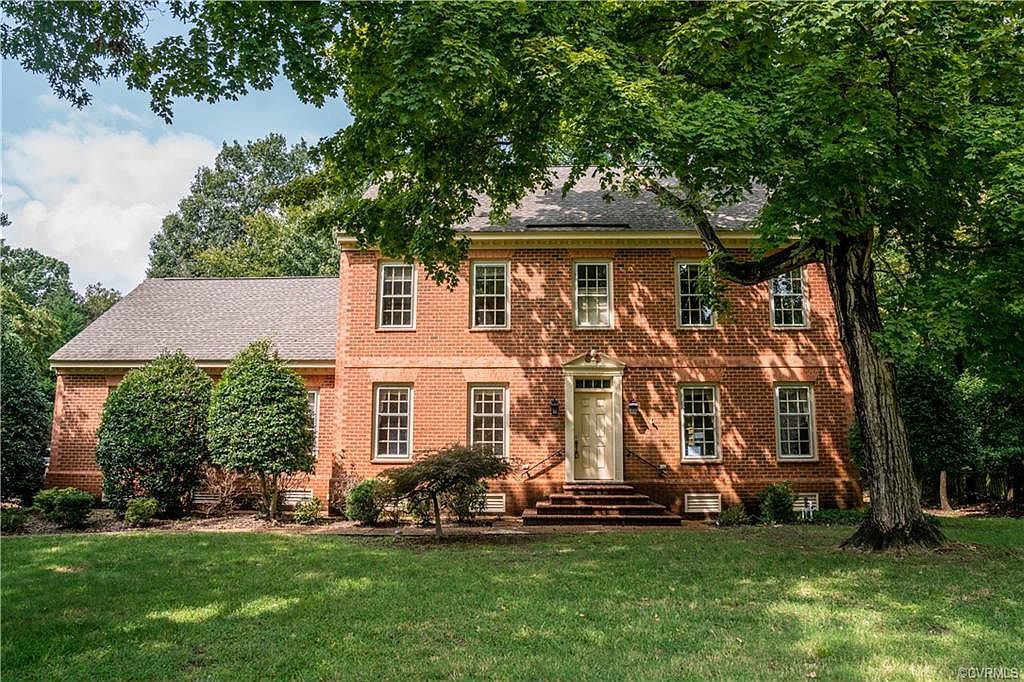
Here is my front door after painting over the beige with Sherwin Williams Riverway paint. I’m thrilled with the outcome and it looks gorgeous up close and from the street.


FAQ’s About Painting A Front Door
Before wrapping up this post, let me answer the most common questions I get about painting a front door.
Yes, you can use interior paint on an exterior door, but it may not last as long as exterior paint. You will also need to sand, prep and prime the door first.
For a DIY paint job, you do not need to remove your front door before painting. If you want a perfect, professional paint job, you should remove, spray and sand in between coats.
You should brush the detailed areas of your door then roll the straight vertical and horizontal sections.
Sherwin Williams Snap Dry Exterior Latex paint works quickly and has great coverage for your front door.
If your door has an oil based paint already on it, you should prime the door. Also, if you are changing colors, priming the door with BIN primer will give the best results.
Most painters will say semi-gloss, but it is not a rule. I love a high gloss front door like Fine Paints of Europe Eco which can be brushed on.
Yes, a quart of paint is plenty to cover a front door.
Sanding in between coats will help eliminate brush strokes. Prep the door and prime one coat. Sand the primer and clean well. Then paint a coat, let it dry, sand lightly and clean with a vacuum, microfiber cloth, and paint another coat.

samplize
TEST PAINT COLORS
I ALWAYS recommend testing large swatches of your paint colors before committing to the entire house. It’s an expensive mistake that you don’t want to make, so I recommend using Samplize peel and stick swatches to test out your favorites.
Spending $25 on paint samples is always cheaper that a kitchen full of cabinets you hate and a heartache you can’t afford to fix.
- Delivered overnight so you can make those pressing decisions in a crunch
- Crazy accurate color from my favorite paint vendors like BM, SW & Farrow & Ball
- No painting, no mess, no clean up!
- Peel and stick (and come off clean)
- Or don’t peel off the back and use over and over again!
So, don’t forget to test your paint colors!!
The colors you see in other people’s homes won’t look the same in your home. Often times, photos are edited, lightened or color corrected.
Don’t rely solely on photos to make your decision- trust the process and sample the paint.
*Expert Advice*