
ONE ROOM CHALLENGE WEEK 2: BOLD BLUE ENTRY TABLE
Welcome! If you’ve new here on my blog, I’m April Waltrip, an interior design blogger + shopper extraordinaire. For this season’s One Room Challenge I’m making the Entryway of my dreams in our colonial style house in historic Williamsburg, Virginia.
Follow along each week of the Spring One Room Challenge 2020. See you on June 25th for the big reveal.
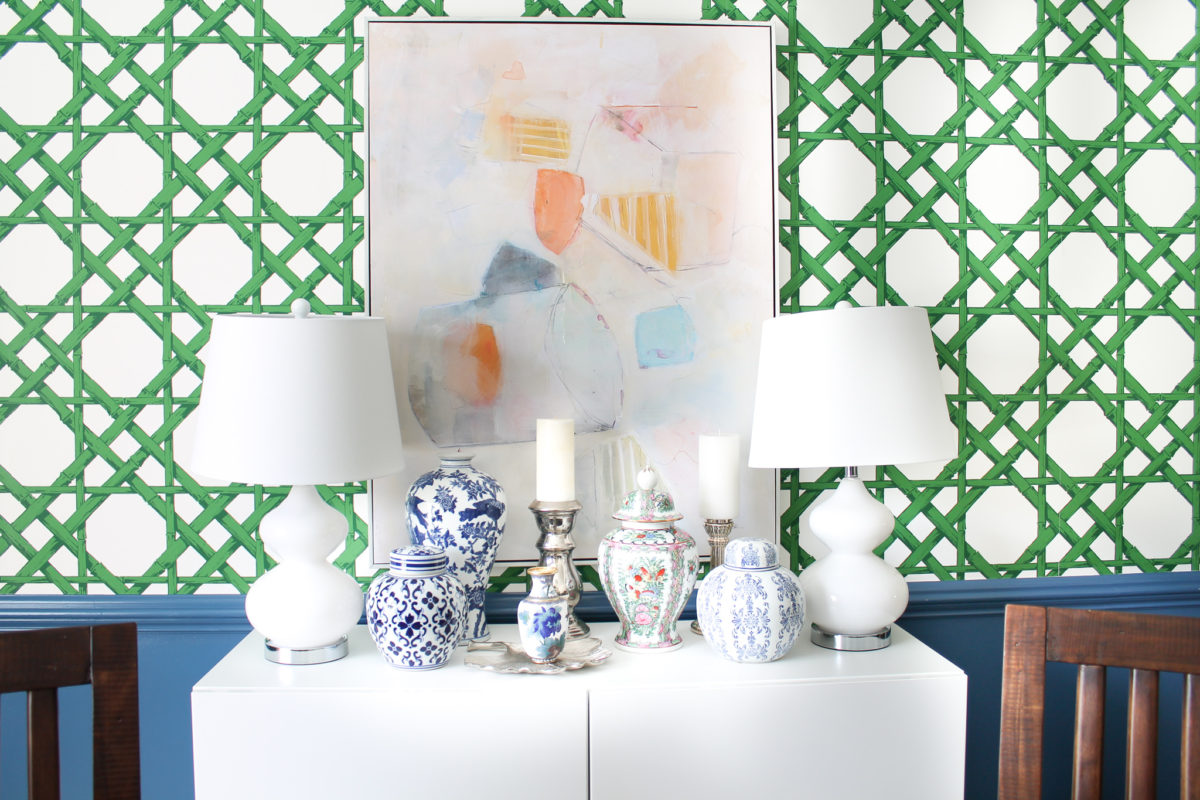
Previous OCR’s: Amazing Guest Bathroom Makeover (This one was featured on Today.com & Apartment Therapy) / Blue & Green Dining Room Reveal / Parisian Children’s Room + Wall Mural
 SPRING 2020 ONE ROOM CHALLENGE POSTS
Week 1 | Week 2 | Week 3 | Week 4 | Week 5 | Week 6 | Week 7 | Reveal
THE ENTRYWAY
The goal for the new entryway is to be beautiful, but functional. Currently it collects shoes and books, laptops and random toys on a bench.
I want the entry to reflect the rest of our house, and they style. It sets the tone, which is a colorful take on traditional style.
When you walk through our front door, I want you to feel WOW’ed and energized. With an expectation to see more curious, colorful things.
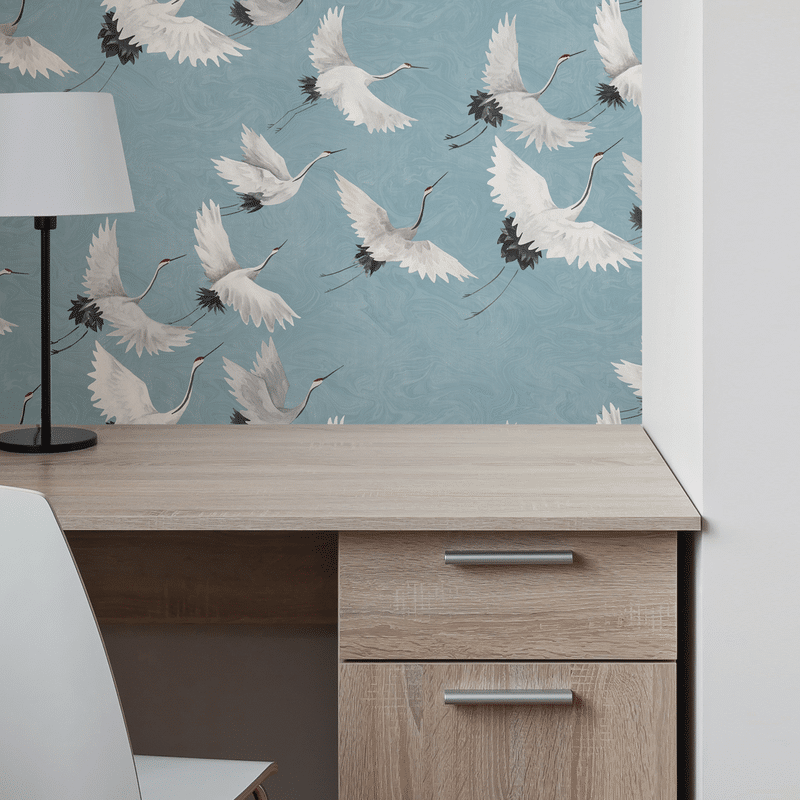
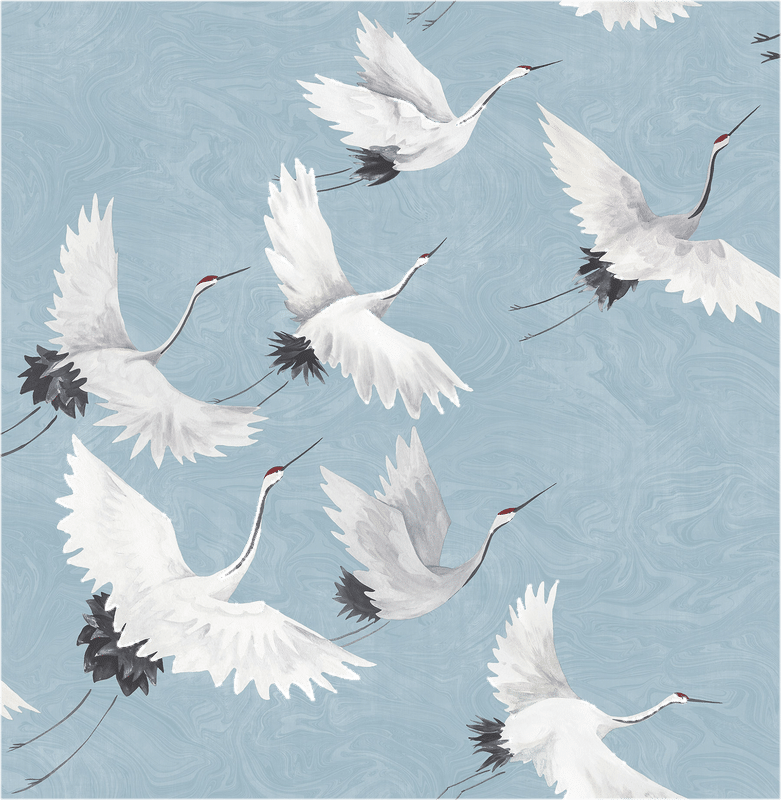
INSPIRATION
I think we can achieve that feeling that represents our house, well me particularly, my husband is just alone for the ride. To make it happen, we’re using this amazing crane wallpaper, a blue console table and a large mirror.
The show stopper will be the black and white checkerboard floor paired with the painted front door. Currently, the front door is navy blue on both sides, but I’m thinking about toning down the inside and repainting it a lighter blue that mimics the wallpaper color.
THE TO-DO LIST
We have a lengthy to do list for this project, but luckily it doesn’t involve moving walls or too many things that aren’t DIY.
Paint walls whitepaint trim- remove doorbell box, cap wires
- drywall over old doorbell hole
- install wallpaper
- re-paint front door
- replace weather stripping
- paint black and white checkerboard floor
purchase & assemble entry tableorder mirror- install mirror
- create shoe storage solution
- create drop zone for keys
- source artwork
- install new door hardware
- find entry rug
- style the table
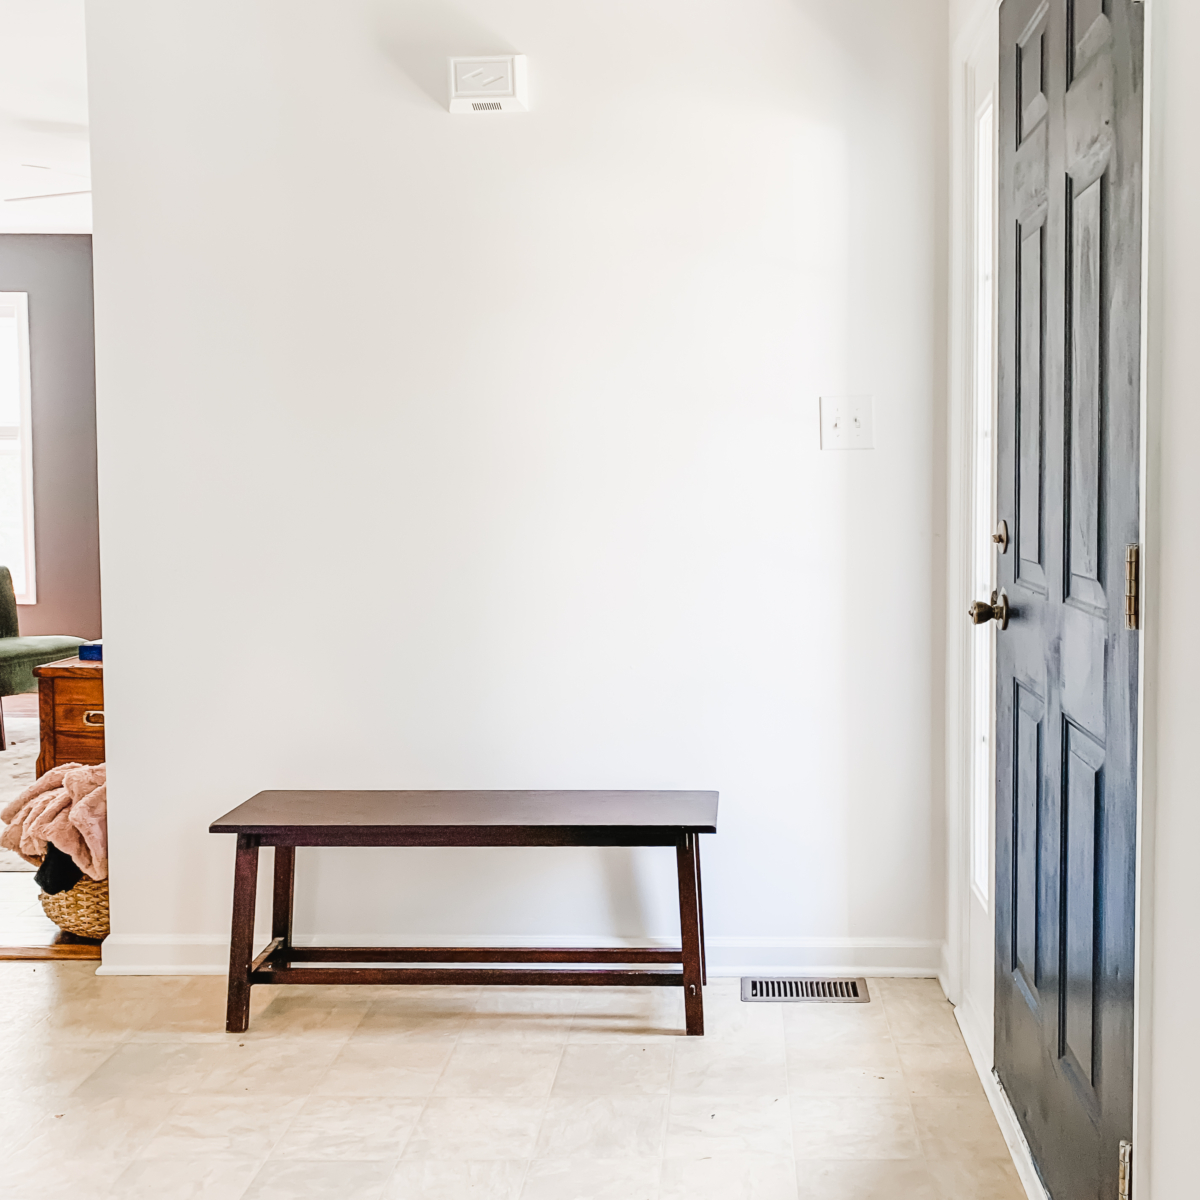
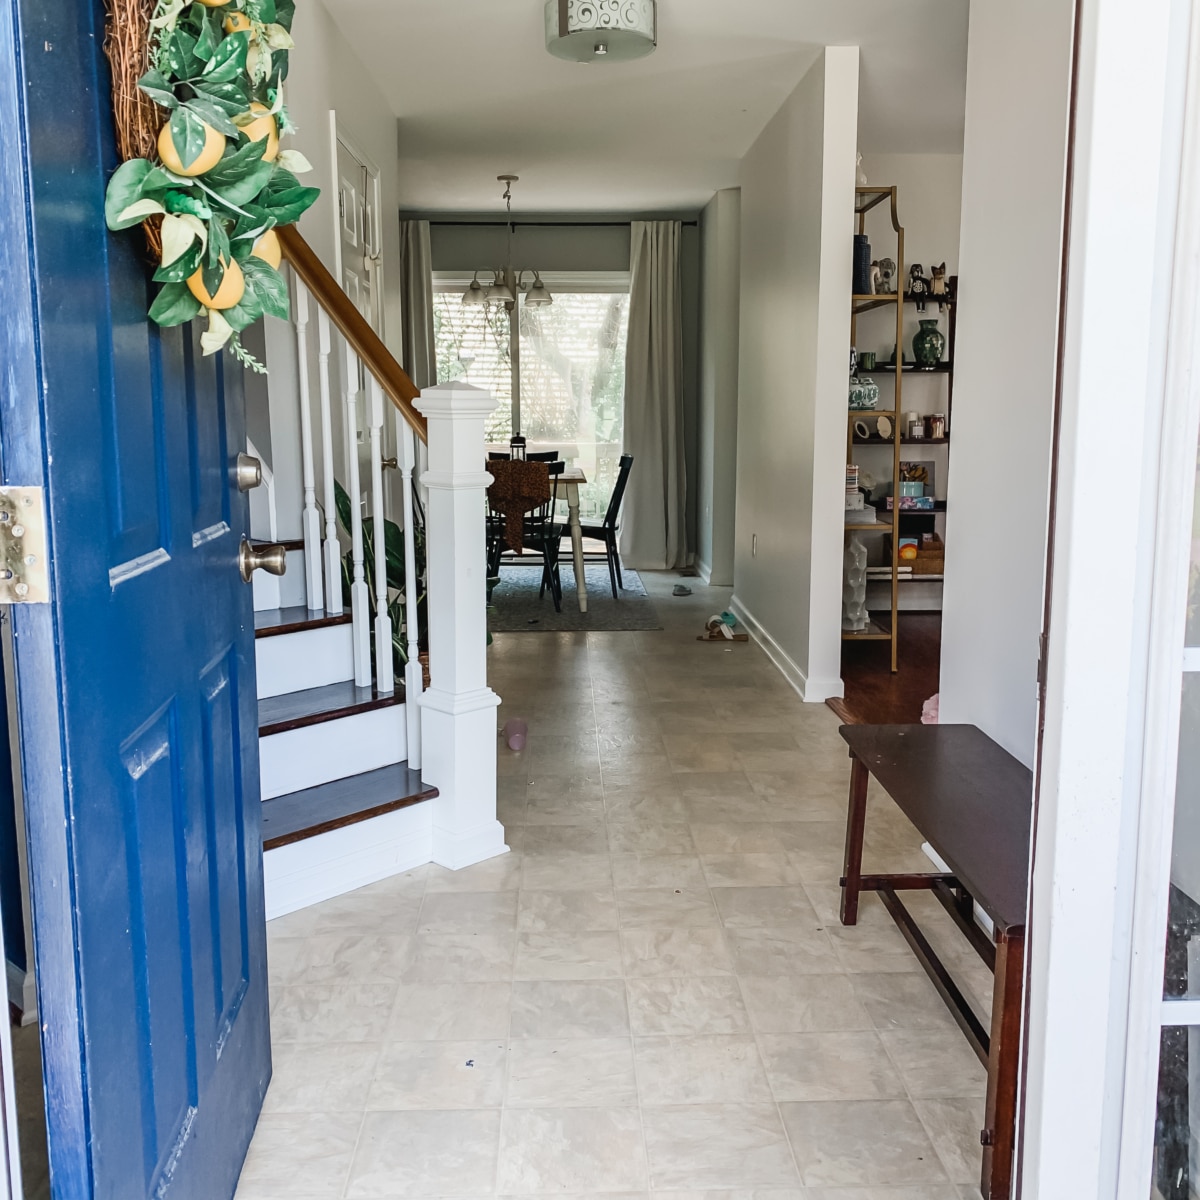
BEFORE
Looking at the before is a good way to show how awesome the after is going to look. Here are the before pictures of our sad, plain entryway.
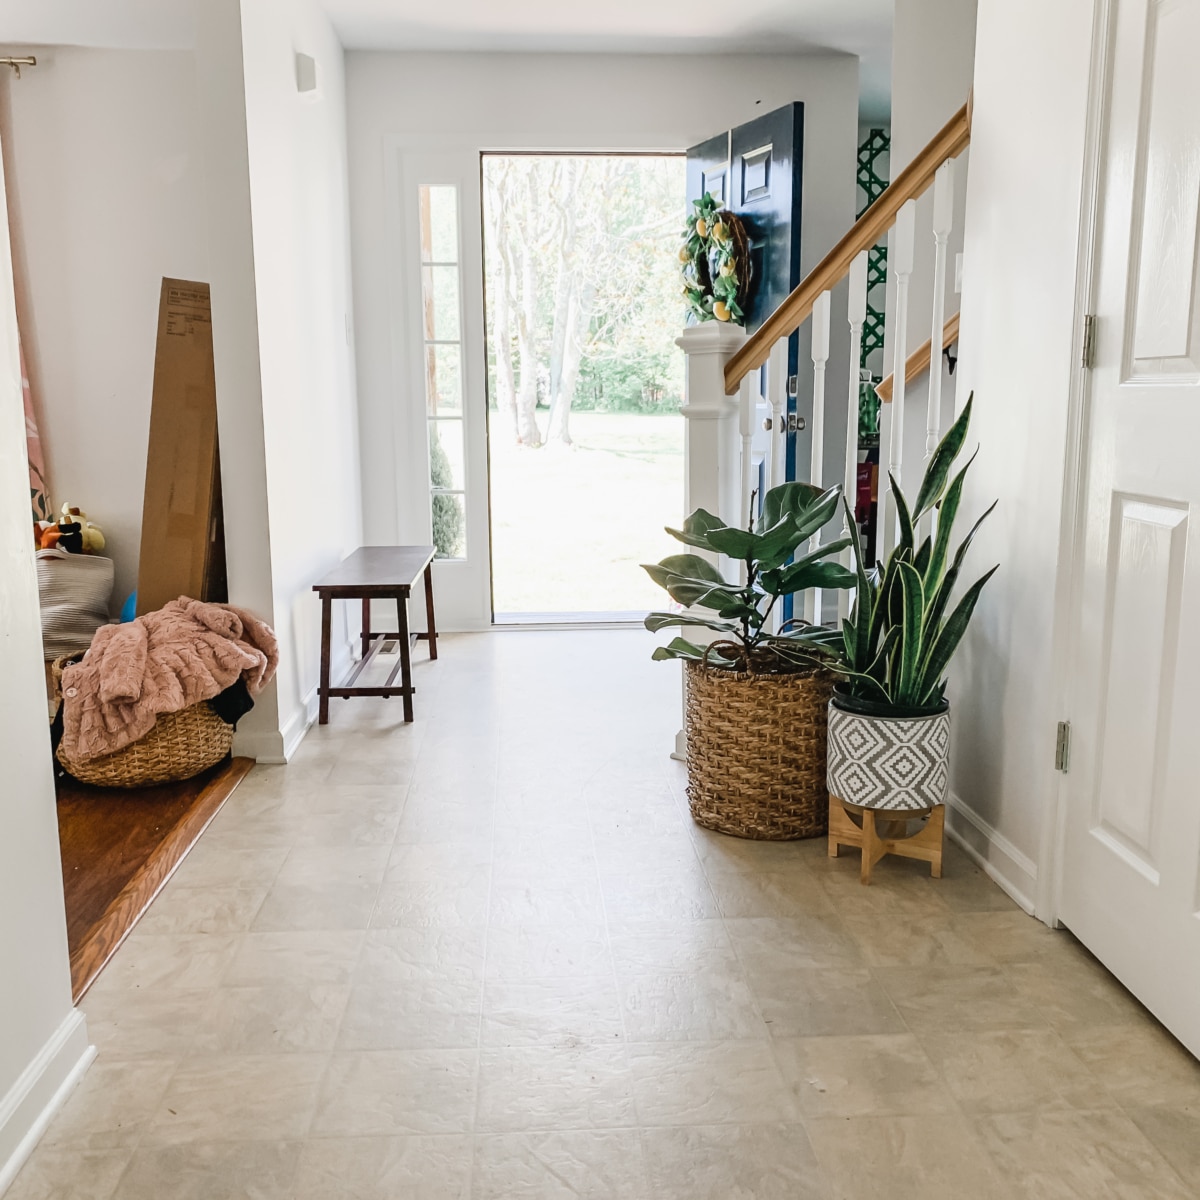

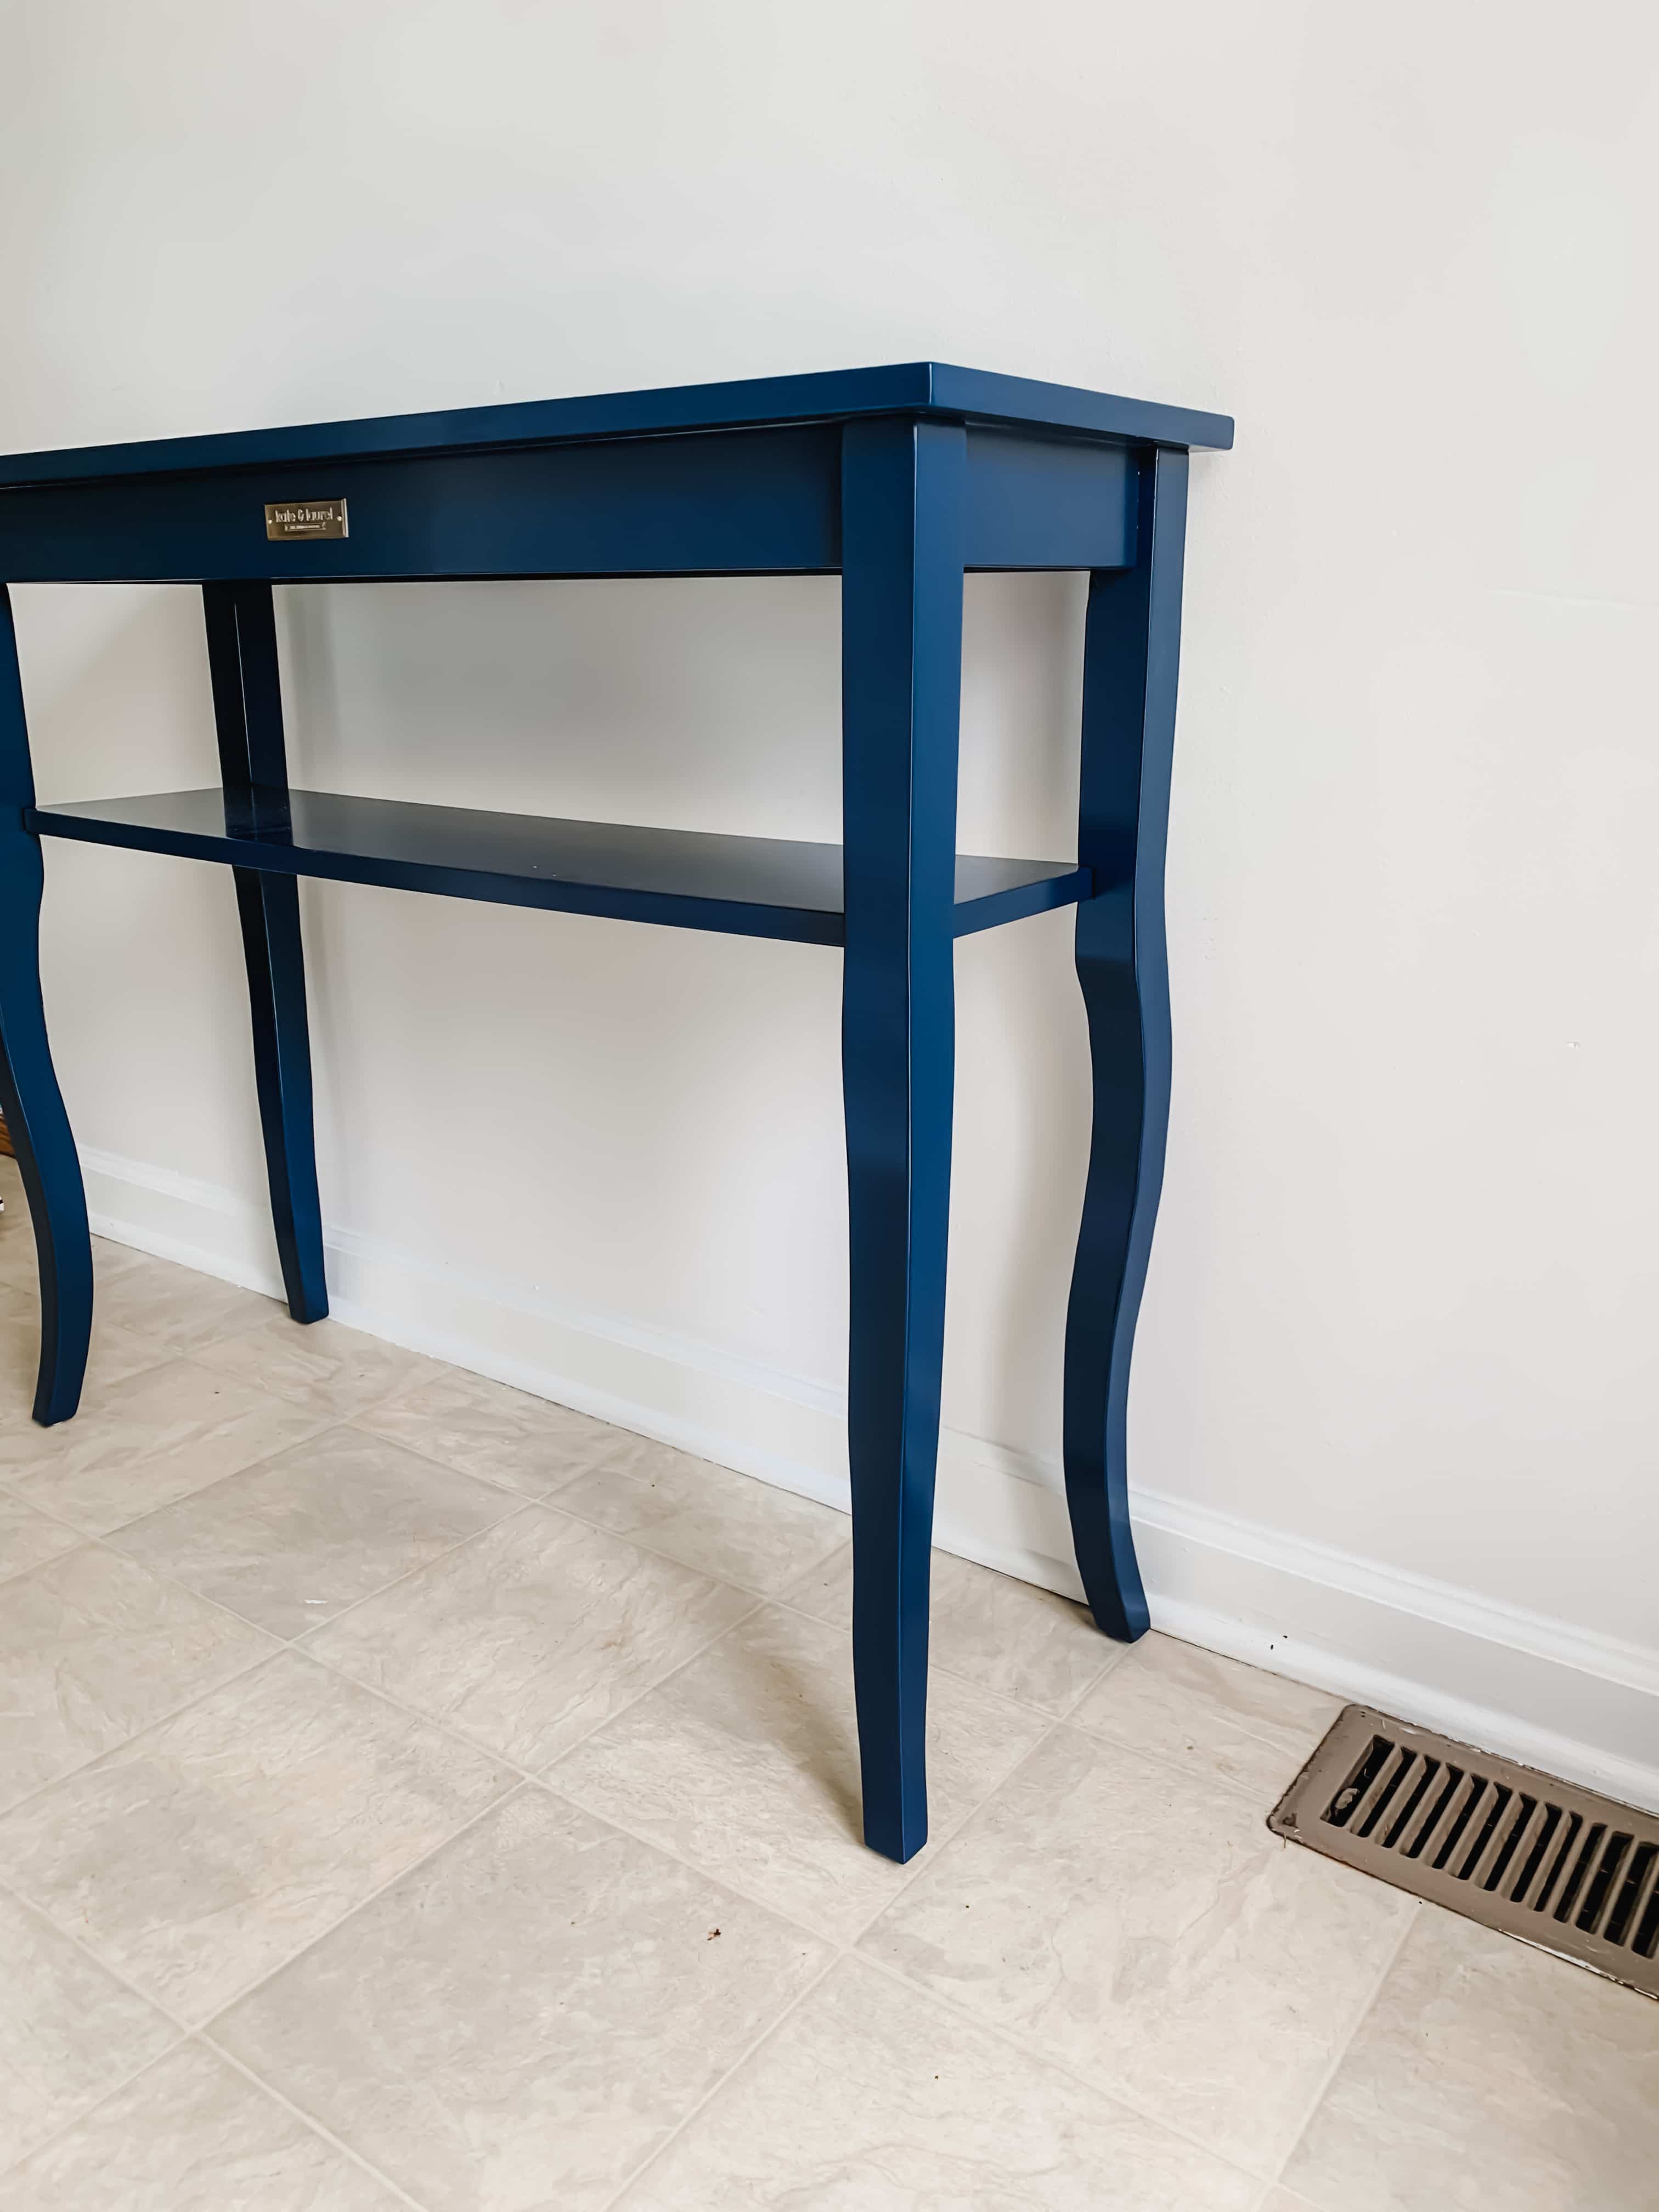
THE PROGRESS
Week 2 progress includes regifting the bench, receiving the orders for that amazing wallpaper I was telling you about, getting the entry table put together, and getting in the mirror.
Secondly, I’ll share a few videos of the products, but I may save the photos for the reveal, because they just don’t look the same in pieces. Once you put them all together you really get that breathtaking “wow” moment.
Each week I post short progress videos on Instagram under the “Stories” feature and I’ll also have a highlight reel saved as well. You can follow along there for a behind the scenes look of what’s happening, what went wrong and what the products look like.
Come back next week for more!
Previous One Room Challenges:
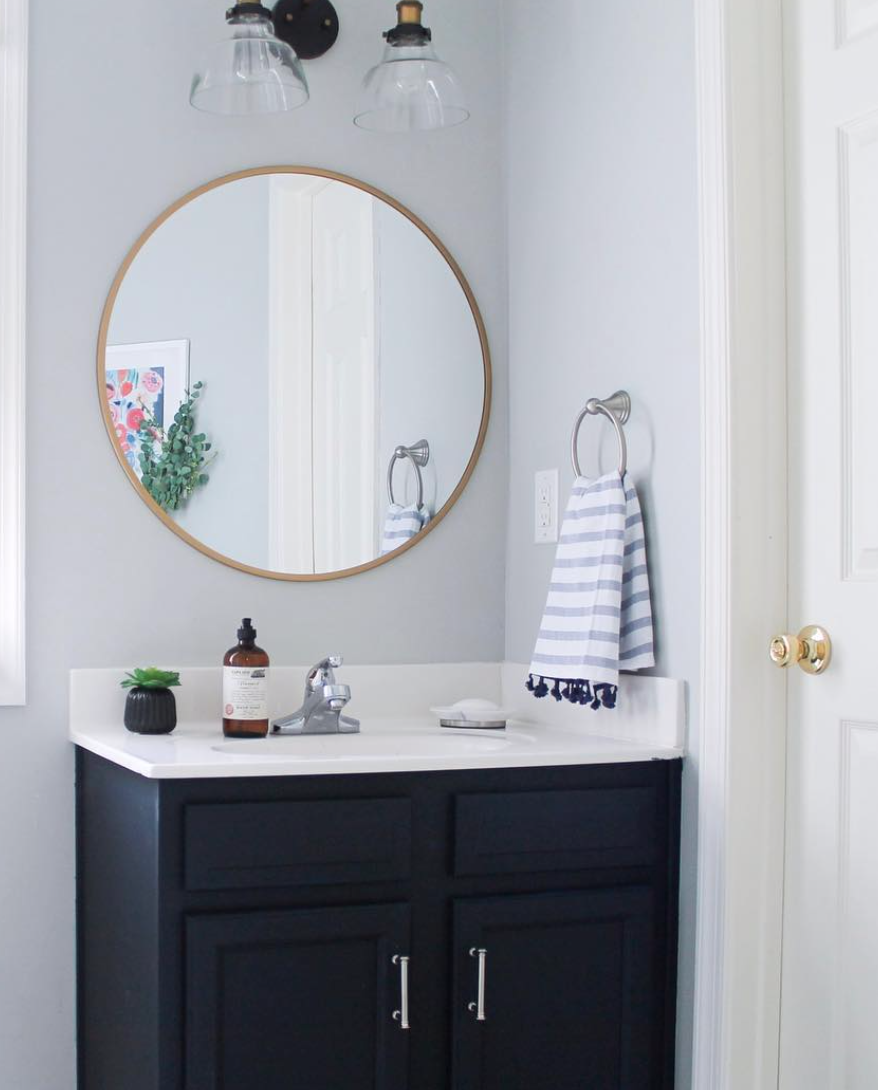
- Amazing Guest Bathroom Makeover (This one was featured on Today.com & Apartment Therapy)
- Blue & Green Dining Room Reveal
- Parisian Children’s Room + Wall Mural