
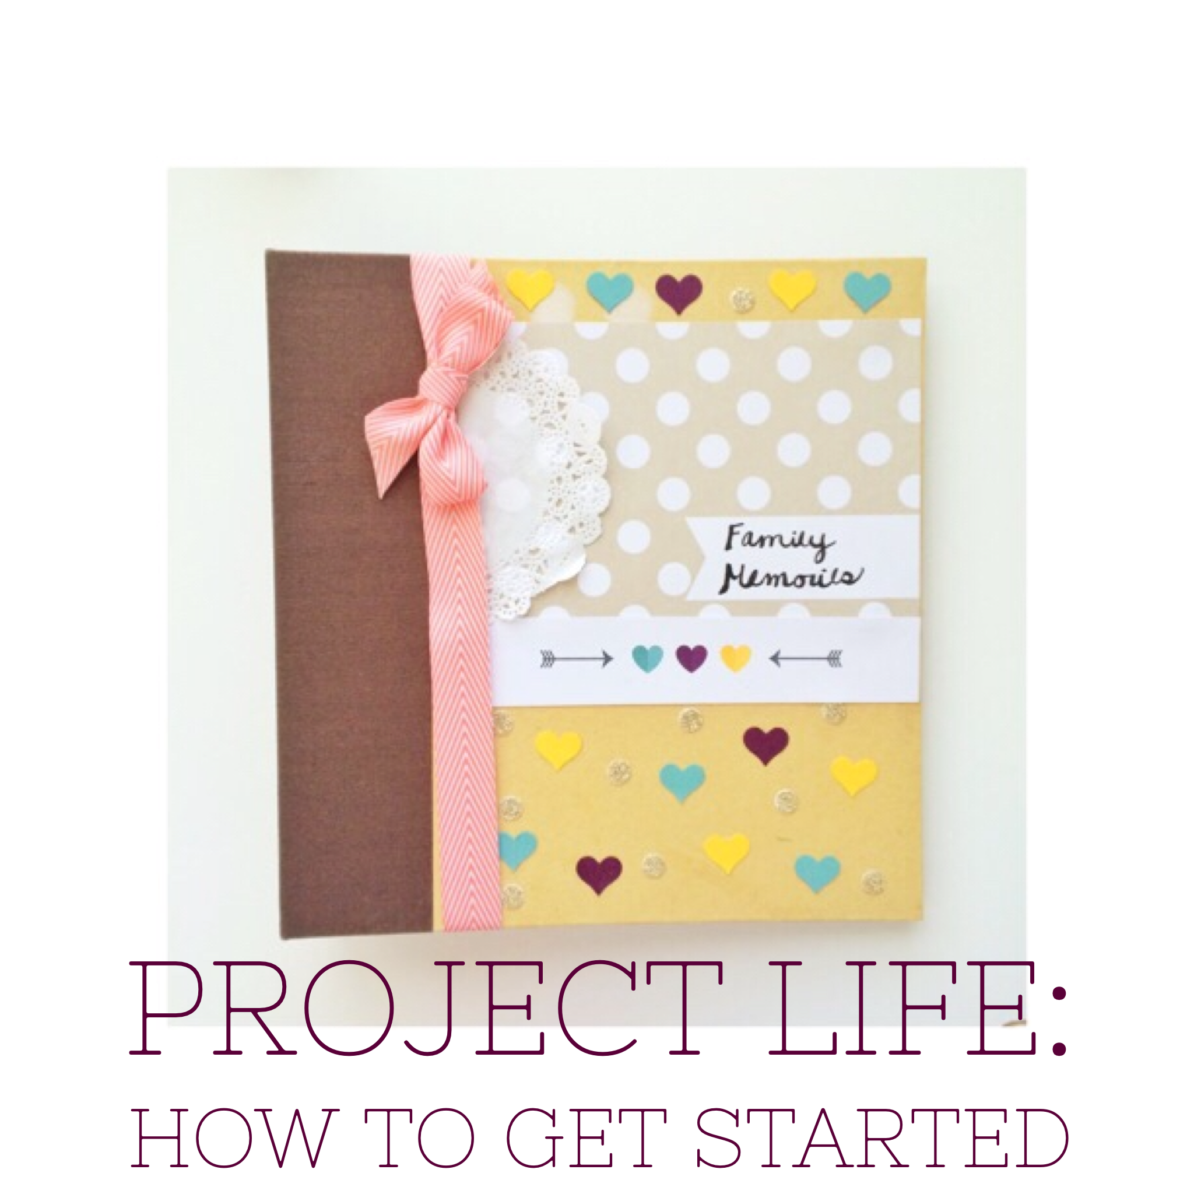

TELL ME ABOUT the PROJECT LIFE Mini Album
How to Create a Project Life Mini Album, Simple Scrapbooking Made Easy. I have been working on putting old family photos into Project Life Albums.
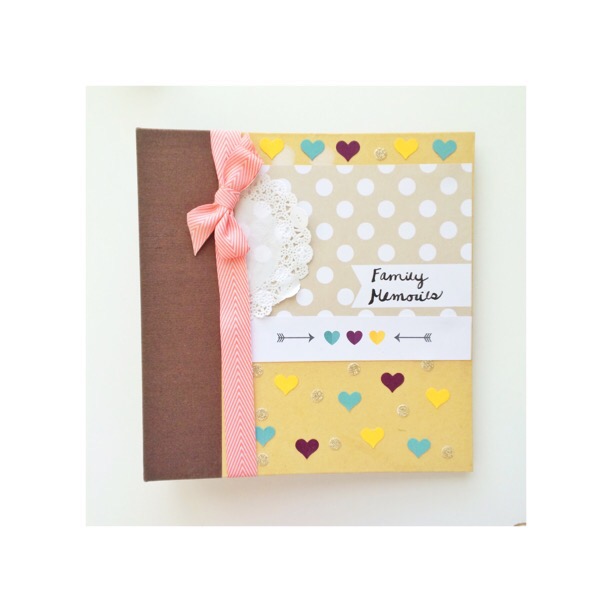
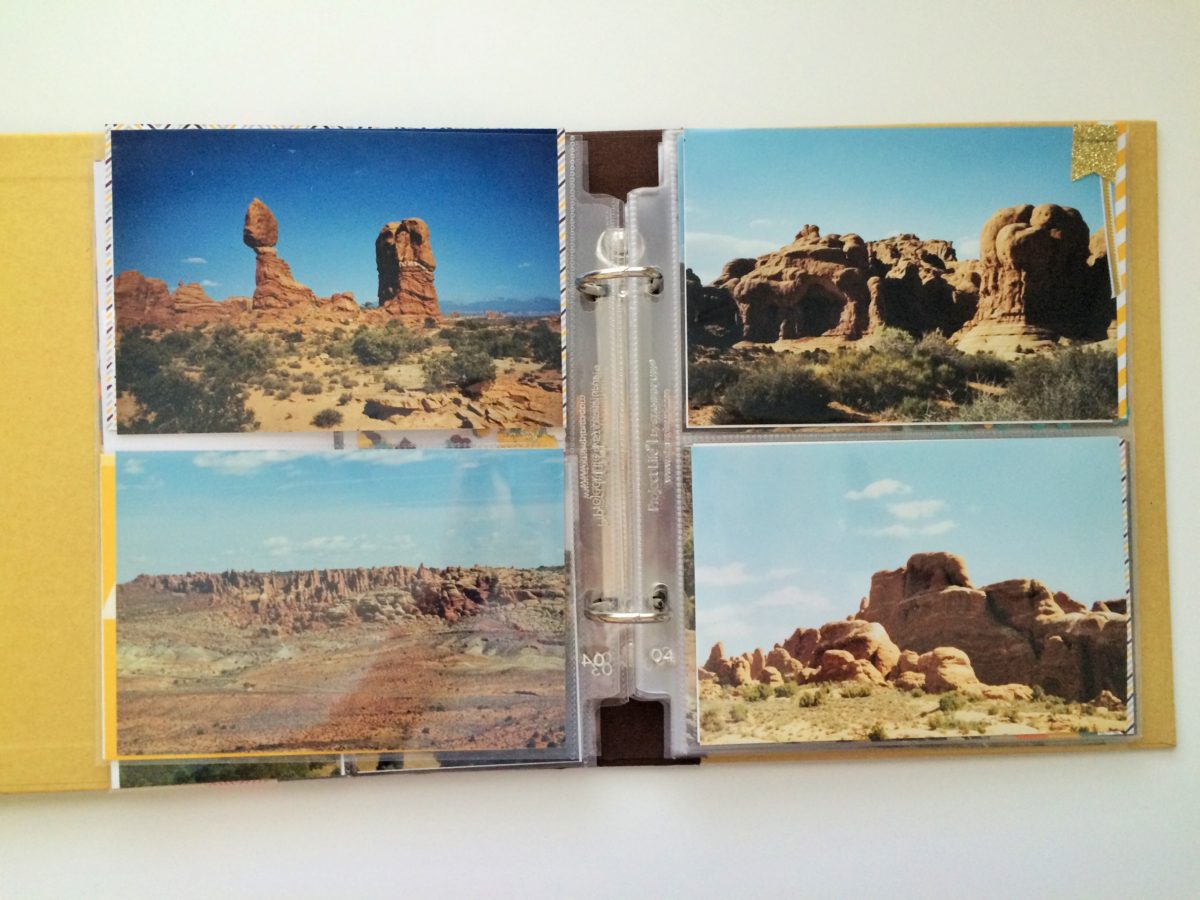
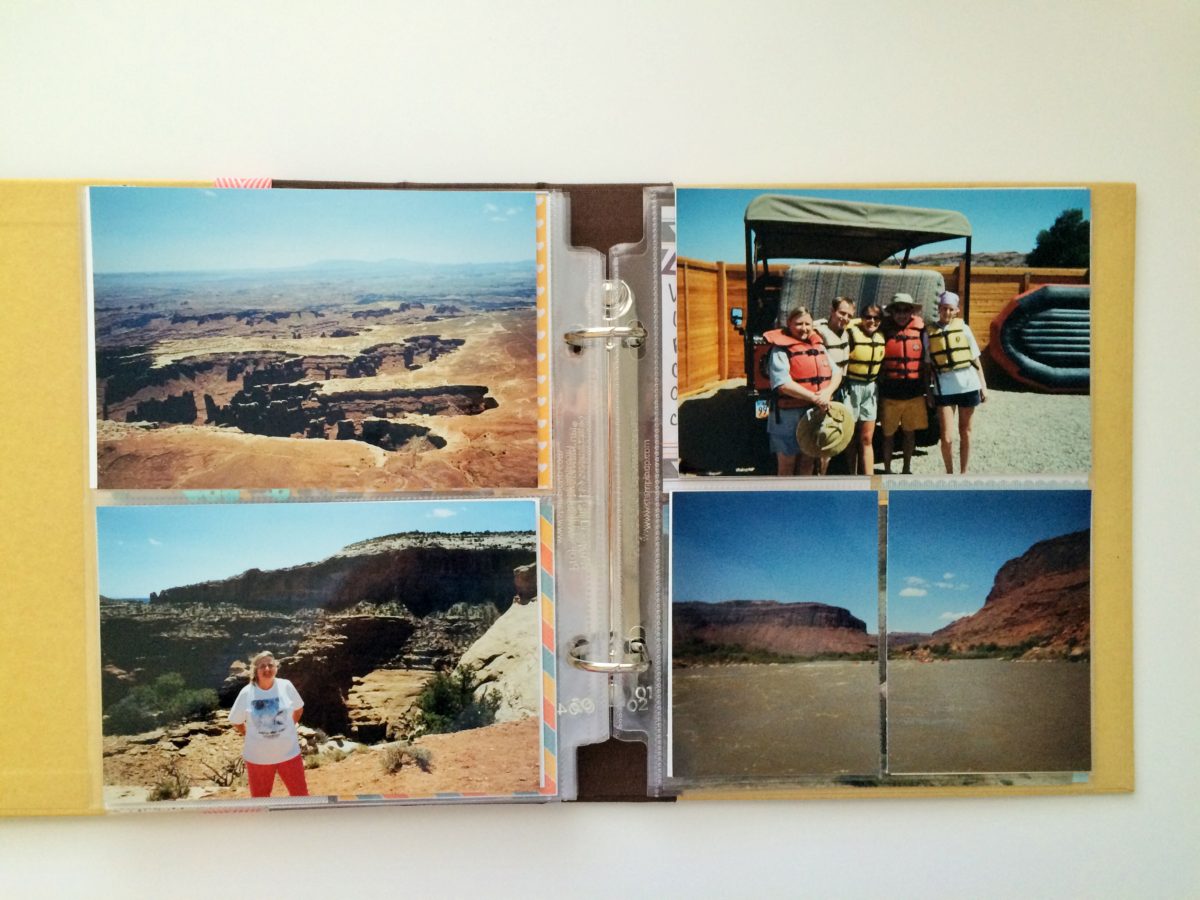
I recently updated a Family trip album to Project Life. It was a quick and easy project and it now looks amazing versus the old album. I kept it simple, but love the outcome.
Before I started working on it, I felt overwhelmed and did not know where to start. Project Life is supposed to make memory keeping and documenting life easy and I was certainly struggling to get there with my photos.
I read countless articles on how to get started with Project Life and couldn’t find a good list so I created one. I will outline for you the things I found helpful to get started with a Project Life mini album!
Project Life Mini Album
How to Start
What you Need
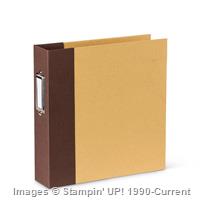
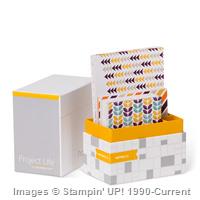
- Project Life 6″ x 8″ Album
- Pocket Page Protectors
- Photos
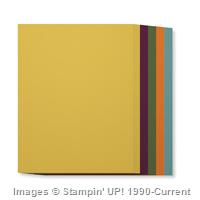
- Project Life Cards (You can choose ANY, but I love these)
- Journaling Pens
What to do
Decide where to start: Today or Past Photos.
PAST PHOTOS
If starting with old photos, pick ONE subject to work with. Pick your favorite with many fond memories. Narrowing it down will make it easier.
Suggestions
Holiday, Vacation trip to Disney, Graduation, Summer of 1999, Baby’s First Year, Summer spent with Grandchildren, Photos of your childhood home, a specific year that had many events.
Collect Photos
Collect the photos you have of that event or occasion/year and separate them by type of event, category or in order from January-December, whichever makes most sense for the duration you chose to work on.
Select Favorites
After you have put your photos in order, select your favorites. These are the ones that HAVE to make it into your album. If you are like me, you will have thousands of photos, but narrowing down the photos will help simplify the process.
*This doesn’t mean you have to leave out priceless photos of family members past, or that you don’t see, it just means, you don’t need 20 of the same exact child with 20 facial expressions, in the same outfit, on the same day, that all convey the same thing.
Keep grandma, limit the same photo of your child. (I know, I love mine too, but let’s keep it simple- a few photos of that cute kiddo are enough for one day).
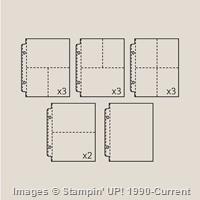
Plan your pages
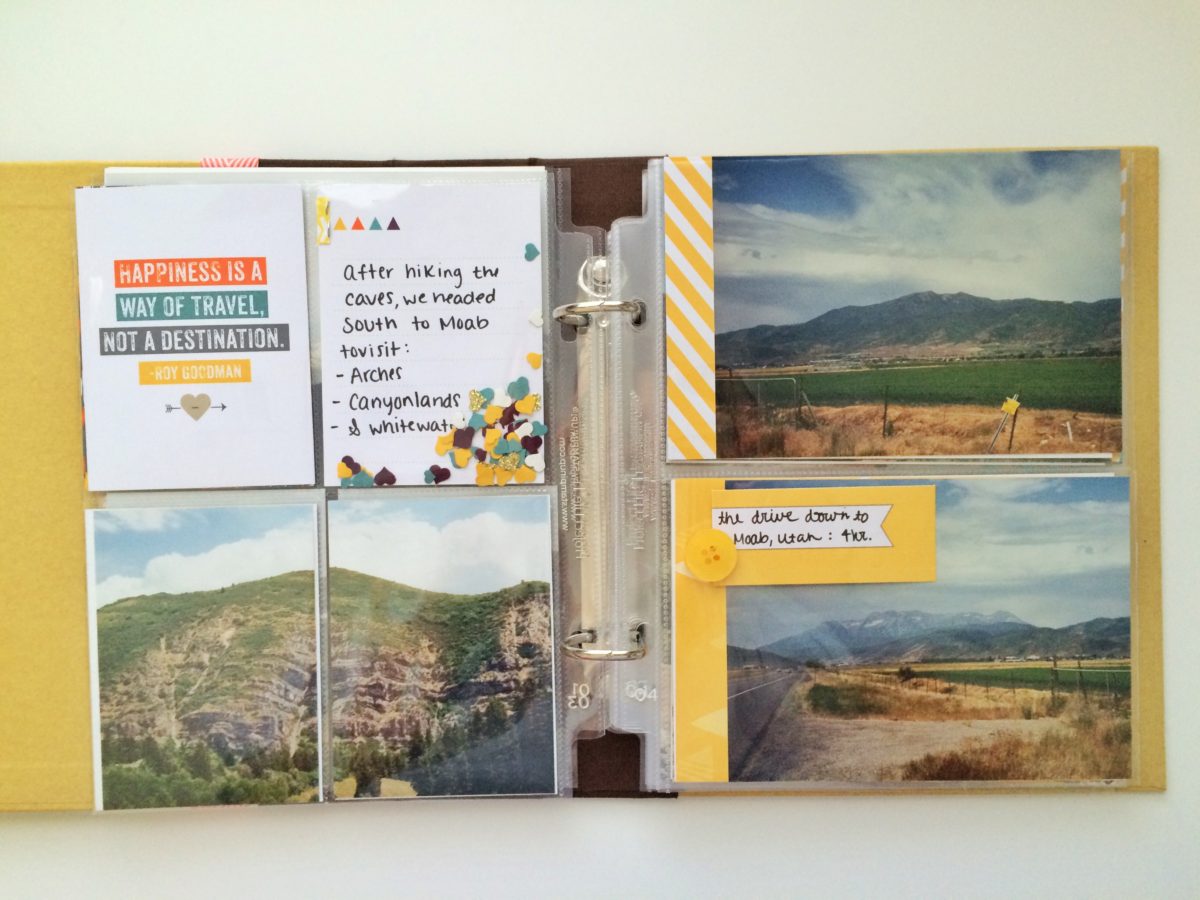
Okay, now that you have pared down your photos, you are ready to get started. I like to use this format for my spreads (two pages facing each other).
Photos, Title Cards, Decorative Cards, Journaling Cards.
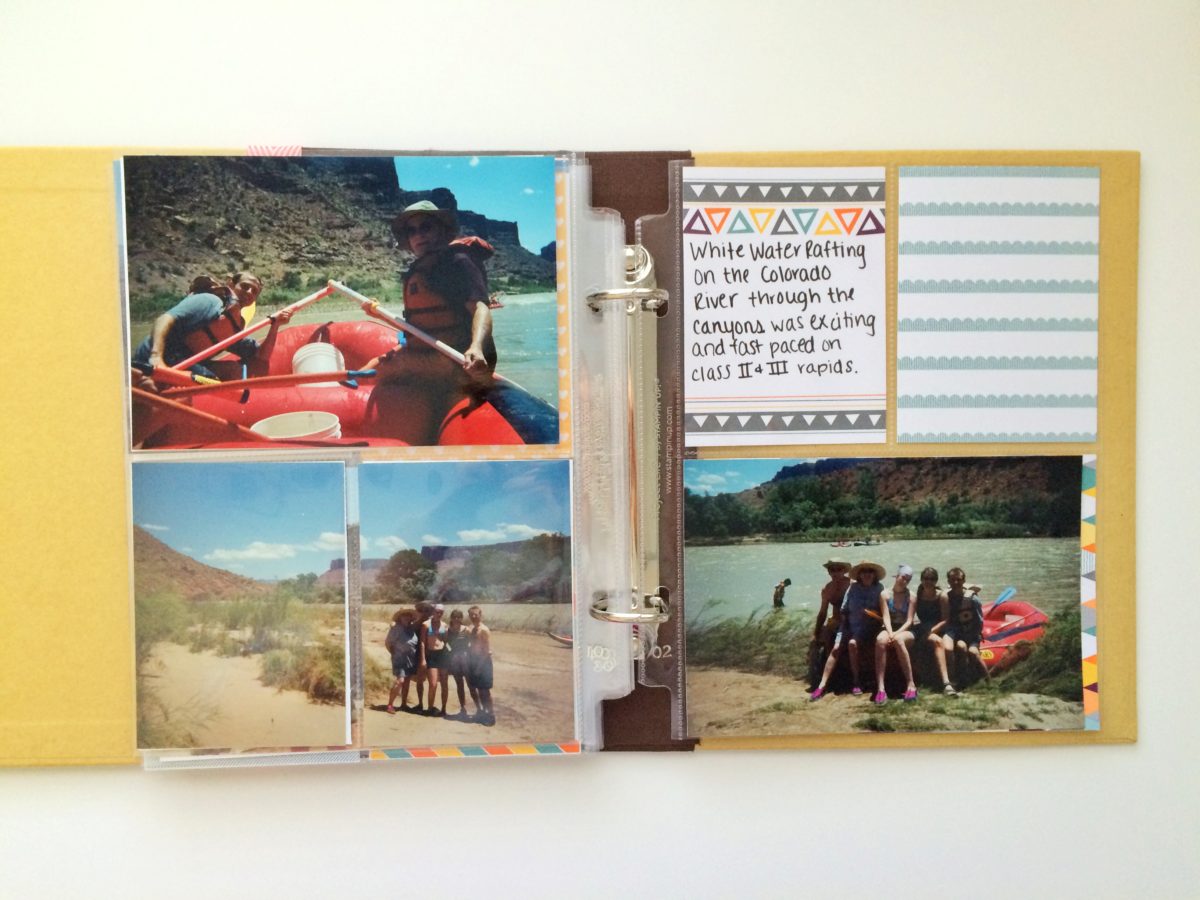
Each spread needs a journaling card, a title or filler (just decorative) card, and photos.
-
- Start from the top of your stack of preselected photos, pick a few journaling cards, your favorite or coordinating filler card and then fill in the photos for that page.
- Pick Photos
- Cut & place photos in pockets as desired
- Journal about what was happening in the photos
- feelings, emotions, expressions, places, times, dates
- Filler Card/Title
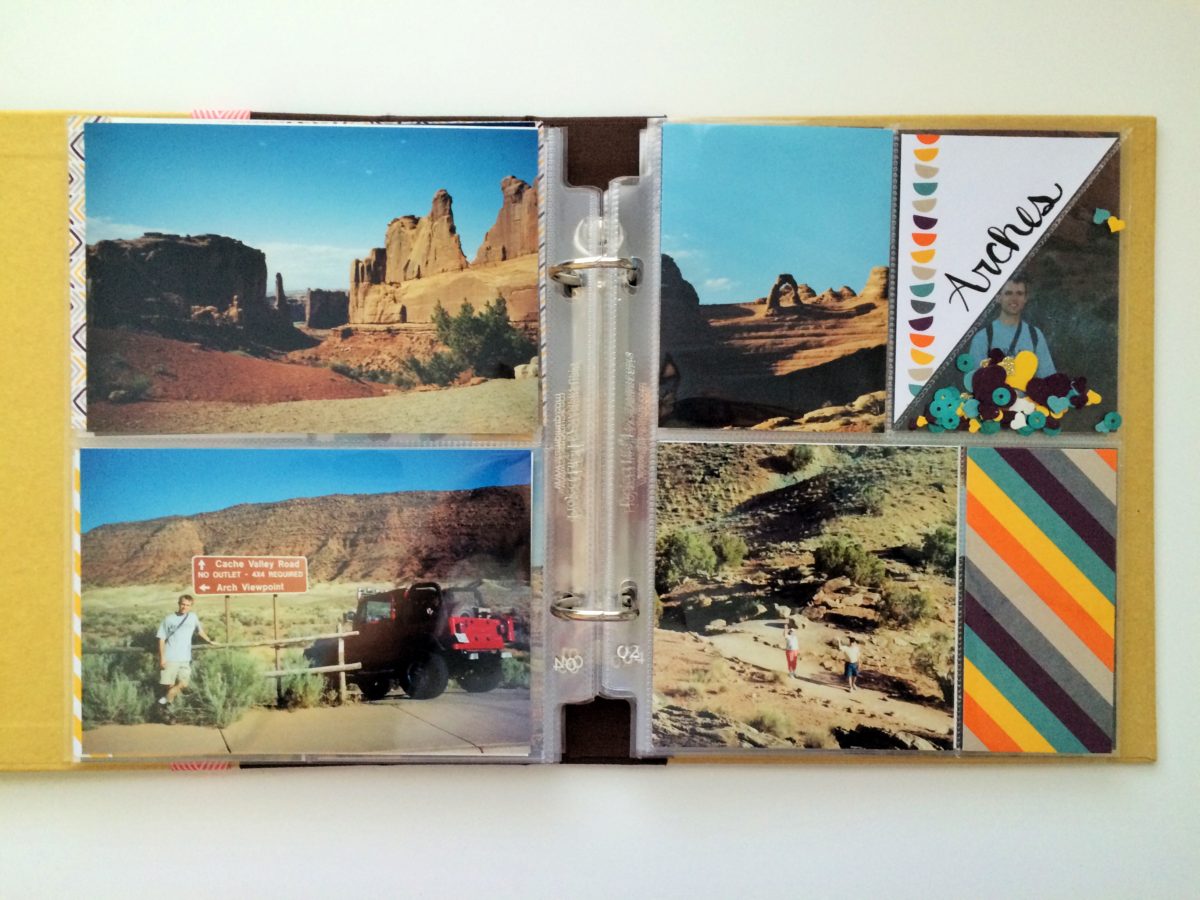
- Add Embellishments
I will be giving more concrete tips and ways to utilize and get started with Project Life over the coming weeks.
FREE: Project Life Printable Advent Cards for Christmas Album


Supplies Used for Project Life Album:
Built for Free Using: My Stampin Blog
Others Posts You’ll Love:
1 thought on “How to Create a Project Life Mini Album”