I’ve joined the One Room Challenge to update our Guest Bathroom and we are on week three of six weeks to complete a room, which I will share DIY updates along the way, saving the big reveal for week six! #oneroomchallenge
THE PROGRESS
Well as you can see, my to do list is as long as they come and I am on a short timeline to complete it all in a matter of weeks.
declutter & deep cleanremove all wall fixtures & cabinet doorspaintwalls- paint baseboards
paint& seal vanity cabinetdegloss, sand, and prime floor- paint, stencil & seal floor
- install mirror
install lighting- install new hardware
- hang shower curtain
- install towel hooks & style shelves
- style counter
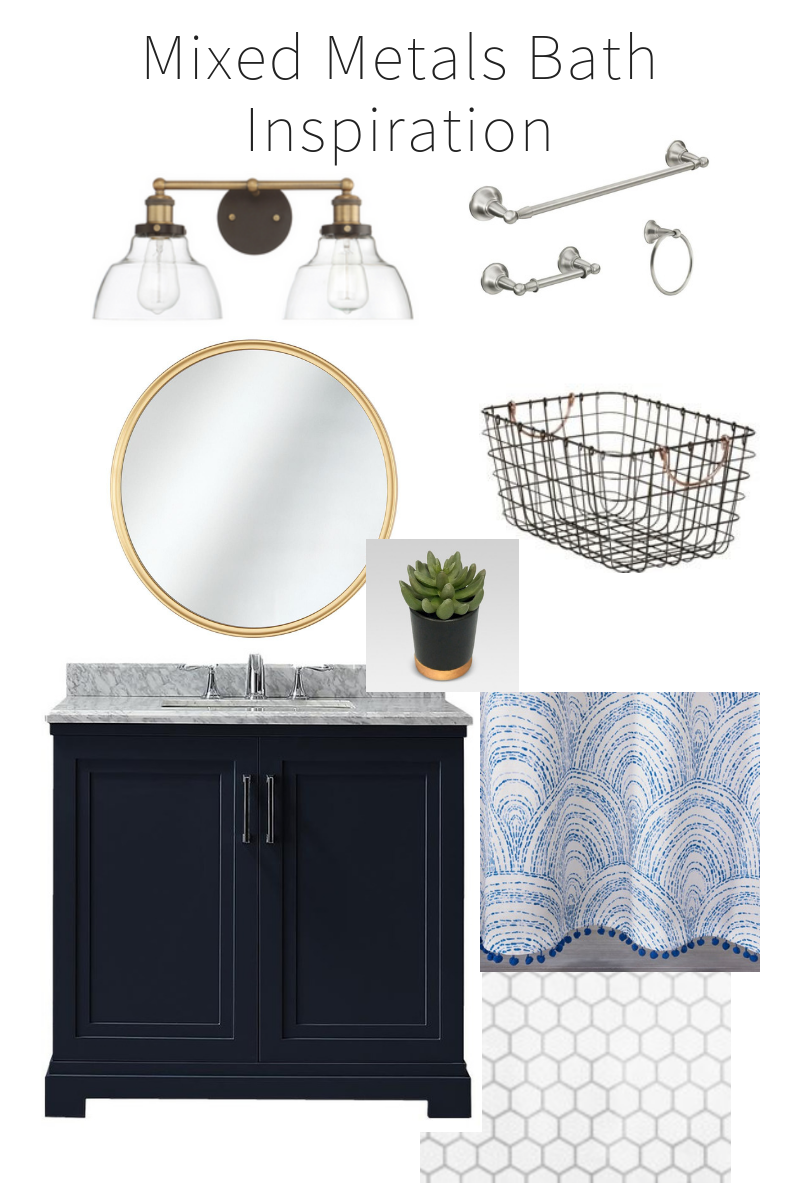
In case you missed it here are week 1 and week 2, and here is the inspiration for the bathroom update. Navy and mixed metals all the way!
BEFORE
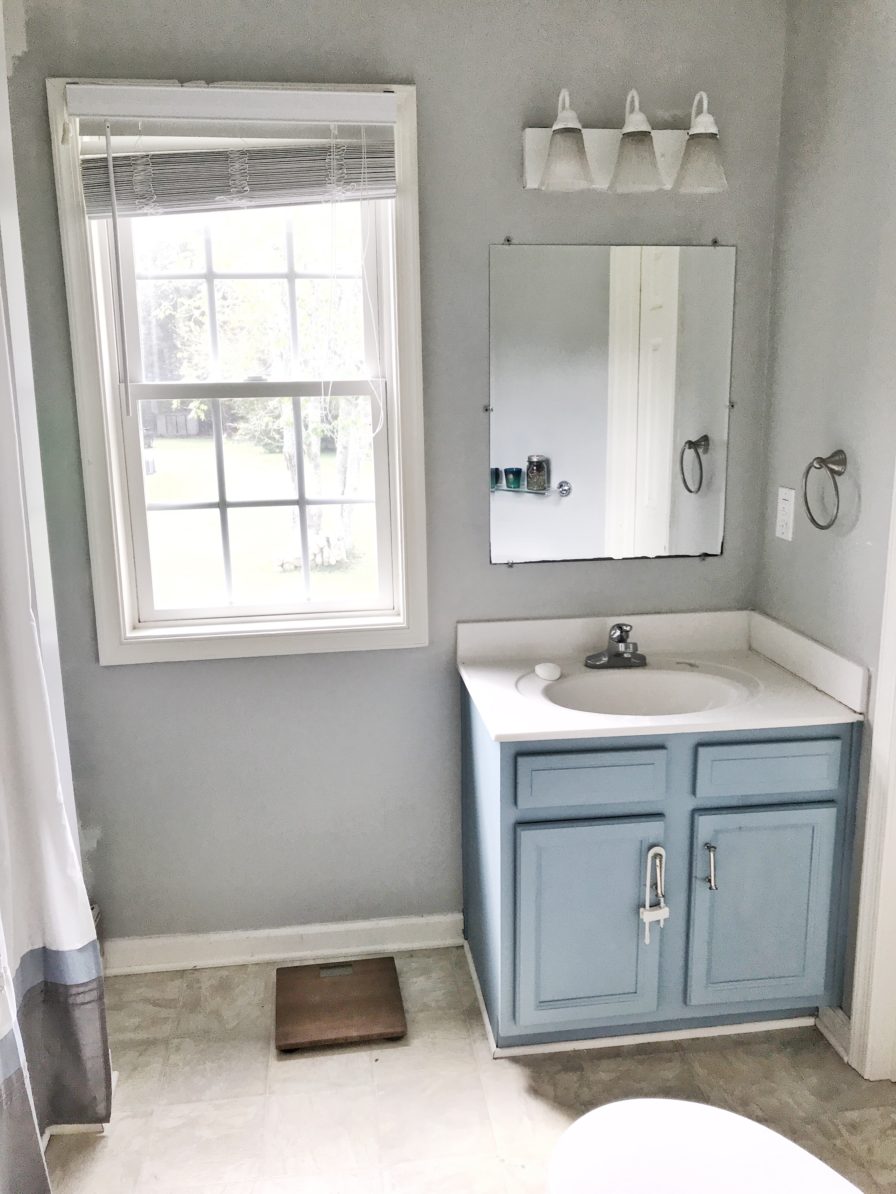
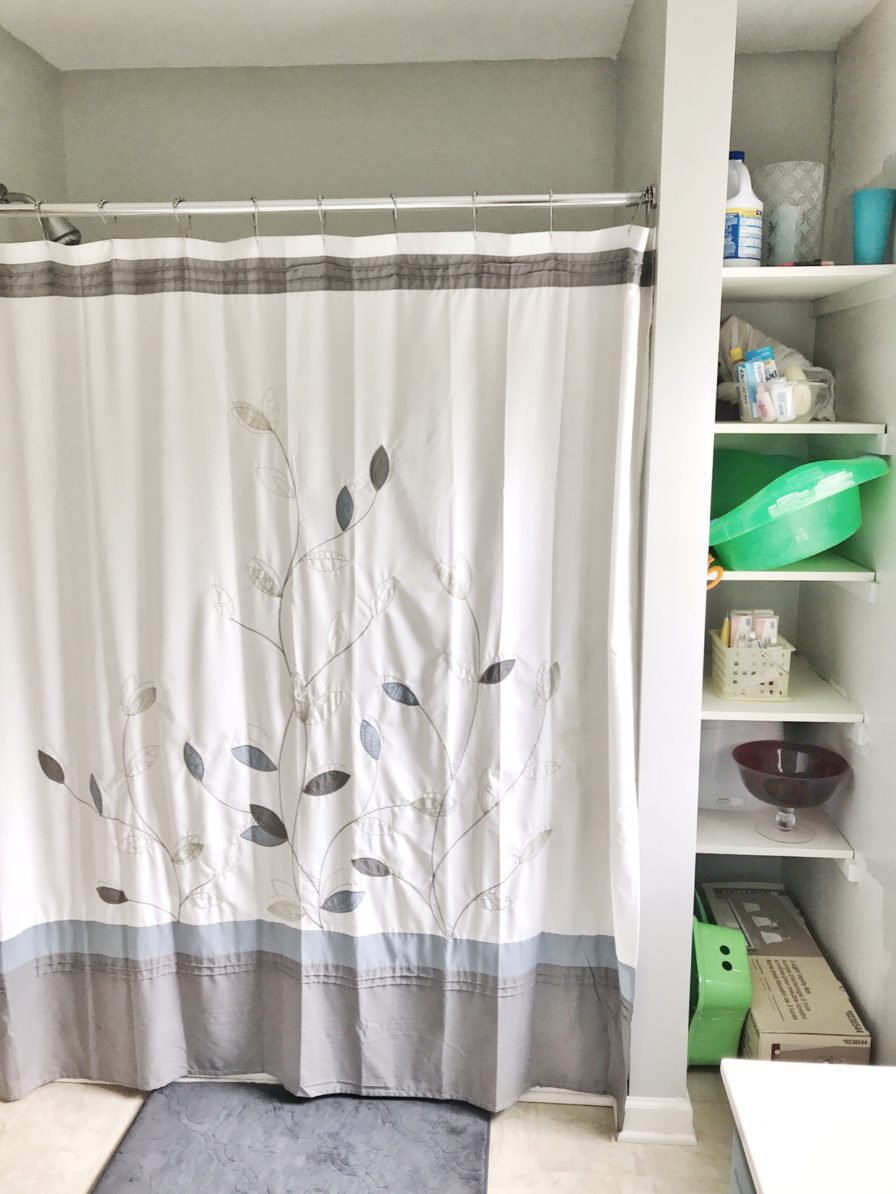
As a reminder, here is the before photo. It’s not horrible, it’s just basic and BORING!
UPDATES
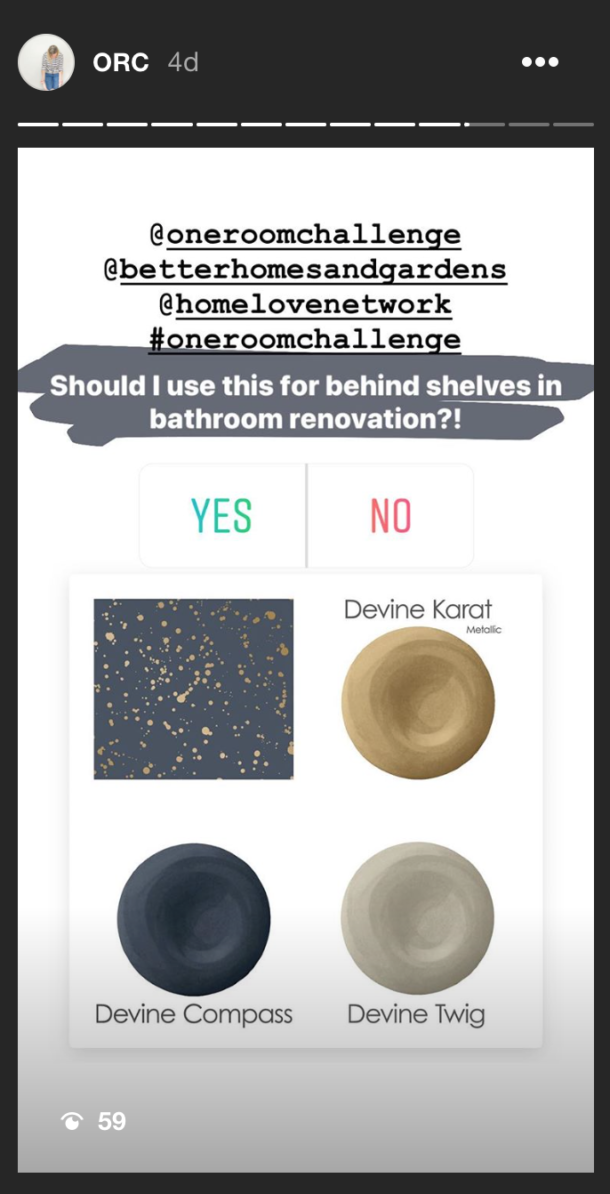
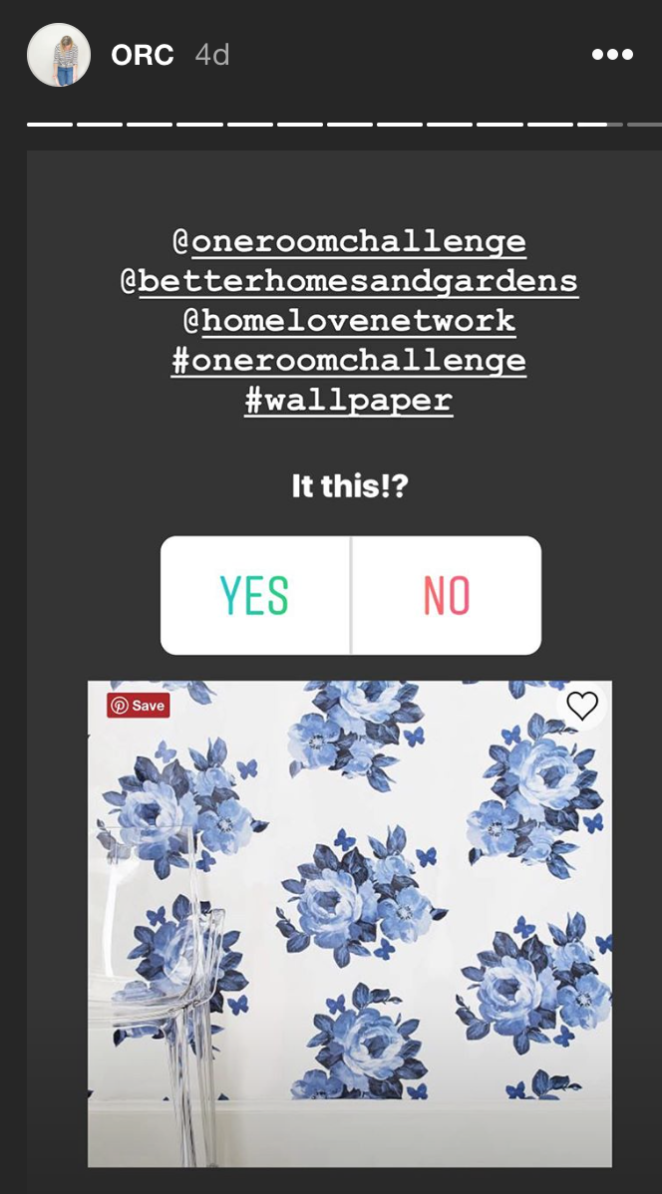
It is really starting to come together. The vanity is painted, sealed and dry. The walls have fresh paint and fixtures are ready to go. If you have been following along on Instagram, I put up a poll for you to vote on whether I should wallpaper behind the open shelving. You decided overwhelmingly that I SHOULD wallpaper so I added that project to the list.
I posted a few different wallpaper samples and left it up to you to choose. I chose the most popular, but I am saving the photos for the final reveal!! (I will post the choices below and you can guess which one won!)
By now the floor should be primed and baseboards touched up, but I haven’t started. I do non profit and accounting work by day which has been keeping me busy.
I am hoping to start on the floor priming and stenciling today and tomorrow. I know it will be the most time consuming part of this project, so I am budgeting my time accordingly.
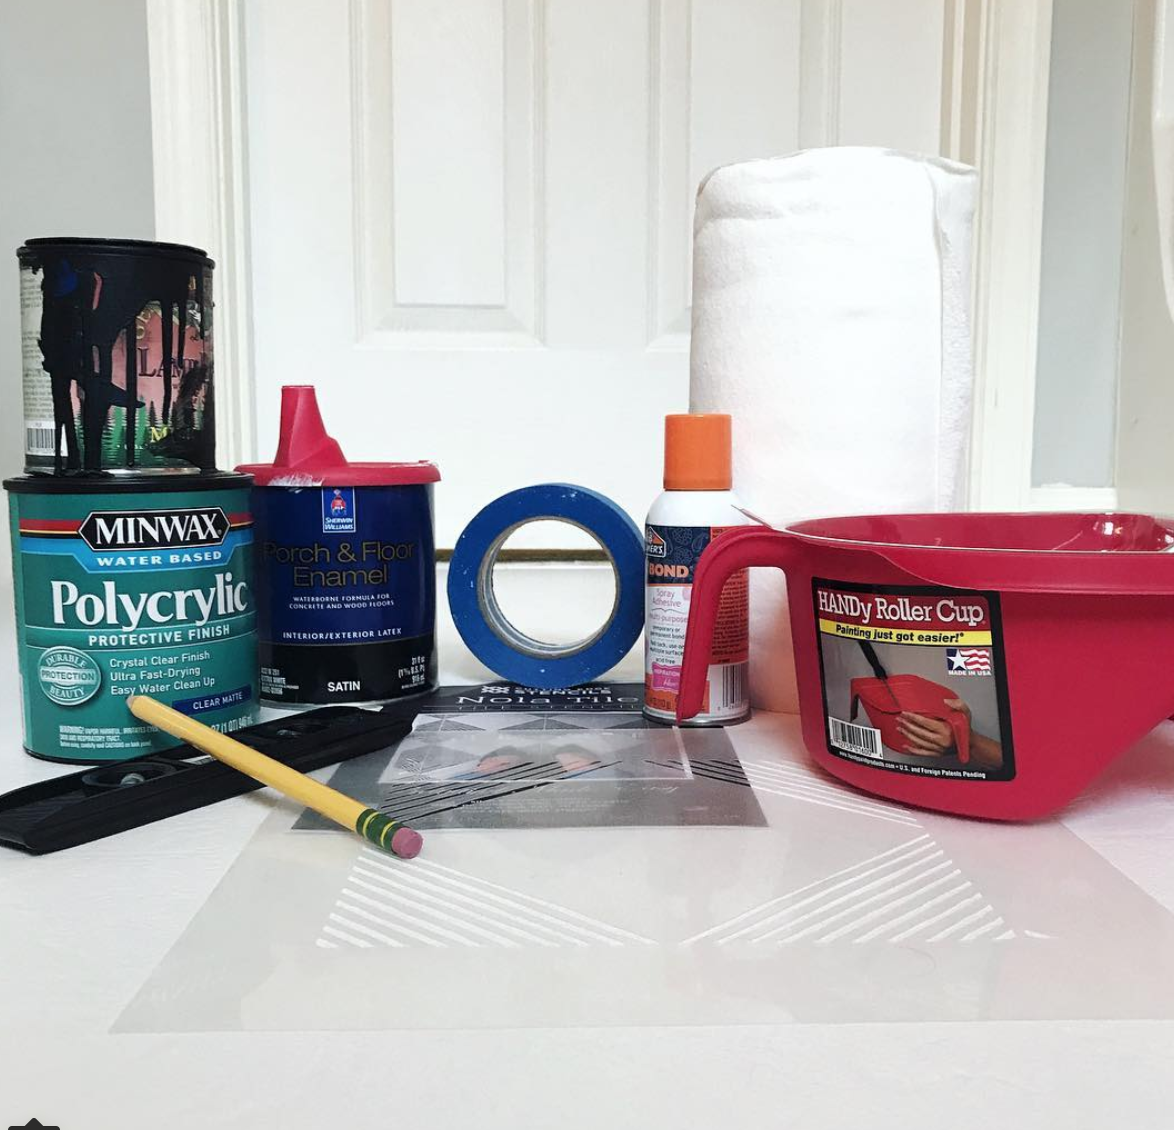
In case you missed my Instagram posts about it, I chose the Cutting Edge Nola Stencil for the floor. It is a really thick, great quality stencil and came with full instructions and tips for using the stencil. I cannot wait for the floors to be finished. They are going to blow the room out of the water!
TIPS FOR STENCILING VINYL
In preparation for my vinyl stenciling, I’ll leave you with some DIY tips to help you out.
- Clean floors with TSP (wear gloves and goggles). Wipe after with water on a microfiber cloth.
- Lightly sand vinyl floors and wipe again with damp microfiber cloth. Dry floors.
- Prime with Sherwin Williams Floor and Porch primer. This was highly recommended to me for making sure the floors stay durable and don’t chip, bubble or peel. It is around $27 a can, but definitely worth the price.
- Stencil with General Finishes milk paint and a firm 5″ roller. I have done a ton of painting and General Finishes Milk Paint does a fantastic job with coverage and not showing brushstrokes or amateur painting mistakes. It is really forgiving. I just adore it. You can also now get it on Amazon which is awesome! (Disclosure* This is an Affiliate Link, but it won’t cost you more!)
- Seal with Minwax Polycrylic Finish which can also be purchased at Sherwin Williams. I talked with the paint guys and discussed as well as tried samples of the Polycrylic (water based) and Polyurethane sealers and because the Polyurethane has a slight amber tint we agreed it was best to go with the Polycrylic because it is completely clear. With a few coats, it should hold up just as well.
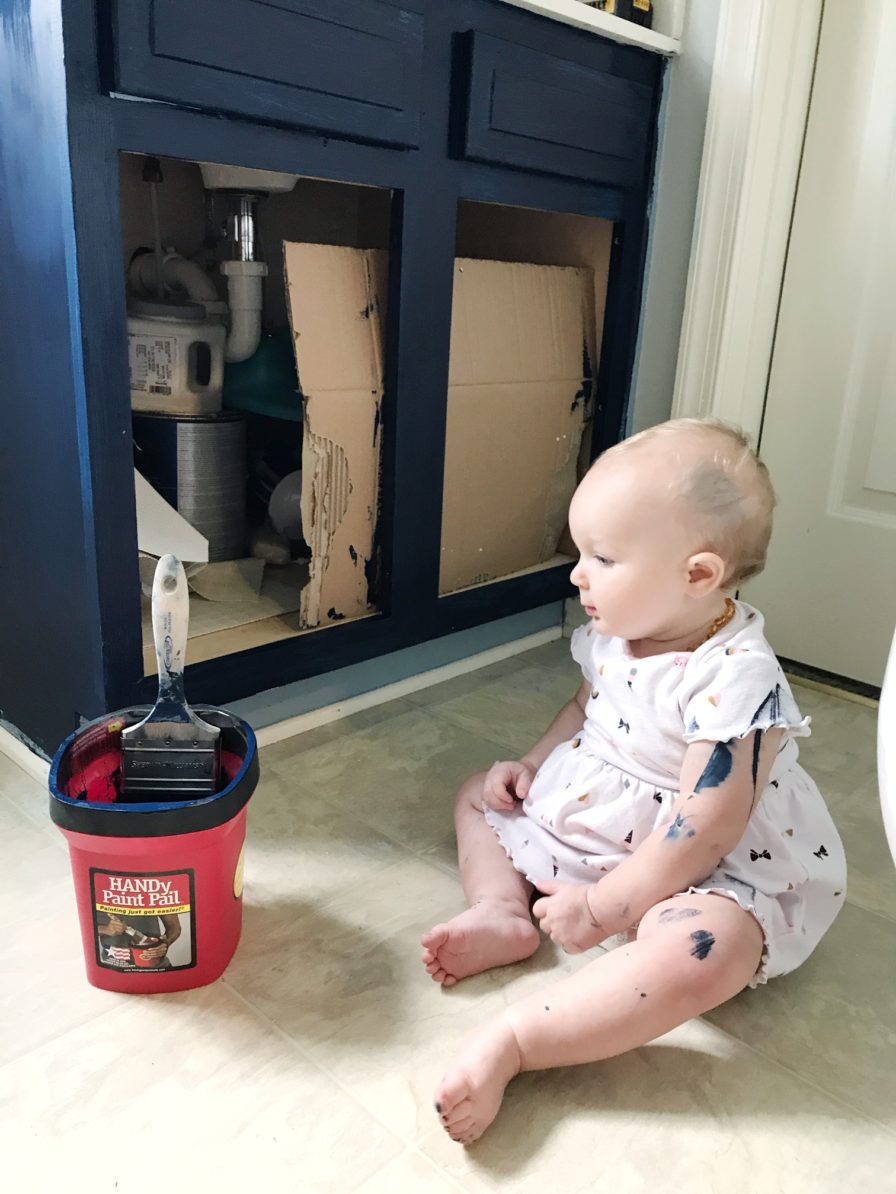
- Have the proper supplies: large rolling tray for priming with liner, Handy Pro Pail and liner for the stencil paint color. To help out my super ambitious One Room Challenge, HANDy Paint was kind enough to gift me painting supplies- paint pail, liners, rolling tray, handy tray and liners. A HUGE shout out to HANDY PAINT for the swag– Thanks!! They loaded me up with all I will need to complete this project and I must say I am ecstatic. Clean up will be a breeze. And we all know I struggle with the clean up part. (here’s a photo I snapped of my super helpful little with her paint pail!)
- Do thin layers and wait for them to dry. Stenciling will inherently have a stenciled look- not completely filled in, a hand painted appearance. Use a little bit of paint at a time. Go back for more layers after it dries. Touch up any bleeding with your primer.
- Use a dense firm roller instead of a fluffy roller. The firmer the less it will hold paint, meaning it won’t bleed and take forever to dry. Again, thin layers are best.
- To move along quicker, buy two identical stencils and work on every other block, painting yourself out of the room.
Come back next Wednesday for a progress post and more stenciling tips. This week I’m going to finish painting and patching holes in the wall from previous fixtures. Check out my Instagram Stories to see updates and some DIY tips along the way!
Check out progress from featured designers below, and don’t miss out on the guest participants!



2 thoughts on “One Room Challenge Week 3: Guest Bathroom Update”