

KID’S ROOM RENOVATION UPDATE – WEEK 4 OF THE ONE ROOM CHALLENGE
Welcome back for Week 3 of the One Room Challenge. The goal is a pink and blue shared bedroom with a Parisian themed wall mural for the One Room Challenge Fall 2019! It’s that time again.
Over the last year I participated in the One Room Challenge to makeover our guest bathroom and turn it from drab to a navy and gold serene space (SEE IT HERE). I also gave our white dining room a colorful refresh with blue paint, green trellis wallpaper and a lot of blue and white ginger jars (SEE IT HERE)!
Along the way, I shared a lot of skills like HOW TO PAINT VINYL FLOORS, THE ONLY DINING ROOM DECORATING RULES & MEASUREMENTS YOU’LL EVER NEED, and HOW TO BUDGET FOR A HOME DECOR PROJECT + A FREE PLANNING SPREADSHEET.

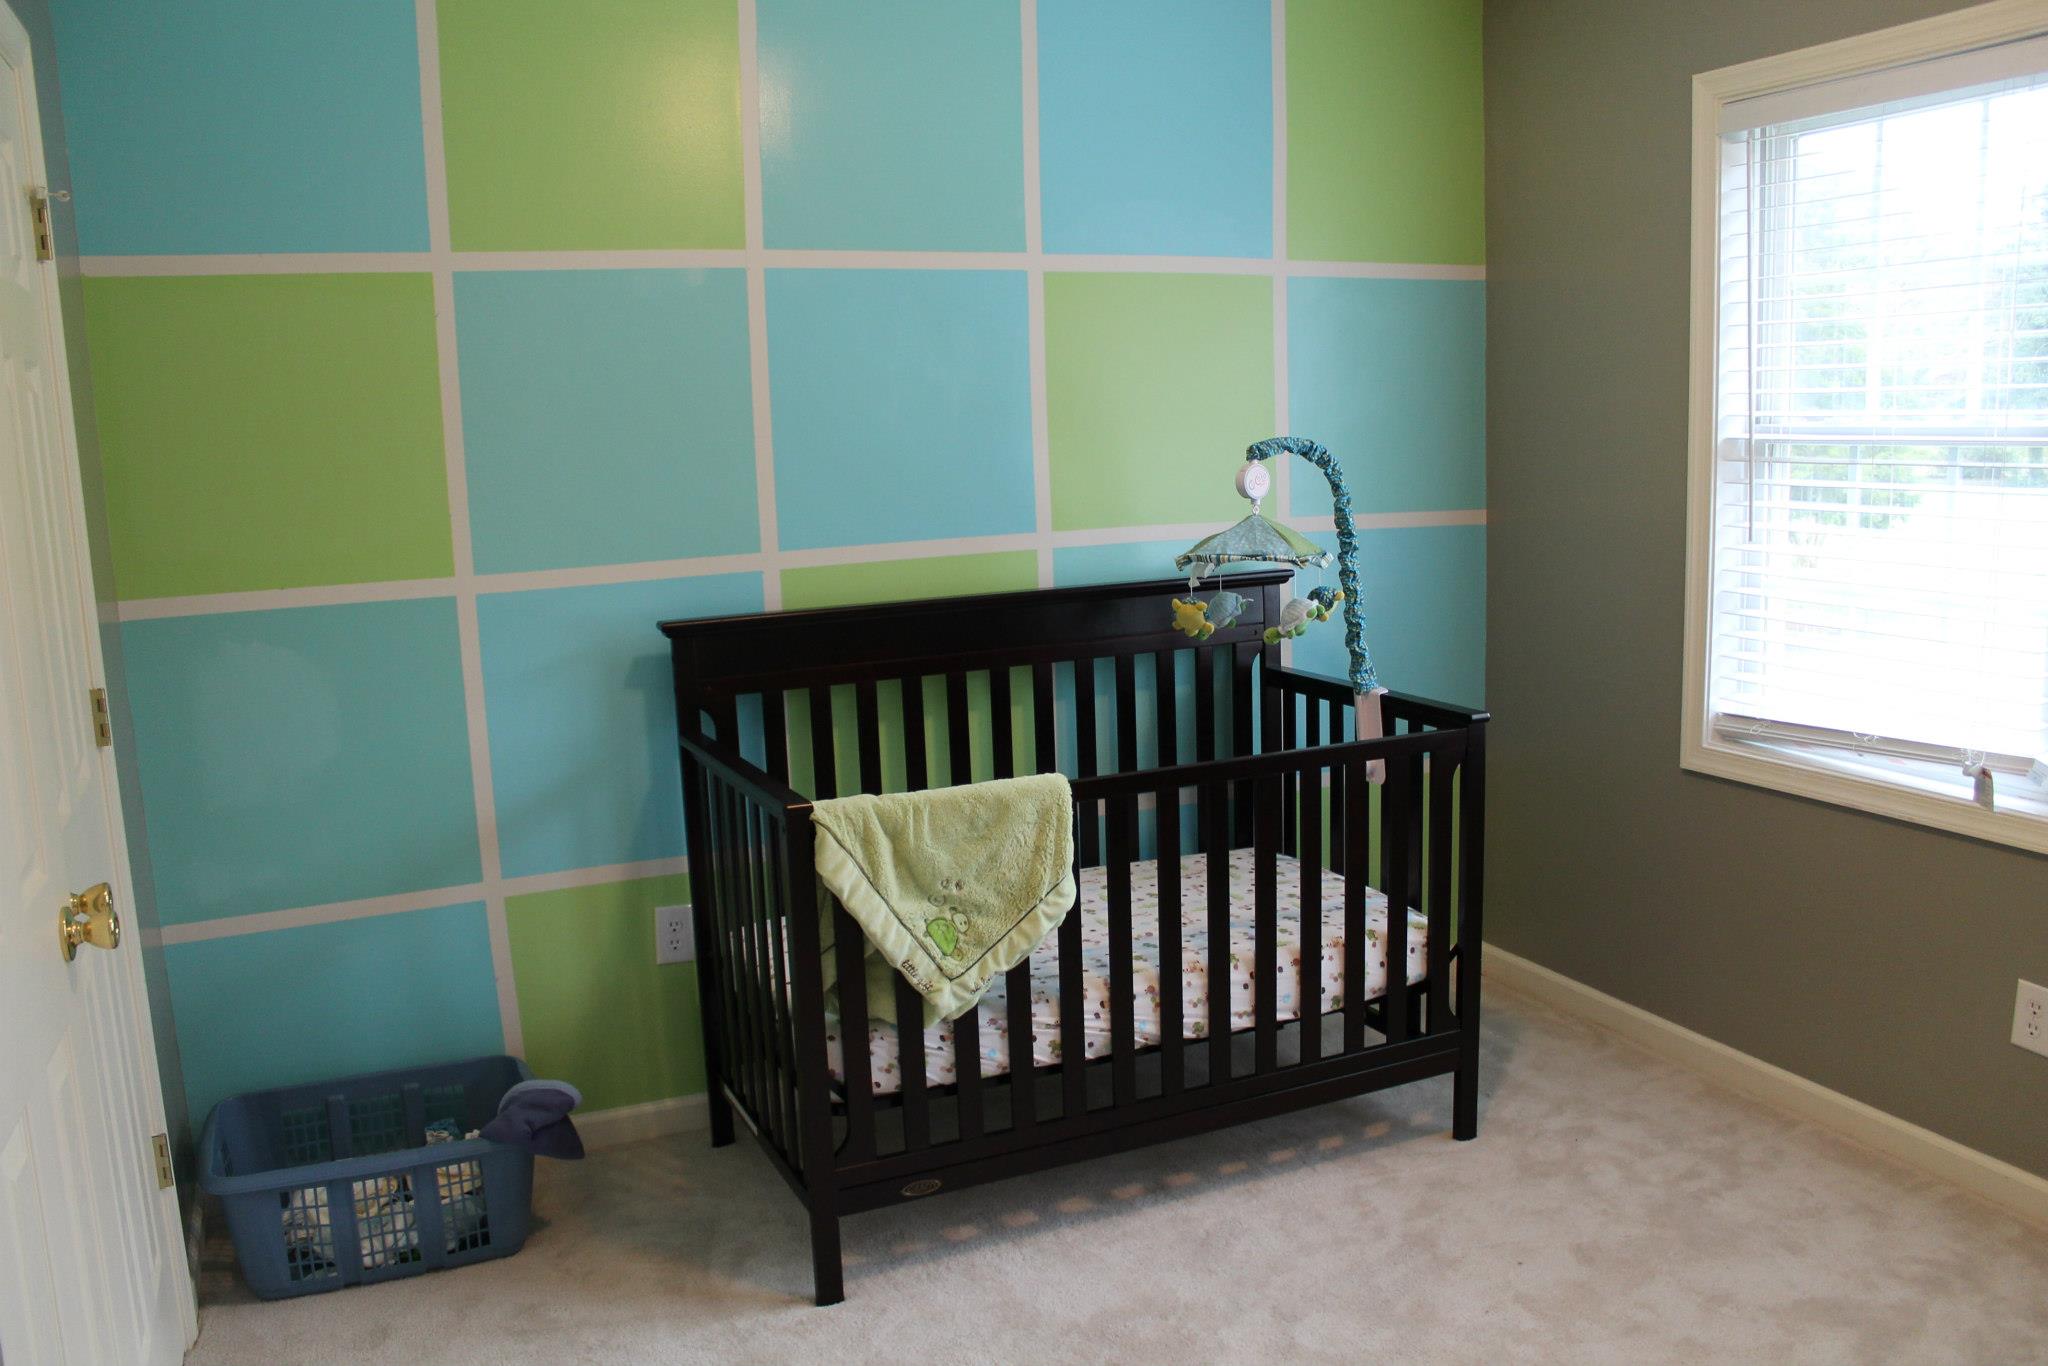
THE BEFORE
THE CHECKLIST
Next up is the checklist of what I plan to do! Each week when I post an update, this list will be at the bottom of the post with the items that I have completed checked off.
paint over color block walls with Benjamin Moore White Dovepencil in muralpaint over penciled mural with Sharpie paint pens- paint in mural highlights
- trim out bottom of bunk bed
install new light fixtureinstall curtain rodshang curtainssource accessories- buy and hang artwork
buy new bedding- style the room & add finishing touches
line curtainshem curtainssteam curtainspatch wall- paint one more wall again
THE PROGRESS
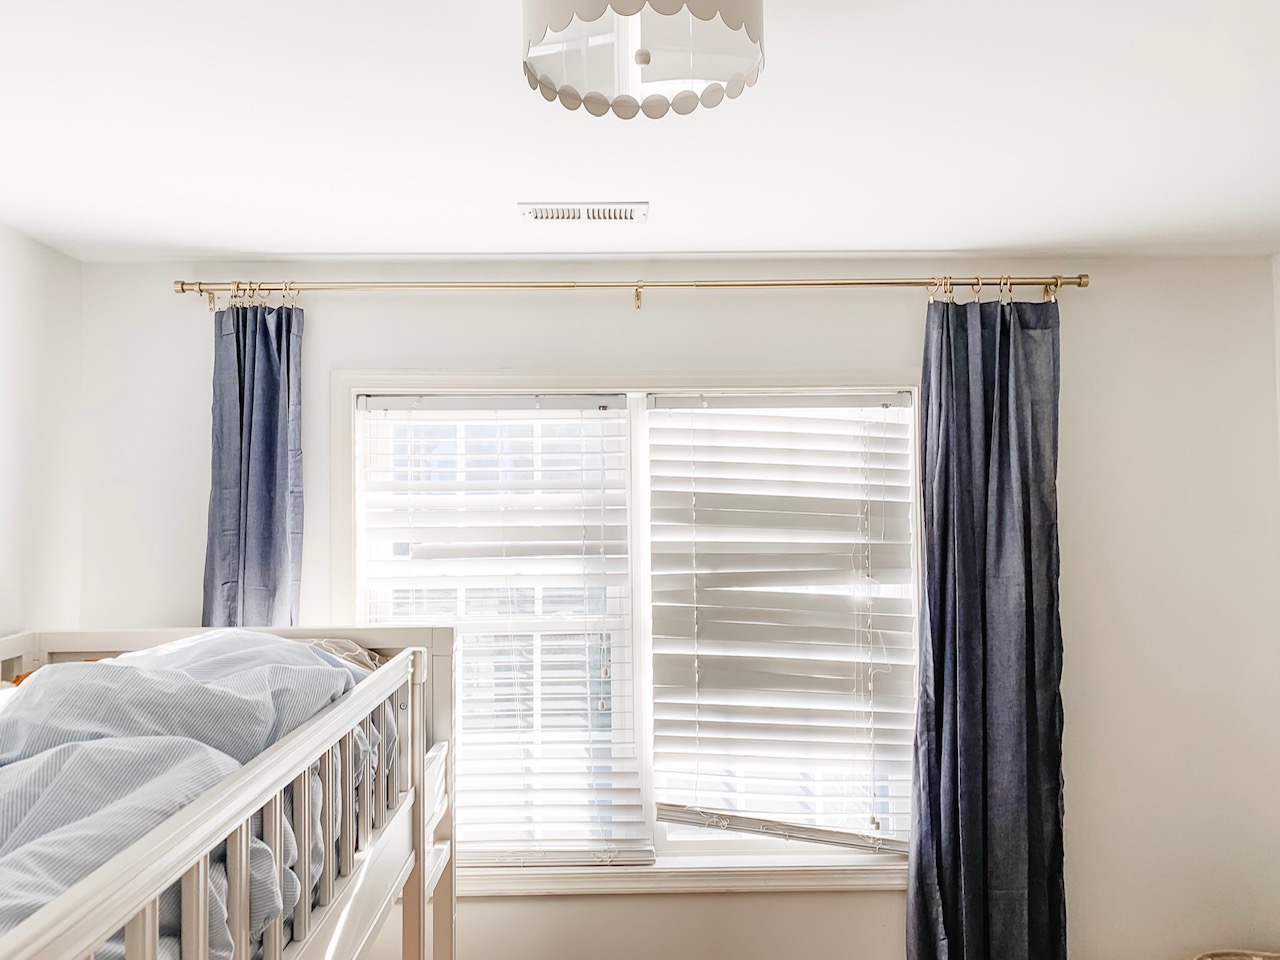
Last week, for Week 3 of the ORC, the major accomplishment was having the new light fixture from Pottery Barn installed. I am still so in love with it. It’s sweet scallops are perfect for this room.
Week 4 has been a whirlwind. The goal for this week was to line the curtains and hem them. I purchased them from Target. They are a beautiful, soft chambray fabric, but it was very sheer once it was installed on the curtain rod and the light seeped through.
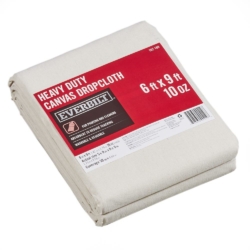
I can’t sew, so I needed an alternative way to line the curtains. Enter drop cloth & heat and press. I’ve seen tutorials on Pinterest for using painter’s dropcloths as curtain panels. The drop cloths are made of linen and are a nice heavy weight.
They are not as thick as blackout curtains, but that’s not what I needed so it’s a great fit. So, I made a trip to The Home Depot to grab drop cloths. I bought 2 packs of the 6′ x 9′ linen painter’s drop cloths. The curtain panels are 96″ so the 9′ length of painters cloth is perfect.
First, I picked up Ultra Hold HeatnBod and ironed it onto the back of the curtain panels at the top. I used a 9″ thick strip cut to the size of the panel top width.
Next, I measured and cut the drop cloth to size. I heated up the HeatnBond for two seconds and peeled off the liner. Then I lined up the precut drop cloth and adhered it to the curtain panel back. I held the iron to each section of the panel for 10 seconds to ensure a strong bond.
After heating up the panels to secure the drop cloths, I ironed the entire panels and put pleats in them. When they are hung from the rods, they will be pretrained to fold in the right places. I can’t wait to hang them.
DROPCLOTH CURTAIN PRODUCTS

While I was at Home Depot to pick up the drop cloths I ran through the blinds isle. You can tell that the kids have torn up these faux wooden blinds pretty bad.
I lucked out finding a light woven, natural single shade to hang in place of the faux wooden blinds. Can you wait to see them? Next up on my list is getting the current brackets down so that I can install the new window shade. The current blinds require a hex wrench to dismantle them, so I am searching for that to get things moving with only a week left to get the room in order.
Check back next week to see the updates!
1 thought on “KID’S ROOM UPDATE – WEEK 4”