
Hello, Hello. I am at it again. Last month I added a faux marble finish to the fire place surround and this month I’ve decided to join the One Room Challenge. I’ll have six weeks to complete a room, which I will share DIY updates along the way, saving the big reveal for week six!
If you found me through ORC, welcome! I’m April and for the past year, I’ve been feverishly redecorating our colonial style house in Williamsburg, VA. After changing decor and trying out new things, I found that I really enjoy simple modern and scandinavian inspiration. Monochromatic makes me feel calm and orderly. I also enjoy purging things from the house regularly.
I’m always down to the wire, so why no put on the pressure and get this thing started.

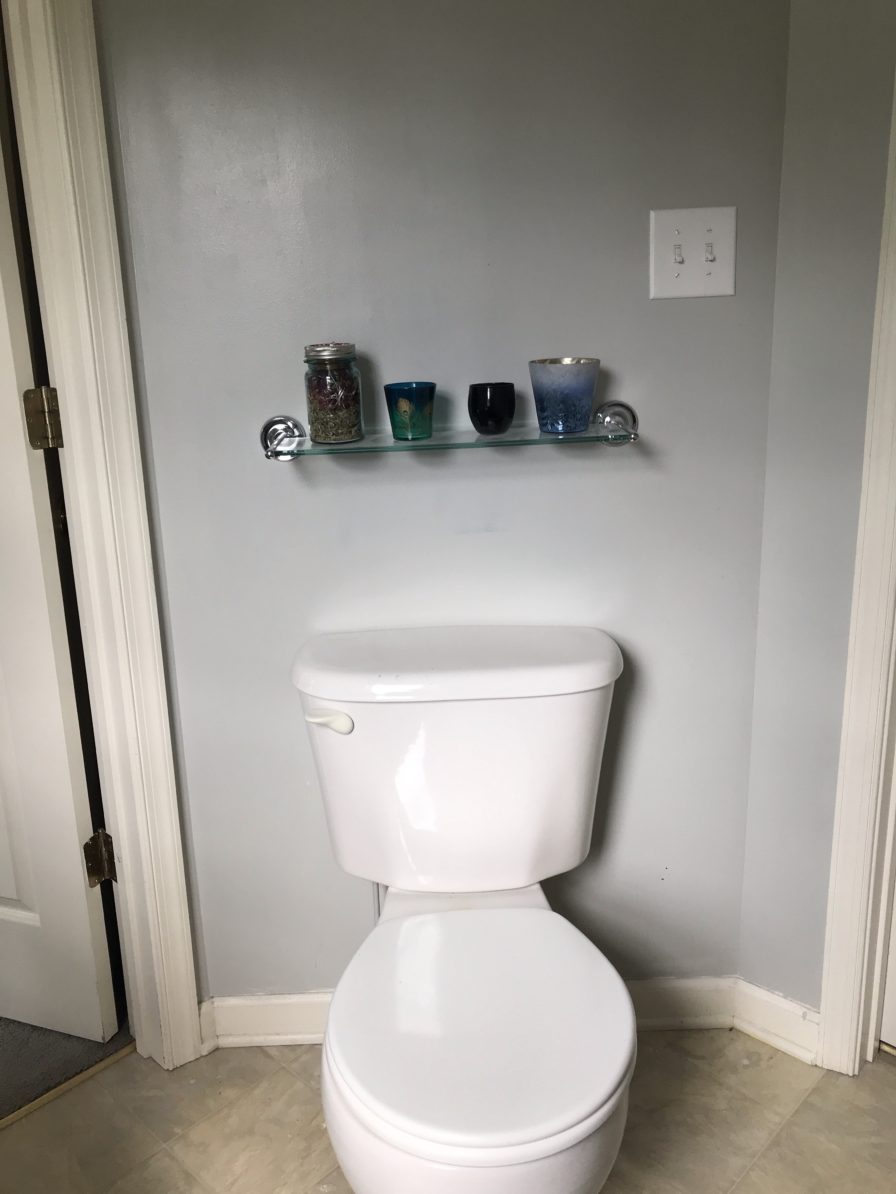
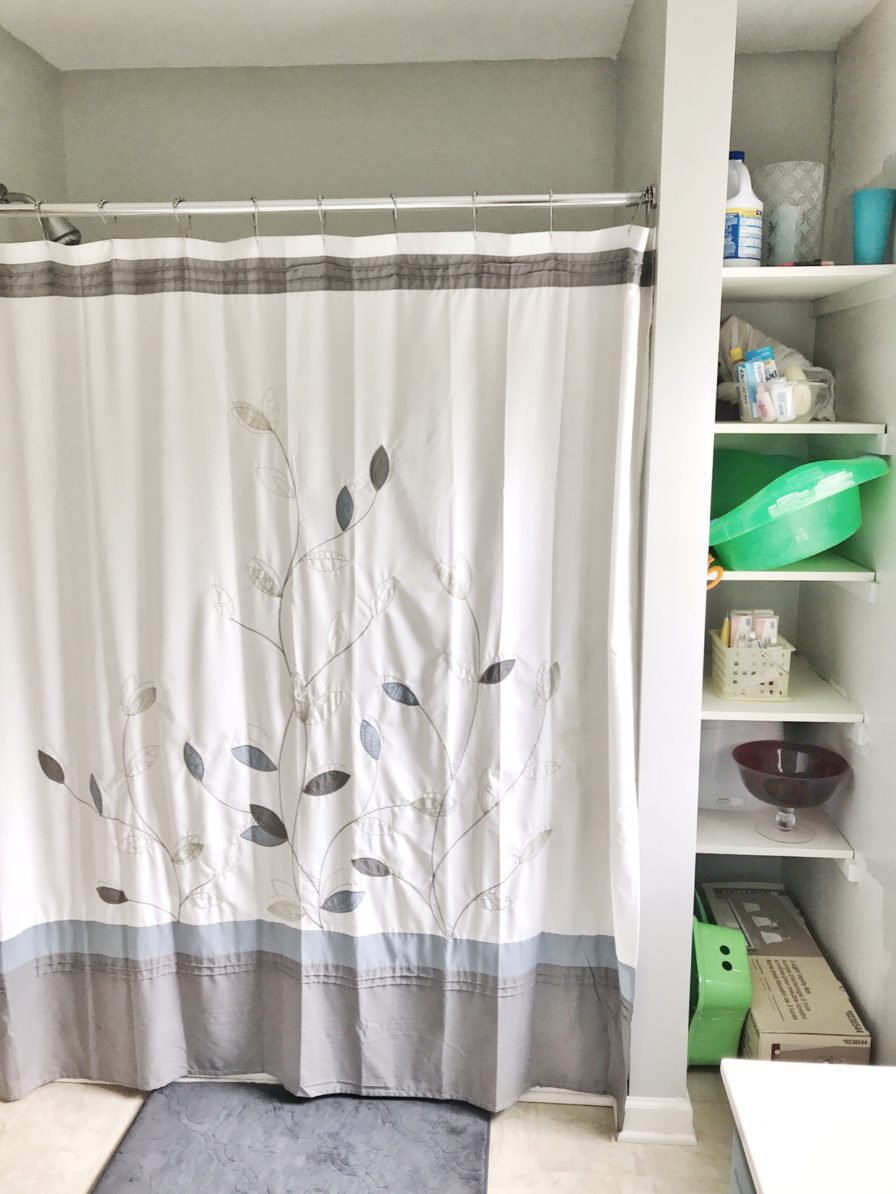
THE BEFORE
Welcome to the guest bathroom. Well, it is actually the upstairs hall bathroom, which my little one uses. It is also connected to the guest room, but we never have guests because the guest room is full of both my husband and I’s DIY crap.
The room isn’t that bad. A few years ago I blogged about painting the honey oak cabinets light blue and changing out the shower curtain. It is still a pretty basic builder guest bathroom with the original mirror, fixtures and not a lot of wow.

THE PLAN
The challenge is that the guest bathroom has two doors and a window, leaving little to no wall space for practical use. Where do you hang a towel? Toilet paper? Nope. I will be solving those issues with the update and knocking the design portion out of the park using mixed metals and navy.
Here is the inspiration for the guest bathroom. I LOVE black, gold and silver so using all of them sparingly is definitely a must. And while I am on a navy kick, painting the kitchen cabinets navy would be too bold of a statement so the bathroom is the perfect place to add a sophisticated touch to a currently 90’s looking bathroom.
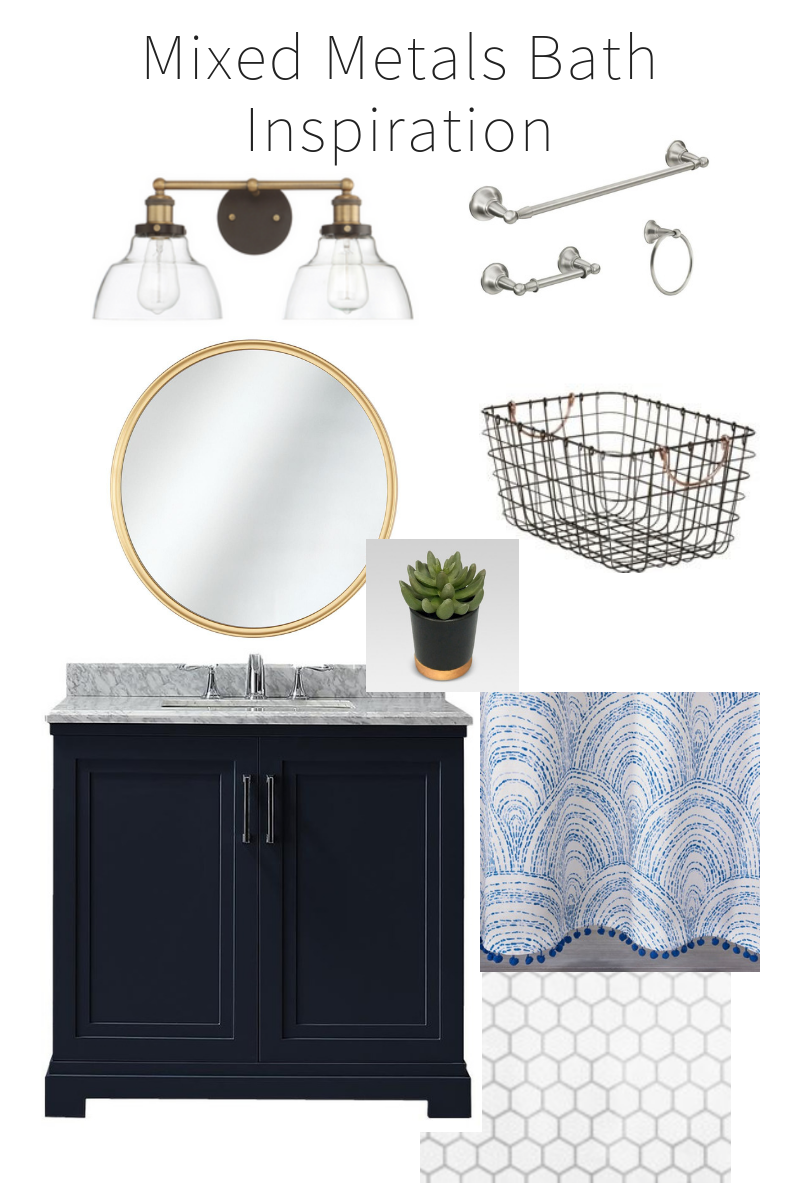
Sources:
Vanity Paint in Coastal | Floor Stencil: Cutting Edge Nola | Mirror | Lighting | Pulls | Shelf | Plant | Baskets | Curtain |
TO DO
- declutter & deep clean
- remove all wall fixtures & cabinet doors
- paint walls
- paint baseboards
- paint & seal vanity cabinet
- degloss, sand, and prime floor
- paint, stencil & seal floor
- install mirror
- install lighting
- install new hardware
- hang shower curtain
- install towel hooks & style shelves
- style counter
I can’t wait to share more with you as I finalize the finishes and pull the whole look together!
Come back next Thursday for a progress post. I’m going to start taking down all of the current fixtures, shelves and curtains. Check out my Instagram Stories to see the progress and some DIY tips along the way!
Check out progress from featured designers below, and don’t miss out on the guest participants!
I am obsessed with the pattern of that shower curtain! I remember seeing a similar wallpaper print and falling in love. I’m so excited to see how this goes! xoxo