
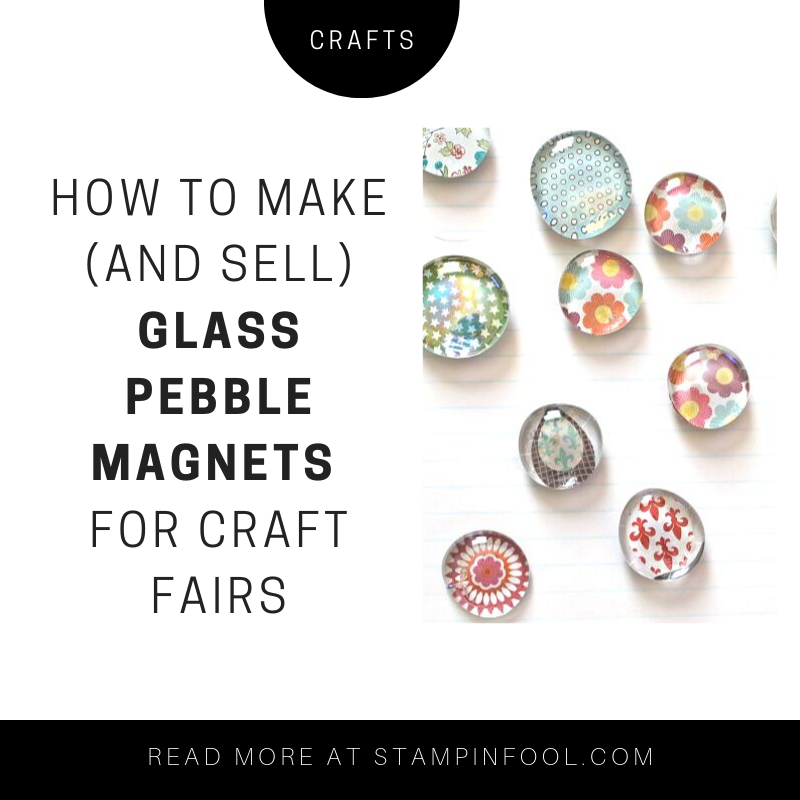
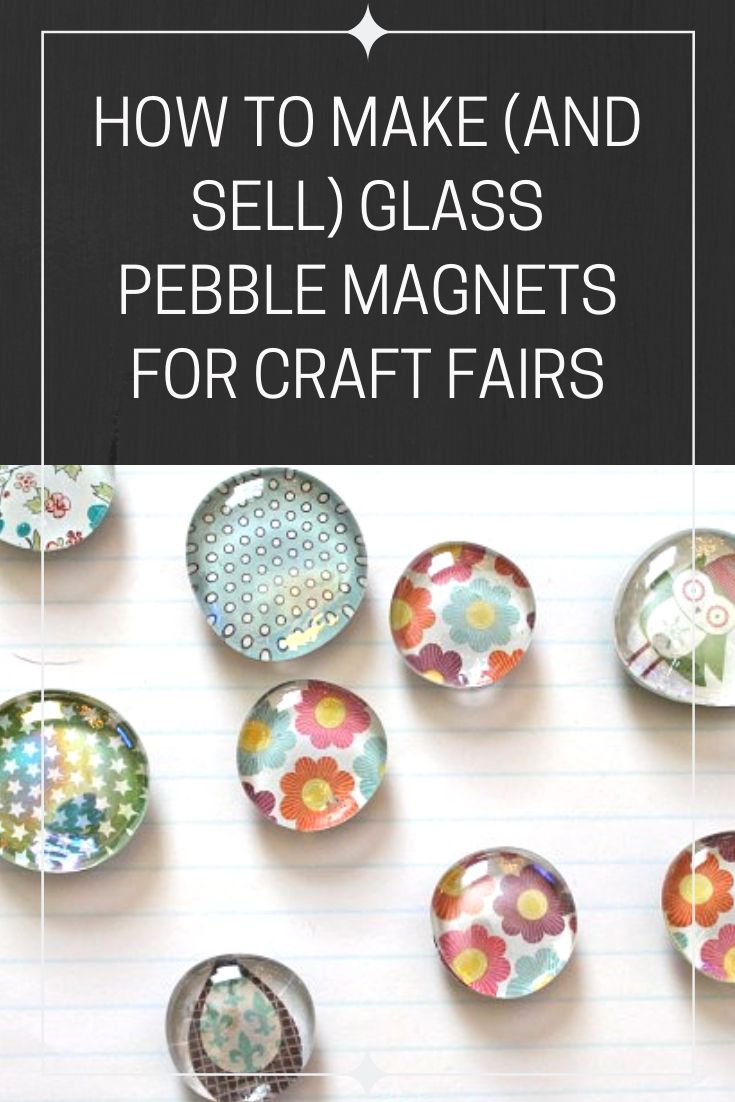
HOW TO MAKE, PACKAGE, AND SELL DIY GLASS PEBBLE MAGNETS
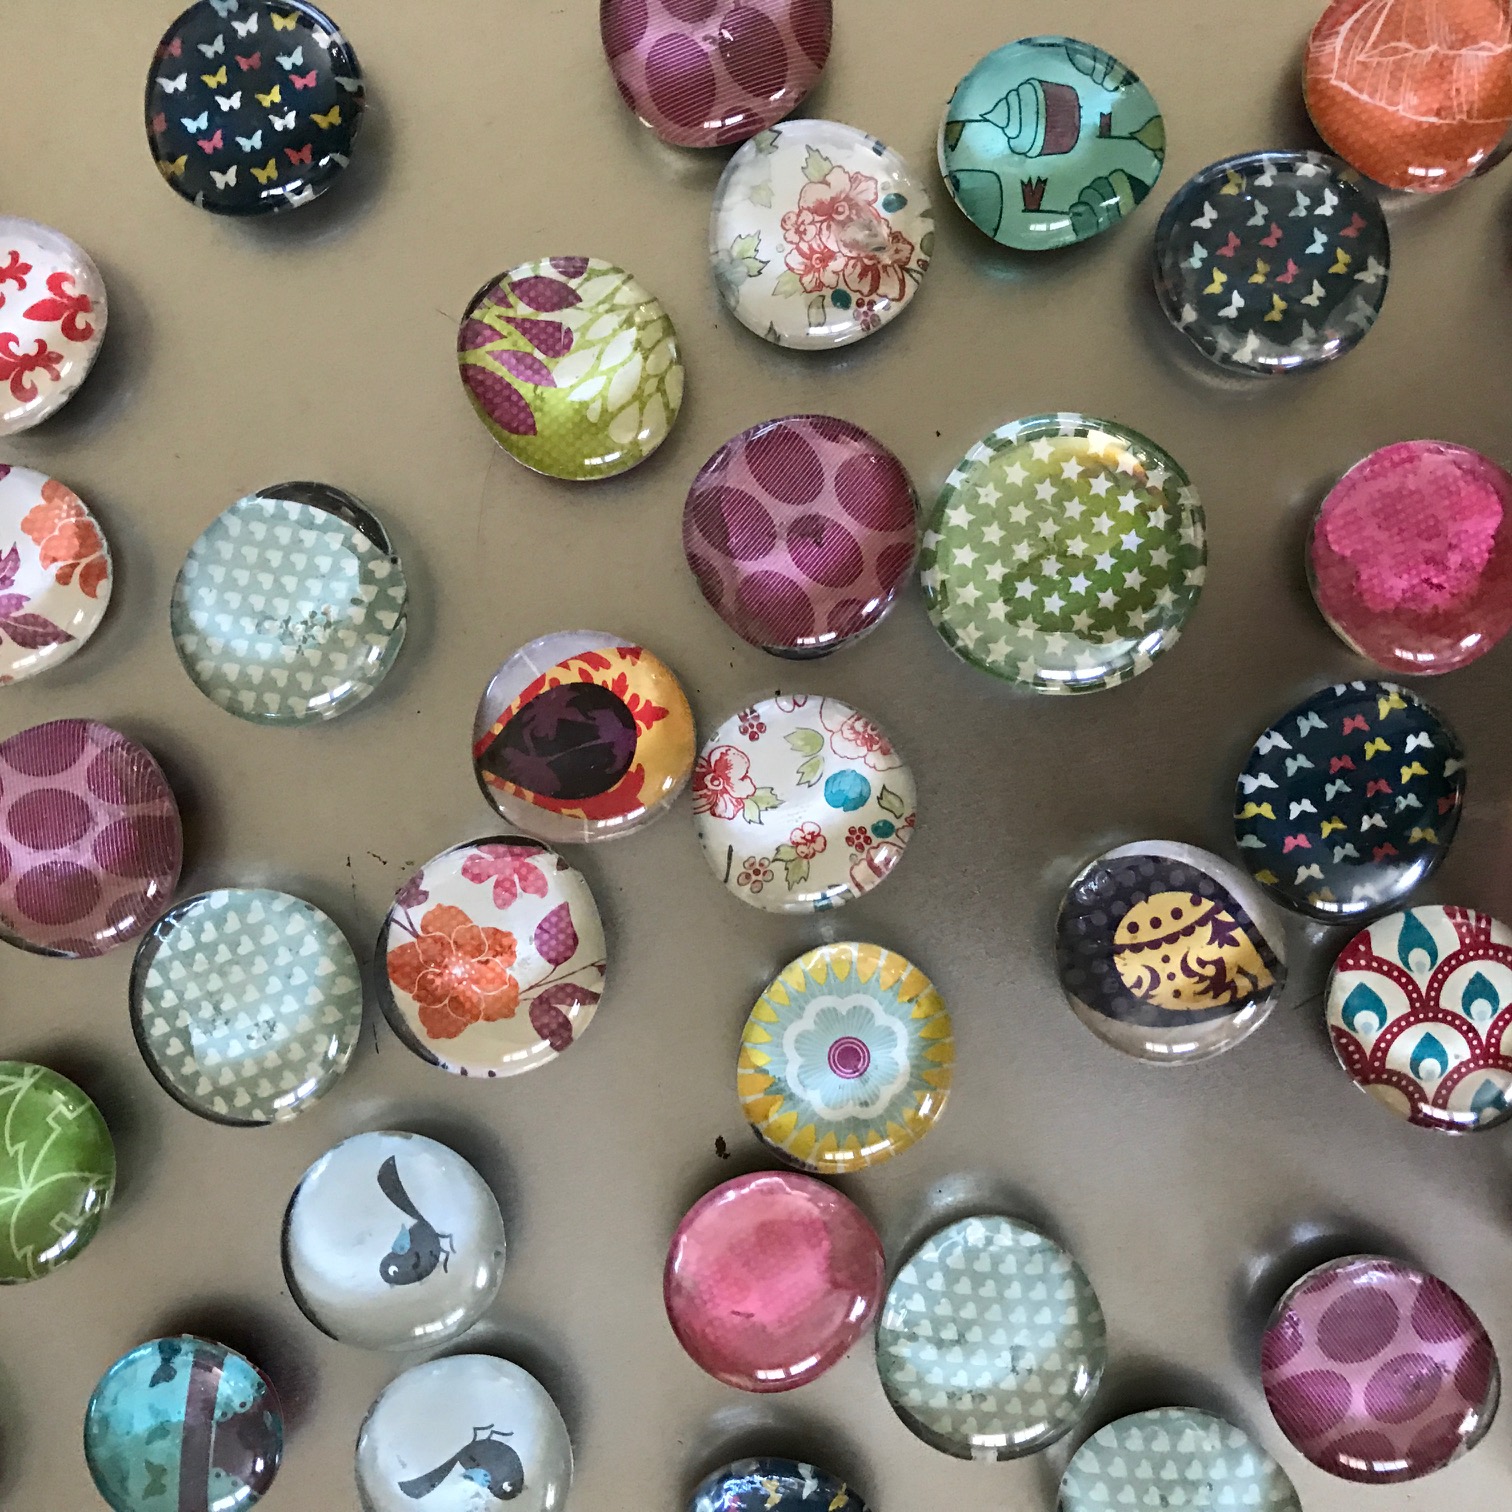
Are you ready to learn how to make Glass Pebble Magnets? If you’ve made it to this page, you have probably seen images like the one above or DIY glass pebble magnets floating around on Pinterest. In fact, it ranks as one of the most popular posts of all time on my blog. I get hundreds of comments and questions relating to making these glass magnets so I have taken some time to update this post and provide more answers to the frequently asked questions about how to make them, how to personalize and package glass magnets, how to sell them at craft fairs and how to price pebble magnets for sale at craft shows.
Also, if you are a vendor in arts and craft shows make sure you read all the way to the bottom where I discuss pricing and markup, as well as the related posts on ULTIMATE Craft Fair Tips and Tricks and Top 10 Staging Tips for Craft Fairs.
The cost of producing the glass magnets is inexpensive and the time required to make them is nominal. If you prep your materials and make them in batches, you can make 50 magnets in ten minutes. That is a great return on investment in terms of time and money.
Lastly, not only do they sell well, but they make great gifts for all ages. Whether you plan to sell them or make them as gifts for friends and family, I have had buyers of all ages love them- grandma buying them for the grandkids, elementary school boys and girls choosing their favorite for their best friend, and most of my family members have at least a few on their refrigerator.
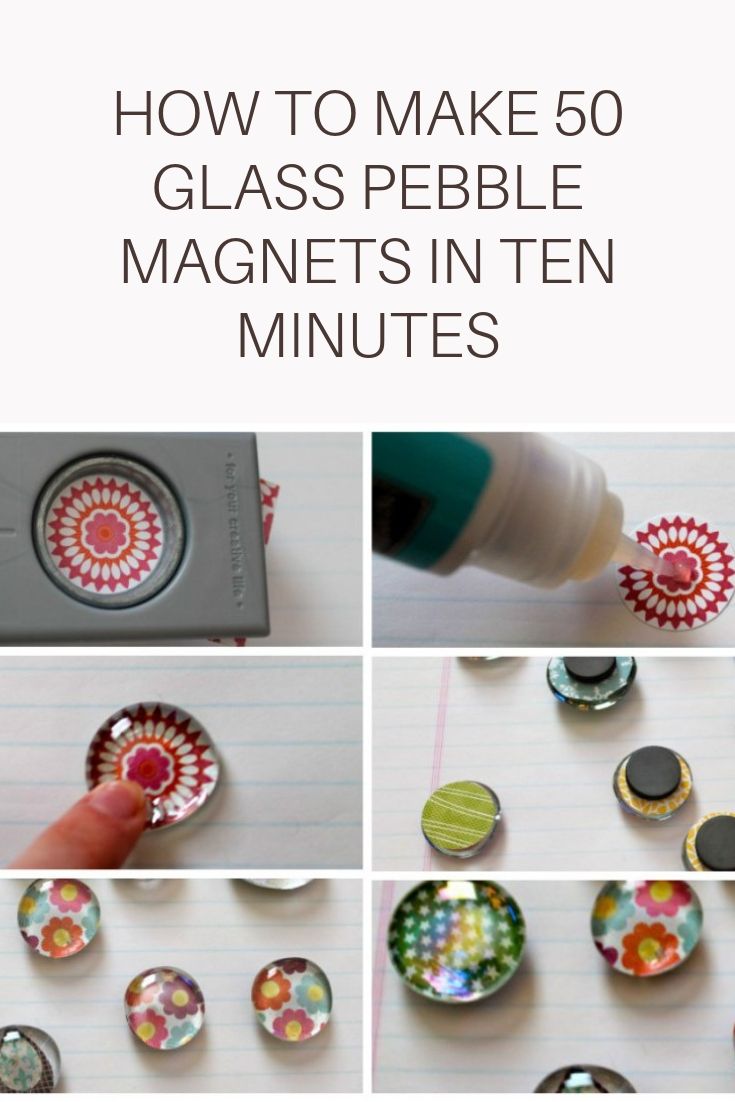
I promised this would be a quick and easy DIY project, so to help things run smoothly, you are going to do them in batches. To start, you’ll need to have your supplies together and ready to go. The glue dries fast, so you will want to work quickly. Go gather all of the necessary tools before getting started.
GLASS PEBBLE MAGNET SUPPLIES
- 1″ glass pebbles or vase filler (Dollar Tree- about come 30 in a bag)
- Judikins GP005 Diamond Glaze, 2-Ounce

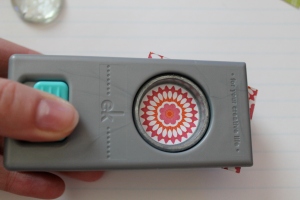
- 1” circle punch
- Patterned Paper
- Hot glue gun
- Glue sticks
- High energy Ceramic Industrial Magnets 50 count
- Silicone craft sheet {Hot glue won’t stick to this and it makes for easy glueing}
- Scissors
WHERE TO BUY
Before you can start making these DIY glass pebble magnets, you’ll need supplies. If you are an avid crafter you’ll already have some of the materials needed. If you are new to crafting, luckily these supplies are inexpensive and easy to find. The cheapest place to find most of the supplies needed is the Dollar Tree. The next best place is the craft store, but you will pay a little more. Lastly, Amazon has the remaining items listed. I didn’t list the glue gun or glass pebbles themselves under Amazon because the price was more than double the competition, so save yourself $10 and run to the dollar or craft store.
Dollar Tree:
- glass pebbles
- patterned scrapbook paper
- mini hot glue gun
- hot glue sticks
Craft store (Michaels Arts & Crafts, Joann Fabrics):
- glass pebbles/vase filler
- scrapbook paper
- mini glue gun & glue sticks
- magnets
- 1″ circle punch
- Diamond glaze
Amazon
(Disclosure: this post contains amazon affiliate links, meaning if you make a purchase, I receive a small commission, at no cost to you, but it helps cover my blog hosting fees. Thank you for your support).
- Judikins GP005 Diamond Glaze, 2-Ounce
- 1” circle punch
- High energy Ceramic Industrial Magnets
- glue gun mat
STEP BY STEP: How to Make DIY Glass Pebble Magnets
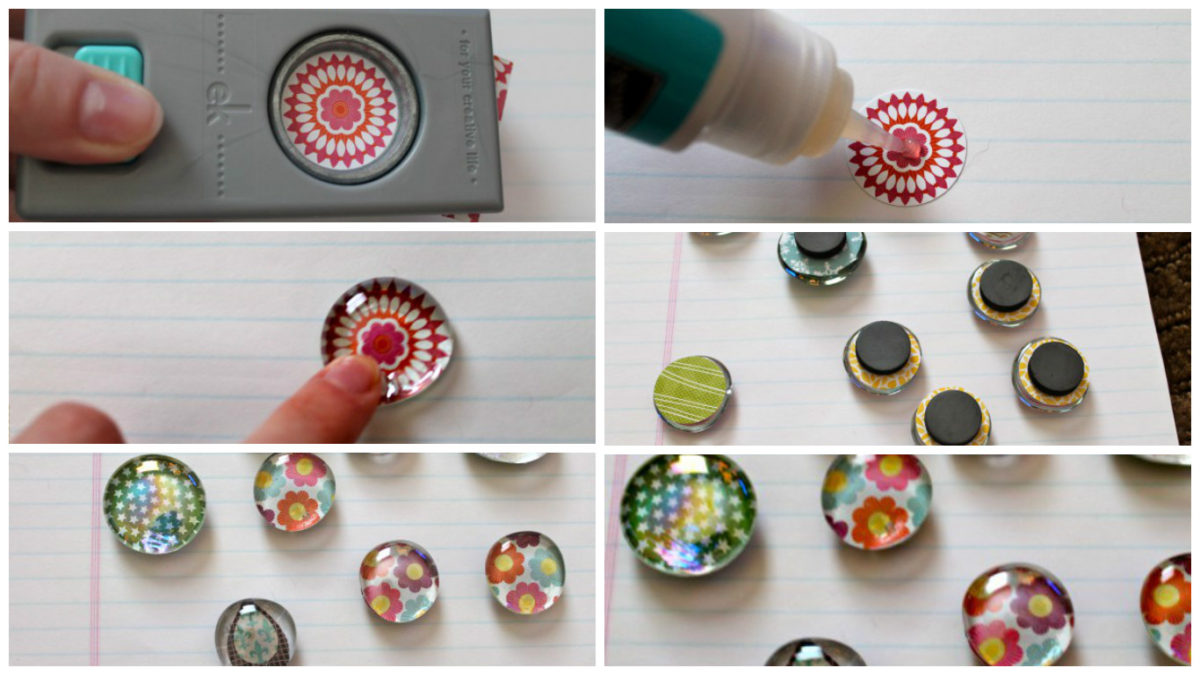
PREP THE PAPER
ADHERE TO GLASS PEBBLE
Squeeze a small dot of Diamond Glaze onto the right side up of the paper and firmly press the glass pebble on top. You only need a small amount for it to spread out and cover the entire circle.


Next, allow Diamond Glaze to dry for 3o seconds. The best way to do this is in batches. Punch out 10 circles and lay out ten pebbles in front of them. One by one, dot the paper with glue and press the pebble down, moving on to the next. By the time you finish the last one, the first ones should be dry.
TRIM EXCES PAPER
After the diamond glaze has set, and the back of the paper is dry to the touch, use small craft scissors to trim any excess paper around the edges.
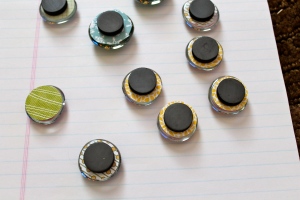
GLUE MAGNET TO PEBBLE
Next, turn the batch of glass pebbles onto their backs. Using the hot glue gun, place a dot of glue onto the magnets and firmly press the magnet onto the back of the pebble. Again, you will want to batch these by having ten or so pebbles face down and ready to go so that you can move quickly while the glue is hot.
I like to use a glue gun mat (also called a silicone craft/jewelry sheet) as the adhesive won’t stick to it and the hot glue beads and strings will lift right off. You can purchase a glue gun sheet for about $4 on Amazon (see below).

ENJOY, GIFT OR GIVE GLASS PEBBLE MAGNETS
Finally, now that the DIY glass pebble magnets are finished, you may enjoy using them on your refrigerator or you can package them as gifts.
MORE WAYS TO PERSONALIZE
These glass pebble magnets can easily be personalized to use as holiday gifts. My favorite way to add something special to a gift is to use photos of the kids, shrunken small and printed on matte photo paper. You can then punch them out and use them as the backing on the glass pebble magnets.
Here are seven unique ways to make the pebble magnets:
- package them in a small metal tin
- personalize with photos, magazine images, book pages
- use glitter and a two coats of modpodge over the scrapbook paper before attaching the pebble
- let kid’s create artwork to punch out
- scrapbook stickers/alphabet letters
- stamped and colored images
- maps
RECAP
Glass pebble magnets are a quick and easy DIY craft. You can easily make 50- 100 of these DIY glass pebble magnet crafts within minutes by gathering your supplies and batching each step.
To recap, start by punching multiple 1″ circles out of your favorite scrapbook paper. Prep the pebbles by laying them in front of the circles in a line. Add a dot of glue to each circle, press the glass pebble, hold for a second and move on to the next. Line up the magnets in front of the pebbles (flat side up). Add a dot of hot glue to one magnet, press firmly to the pebble and repeat. Allow to dry and package them up to gift to friends and family.
PACKAGING FOR GIFTS
If you are making these as gifts you can can package them in a many ways.
- decorated small metal tins
- 2″ plastic bags with craft paper folded over the top and stapled
- 4″ x 6″ plastic bag with card stock cut to fit and hold 6 magnets in each bag
- make a gift bag topper with scrapbook paper cut to size and folded in half over the top of the bag and stapled
DISPLAY AND STORAGE FOR CRAFT FAIRS
The completed magnets can be packaged the same ways for giving for a craft fair sale or stored bulk on cookie trays. I found sticking 25-50 glass magnets to the cookie trays (because they are magnetic) to be the best way to display them for craft shows.
Additionally, the benefit of the trays is that they lay flat for long term storage but you can still prop them upright and the magnets do not fall off while you are selling them. You can also move the remaining magnets around after other sell to fill in the gaps. Additionally, people tend to purchase things they can clearly see, and a propped up sheet with shiny magnets is a great way to attract customers to your booth and make the sale.
CRAFT FAIR PRICING
After attending and being a vendor at many craft fairs, I found a sweet spot for pricing. While each market varies by your location, you can get a feel for pricing by starting at $1 and working your way up or down to test the sales. I priced the DIY glass pebble magnets for $1 each at craft fairs.
Related Posts: ULTIMATE Craft Fair Tips and Tricks and Top 10 Staging Tips for Craft Fairs
Here is the cost breakdown:
– Magnets $10.00 for 120
– Mini glue gun $2
– Glue sticks $2
– 1″ Circle punch $7
– Diamond Glaze $7 for thousands of uses
– Scrapbook paper $5 for 6″x6″ pad
– Glass Pebbles $4 for around 120 pebbles (30 pcs per bag, four bags at dollar tree)
The total supply cost comes to roughly $37.00, assuming you didn’t have any of the craft materials. Divide the $37 cost by 120 pieces (# of pebbles in the 4 bags) and you are left with $0.30 per pebble magnet to make. You can sell each magnet for $1 at a craft fair which is 300% more than the cost to make the magnet.
HOW TO CALCULATE MARKUP
Using the magnet example from above, you sell each magnet for $1.00. The magnet costs you $0.25. to make First, find the gross profit.
$1.00 – $0.30 = $0.70 gross profit
To write the markup as a percentage, divide the gross profit by the COGS.
$0.70 / $0.30 = 2.33 markup
To make the markup a percentage, multiply the result by 100.
2.33 X 100 = 233% markup
The markup is 233%. That means you sold the magnet for 233% more than the amount it cost you to make it.
Finally, You can increase to margin each time you make more pebble magnets by only buying the needed materials, pebbles and magnets, as you will already have the paper, diamond glaze and tools. This is a great handmade product that is guaranteed to sell out at the next craft fair you attend.
Love it, Pin it!
[email protected]– You Could use a bone folder to round out the edges of the paper before adhesive dries. But the Crystal Effects holds the paper to the pebble so closely that it will look finished once it dries.
Thanks for stopping by!
Thanks- what a great idea! Any suggestions on how to give the back a more finished look?
Nice tutorial. Your links on the bottom say page not found
i love these glass pebble magnets! i need some of that glue and my fridge will be covered! the grandson will love rearranging those next time he is down!
No worries at all! I just wanted to make sure it worked! Thanks for all you do !!
Okay thanks. Sorry if I contacted you twice…lol. I’m trying to do too many things at once.
Thanks! I already voted twice and it acknowledged the votes. Did it not work?
Hi April. Thanks for entering the Fall dollar store contest. Voting is now open and you have two votes to cast on your favorite entries. Just come back to the blog and click on the dollar store button in my sidebar to go to the post to vote.
Hi April. Thanks for entering your creation on the Fall Dollar Store contest. You have two votes to cast on your favorite entries other than your own to pick a winner. Just visit my blog, click on the dollar store contest button in my sidebar, hover over the links you like and click the heart.